I’m not sure where the last couple of months have gone but somehow February 1st and my last post, has now become April 20th. Oh well, I blame needing to take my time to come out of winter hibernation.
There is lots happening on the house front, but today is actually about looking back at one of my projects from autumn, painting a vinyl bathroom floor. Whenever I try out a new DIY idea, especially one on a hyper-budget and using products that I have already which may not necessarily be right for the job, I think it’s so important to reflect back and see if it really worked out ok. If tackling a painting project feels overwhelming, searching for house painters near me can be a great way to ensure a professional finish. After all, can I legitimately recommend a how-to guide if it’s been a disaster?
Thankfully, six months since I painted our vinyl floor (not actually the main bathroom, but our en-suite) and it still looks like new despite the fact I used DRAINPIPE paint and WOOD paint to give it a stylish budget upgrade. Here’s a quick guide and what I used for the project and then I’ll share my slightly unorthodox thought process:
-Zinsser Bin Primer 2 coats to prime
-Leyland Trade Satin Wood & Metal paint, 3 coats
-Fortress Satin Black Drainpipe & Gutter paint, 2 coats
-Polyvore Decorators Varnish to seal
If you’re wondering why on earth I’m throwing drainpipe paint on the floor of an en-suite, here’s the background.
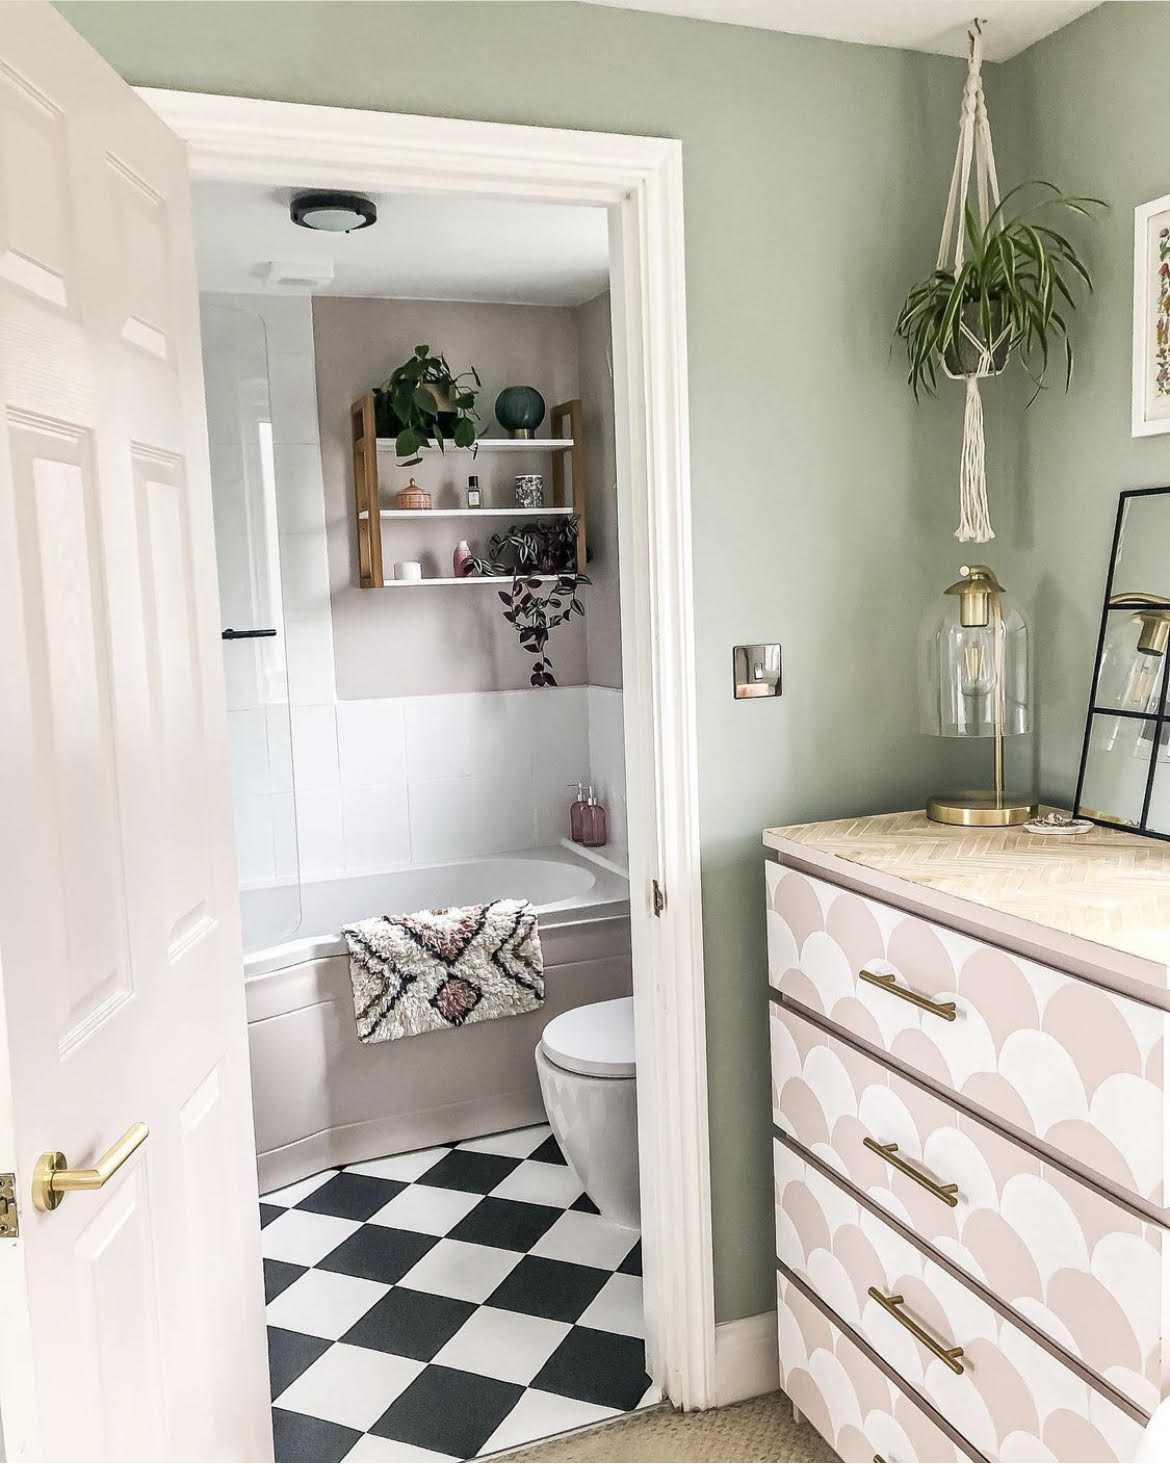
Last autumn as part of a collaboration with B&Q (still pinching myself about that one TBH) I gave our en-suite a long overdue makeover. It was one of the first rooms we tackled as total DIY novices when we moved in 8 years ago (the very before was rank beyond words) and as such, all these years later it was ripe for another glow-up.
Ultimately, our long-term plans for the en-suite are to turn it into a proper shower room as we don’t need two full bathrooms but until we get to that point on our very long reno list it’s amazing what you can achieve with some paint and a few new accessories.
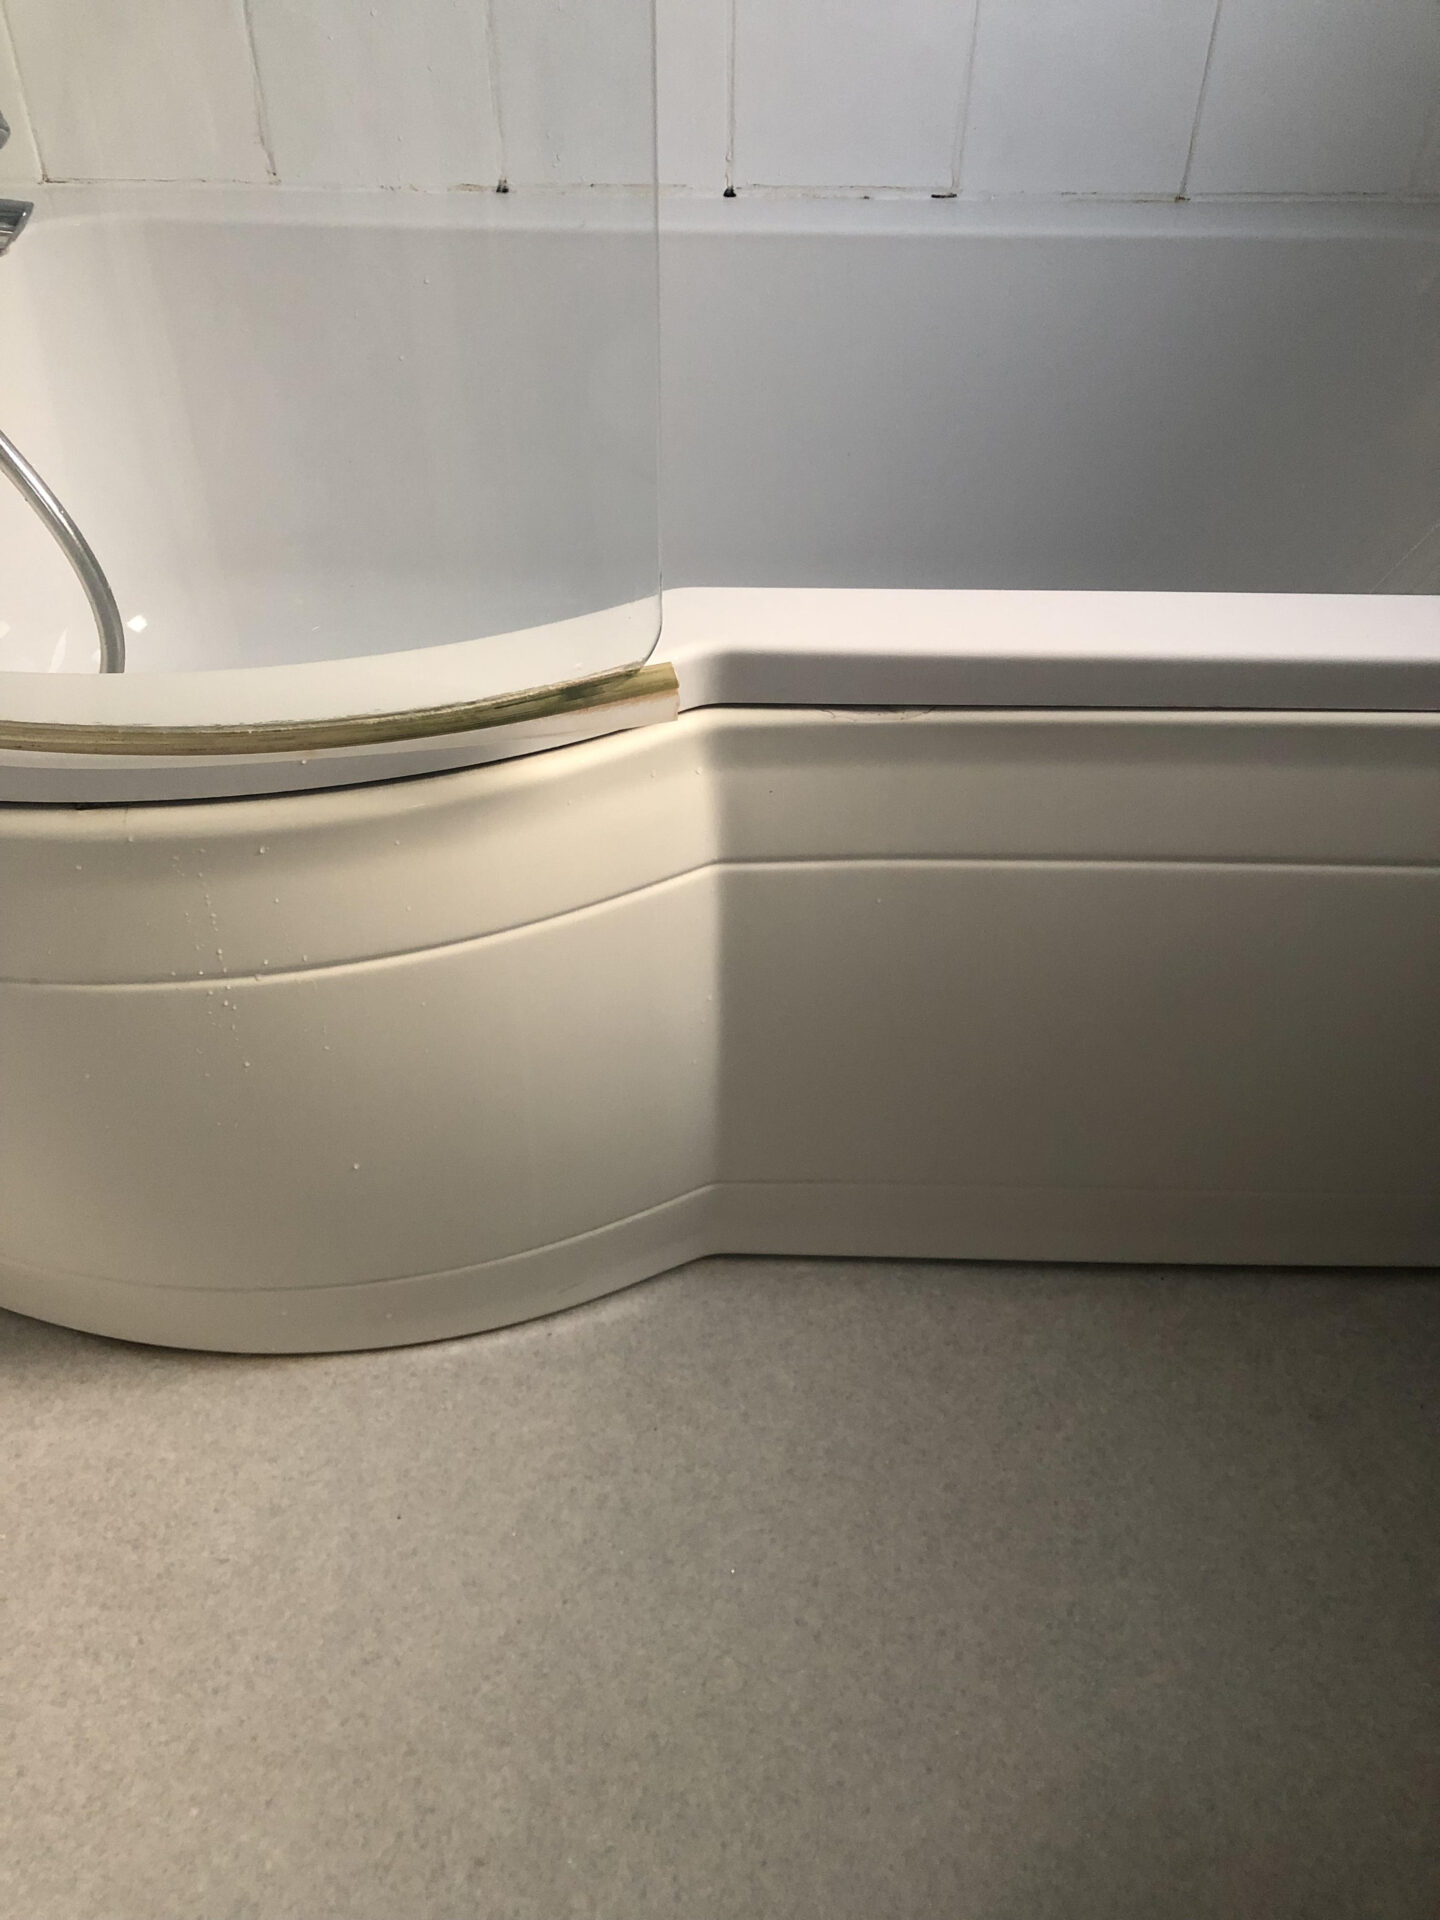
The biggest sticking point for me was going to be the vinyl floor and how could I update it without too much effort or money. I didn’t really want to replace it with another vinyl and considered tiles initially. Then I thought tiling might be quite a fiddly job in a small room and I wasn’t sure whether I had enough space to slot them under the bath panel.
My next thought was to paint a terrazzo effect floor using paint chips but try as I might, I couldn’t find any colours that complimented my scheme for the bathroom.
Thankfully just as I was running out of ideas it came to me that of COURSE, I could just try painting a tile effect pattern onto the vinyl thinking this was the least expensive and easiest option. I’m a big fan of the tiled look and knew if I got it right it would look perfect.
I’d already used the drainpipe paint to paint a few of the accessories such as the toilet roll holder and towel rail and honestly this Fortress Drainpipe & Gutter paint is a MARVEL. I undertook the thrilling job of painting our drainpipes back in 2019 because for some reason they were brown and the paint has held up so far through 3 years of all manner of weather conditions. In my logical mind it’s therefore perfect for a humid bathroom environment.
Here is my guide to painting a vinyl bathroom floor:
To start, I gave the floor a really good clean. Honestly, it was disgusting but we won’t dwell on that.
Then I started with 2 coats of Zinsser Bin Primer, followed by 3 coats of the Leyland white paint. You can use a foam roller for this and it goes on beautifully.
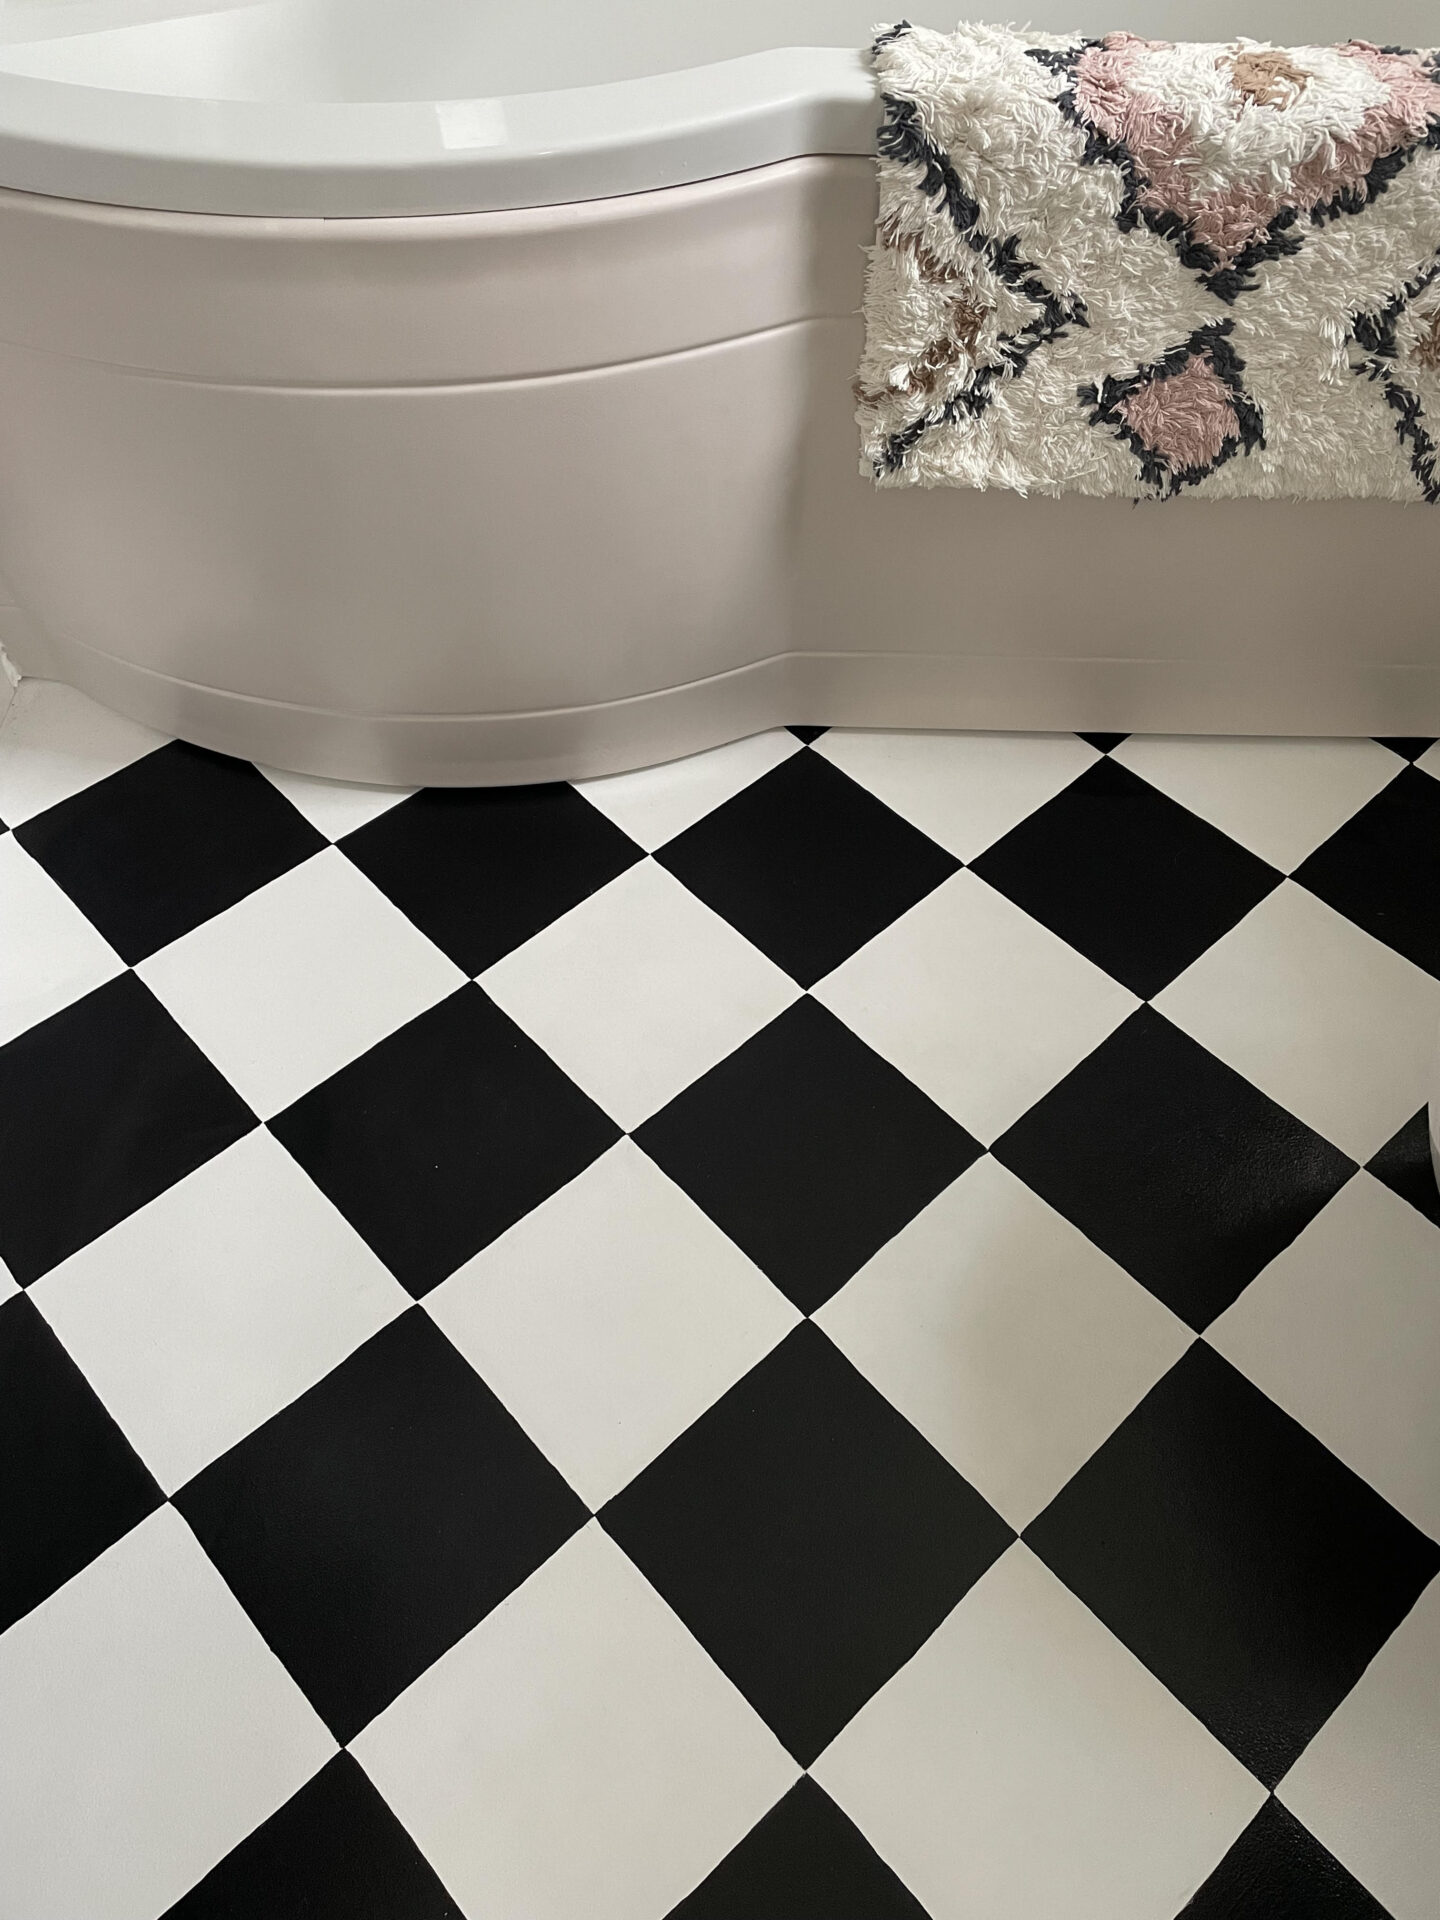
After the white, I then used the tile to outline the pattern in pencil and create the diamond look I was after, before hand-painting with two coats of the drainpipe paint. I’m a freehand painter if I can get away with it and find slow, careful painting really mindful. I’m still impressed with how good it looks despite not using any tape.
Finally, I used three coats of Polyvine Decorators Varnish over the top. Again, I’d read many suggestions about using a proper floor varnish and to be honest if this was a more heavy-duty use area I’d probably consider that. But I already had the decorators varnish left from another project so I decided to run with it.
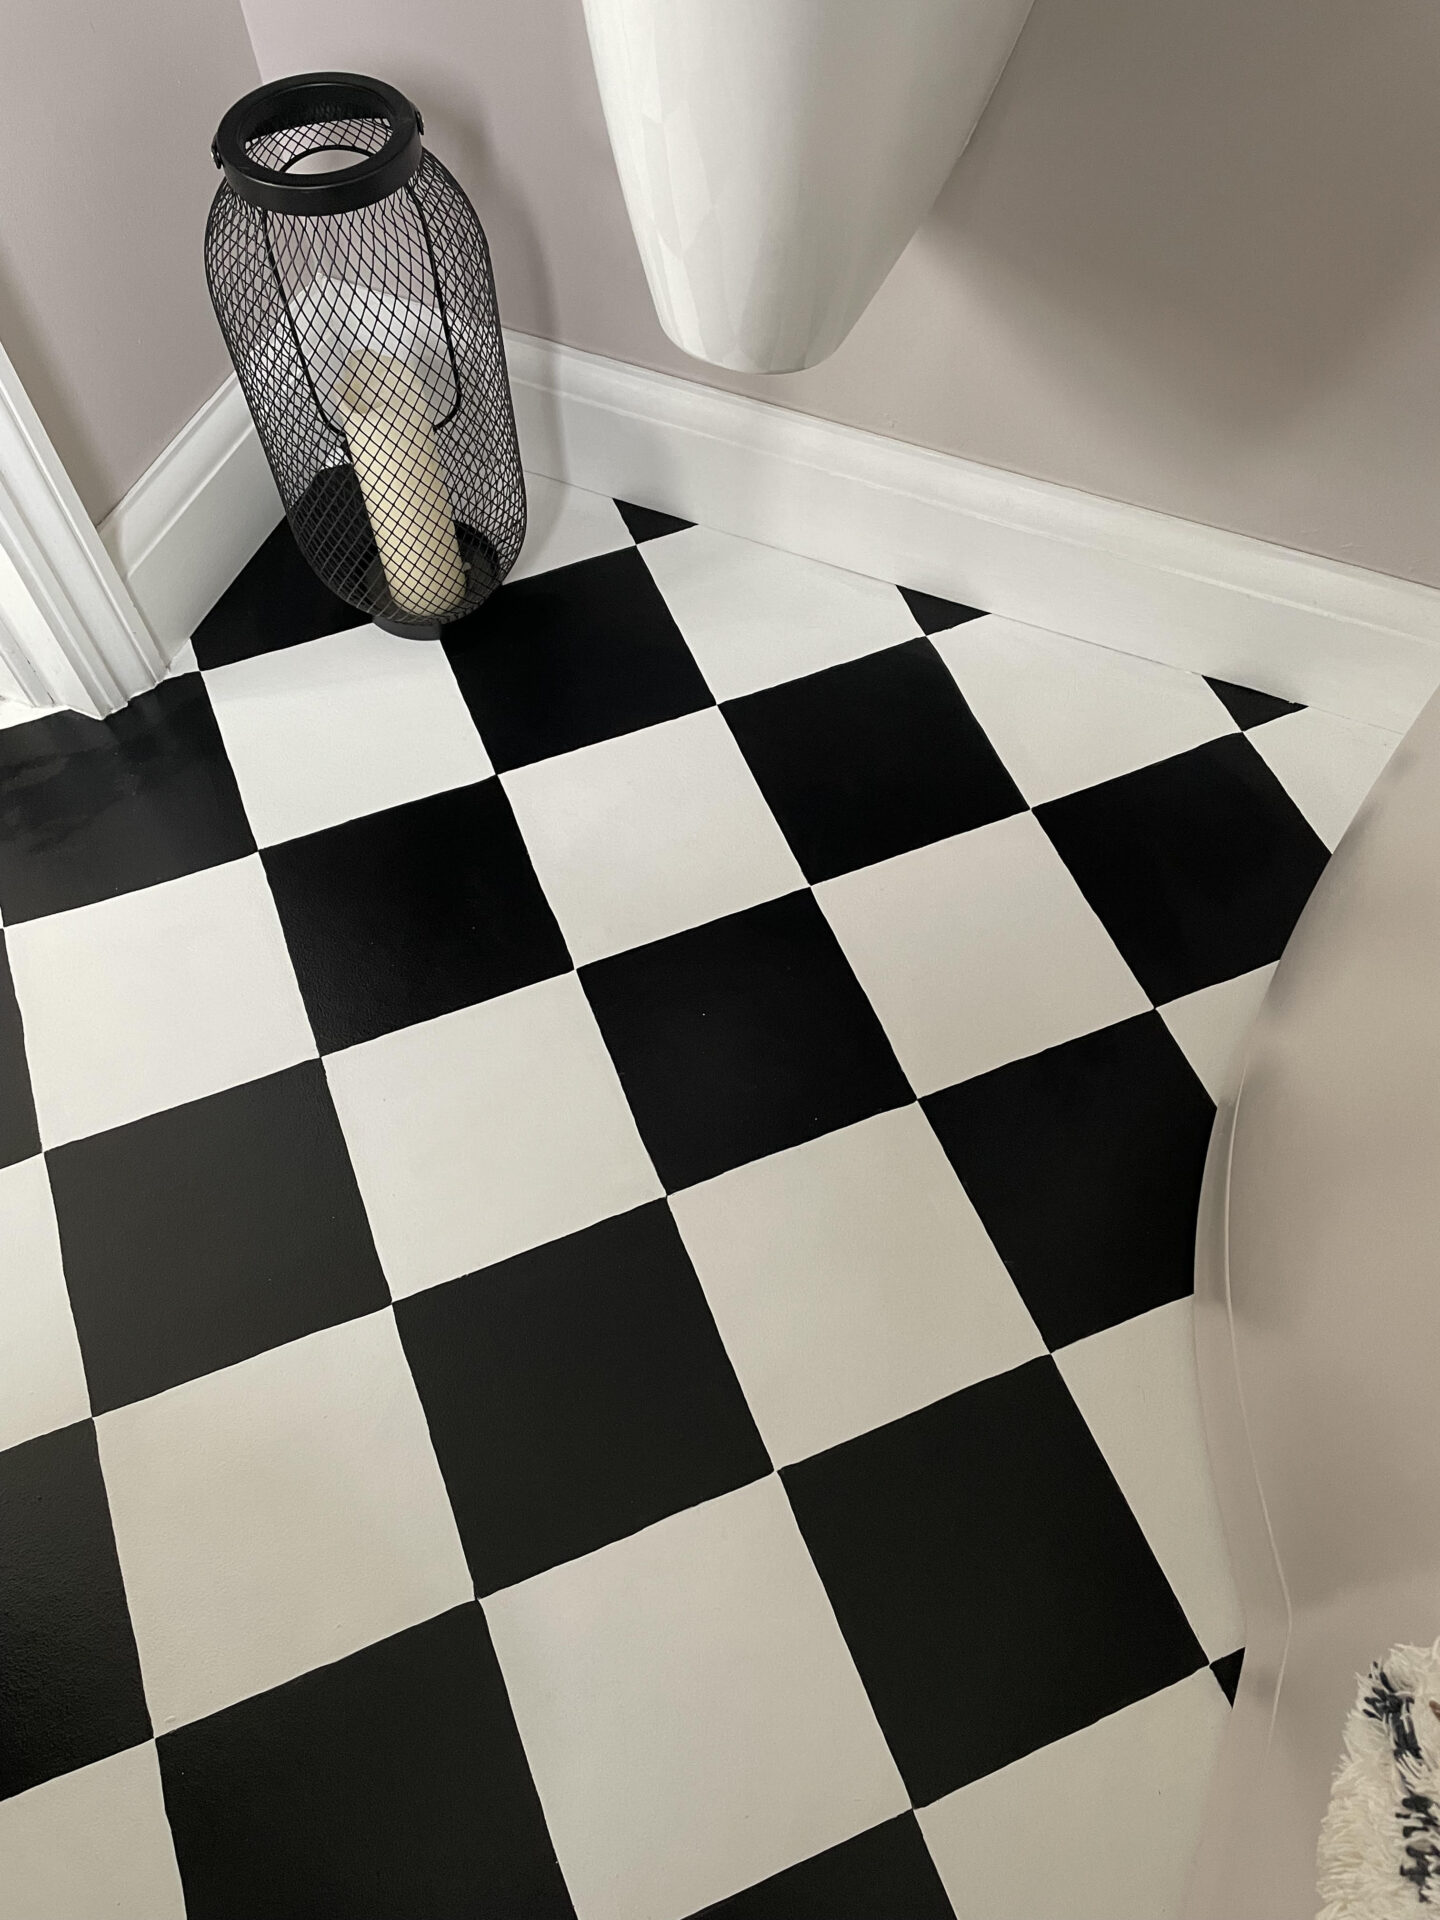
And here we are, 6 months on and daily use and it still looks so, so good. It often gets mistaken for real tiles online and has given this very grubby floor a really luxe look. In terms of cleaning, I just vacuum it with the brush attachment on the hose like I always did and then give it a quick wipe over with bathroom cleaner. I’m so pleased with how painting a vinyl bathroom floor has turned out and hopefully will keep us going until we get the en-suite renovated.
Follow me on Facebook | Instagram | Pinterest | Twitter


Amazing. I appreciate you sharing such a great blog.
Author
Thank you for taking the time to comment
Thank you for revealing. Reading your article on painting a Vinyl bathroom floor was enjoyable. I’m going to bookmark this article.
Superb! Great article the knowledge you shared is quite helpful and the images you attached are a treat to my eyes. Really impressed.
Looks great!!! With it being in the bathroom, do you recommend sealing?
Author
Hi Sara,
Thank you for your comment! Yes I’ve sealed it with a varnish