It’s been a little while since my last home-focused post on here and that’s mainly because I’ve been doing rather than writing about doing. Or at least, starting doing with loads of gusto and then not actually completely finishing anything *wails*
I’ve reached a point where chaos is quite freely reigning on the domestic front and whilst it is only me and OH to contend with, tomorrow we pick up our puppy which will no doubt take up a lot of time and both work and business forge forward relentlessly so we can’t be accused of resting on our laurels.
Fortunately for August my work have very kindly agreed to let me have three weeks working from home where I only have to go in one day a week and I’m taking the last week off completely. I’m hoping some much needed home-based time might allow me to focus and finally finish what I’ve started.
Here’s what we’ve got going on at the moment:
The En-Suite
When we moved in it quickly became apparent just how much there was to do. Paint was peeling, windowsills falling off, damp rampaging, slugs appearing from all bits of the floor which hadn’t been finished properly. There were just two saving graces – the light in every room, and the absolutely unbelievable shower in the en-suite.
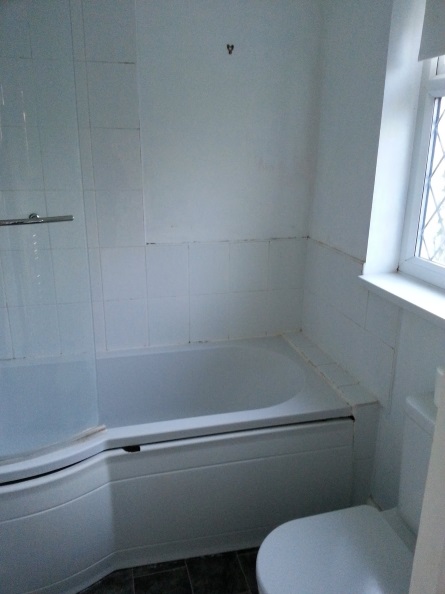
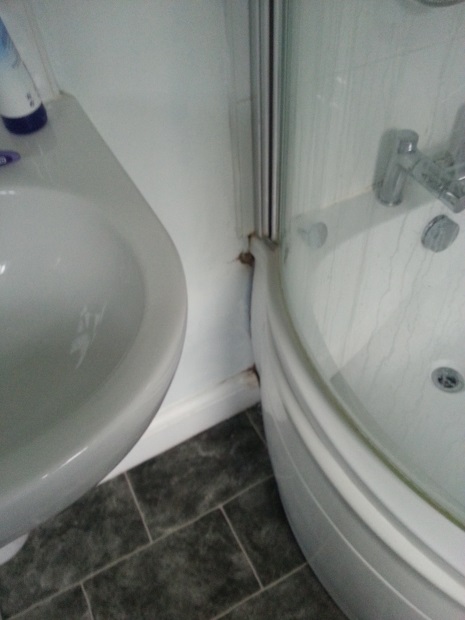
Despite the fact there was mould all over the tiles and ceiling, the bath panel is falling off, the floor looks like something you’d find in a funeral parlour and the toilet ran for hours when you flushed it, the shower is sheer joy. It’s instantly hot and instantly powerful, despite not being a power shower to look at.
Because of that, and because we know we want to turn it into a wet room at some point, we weren’t quite sure whether to bother trying to update it. Until we realised if anyone came to stay it was pretty disgusting really. So out came the paint and I got to work. I painted the ceiling white using a Dulux Bathroom paint, and then used Dulux ‘misty mirror’ on the walls, again a paint suitable for bathrooms.
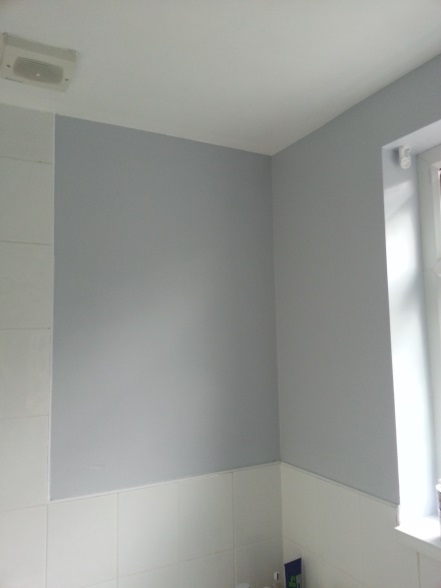
It made a world of difference – the previous owners had just put a hastily one-coat of white over the blue which looked awful. We changed the cupboard on the wall and OH put up a toilet roll holder and hand-towel hook, as well as fixing the mirror which had a broken light switch. And then we stopped. Or rather, went on hiatus.
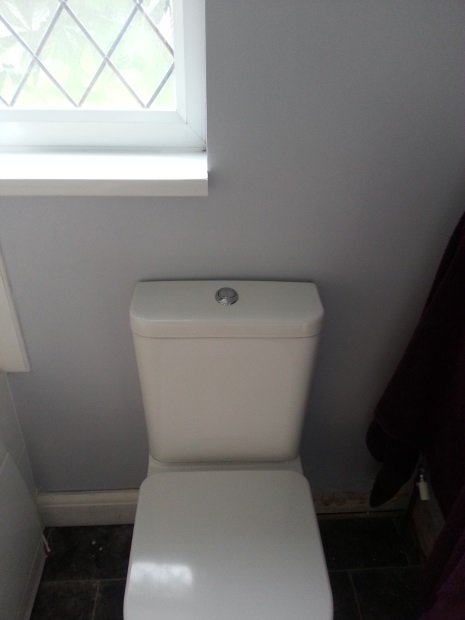
The next step for the en-suite is new flooring which we’ve chosen but isn’t being fitted until later in August. Once that’s done we can fit a new bath panel and replace the skirting, then I’ll finish with painting the woodwork. Watch this space!
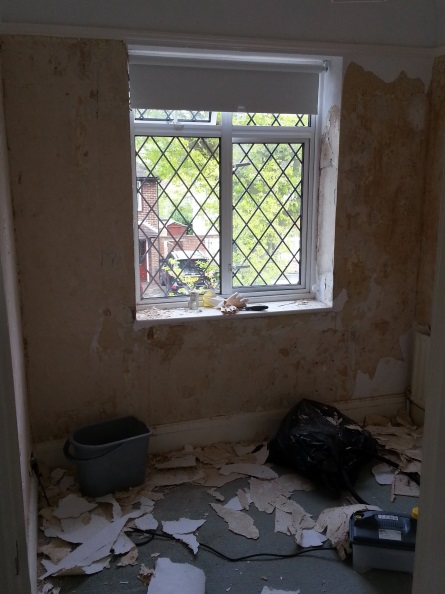
The Office
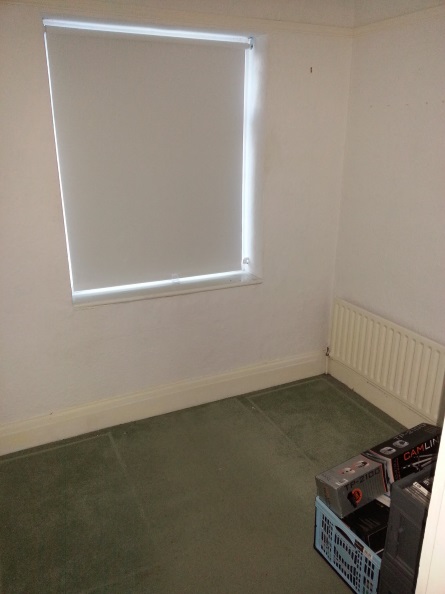
Way back when, we stripped the wallpaper off the smallest bedroom which we’ve decided to turn into an office. There it sat, for weeks, with walls that looked like they were about to collapse.
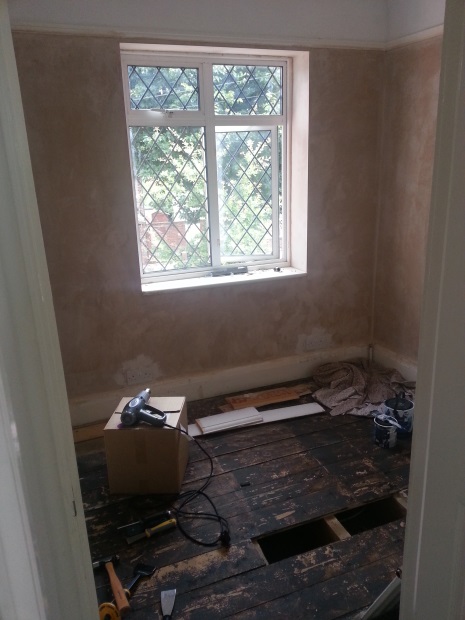
Then we got the walls re-plastered
Then the electrician came to put in new power sockets. Which we should have got done before the replastering…
Then we pulled up the carpet. And the hideous vinyl tiles underneath it. And the broken floorboards. And then we stopped. Or rather, went on hiatus.

The same company who fit our en-suite flooring are coming to put a new floor in which will kick start us into action. Although I’ve now realised that as we need to get the skirting boards off for the floor I may as well paint the room and ceiling and then the floor can go in afterwards. In two minds about this one. We have a colour scheme figured out, I even bought new desks and a new lampshade. But for right now, it’s our decorating dumping ground.
The Staircase Renovation
Spurred on by reading lots of lovely home owner blogs, I decided to start renovating our staircase. We’re going for a 1930’s look hallway as that’s the period of the house and so I’m replacing all the hideous gloss paint with matt white on the spindles and a stained wood rail and newel caps.
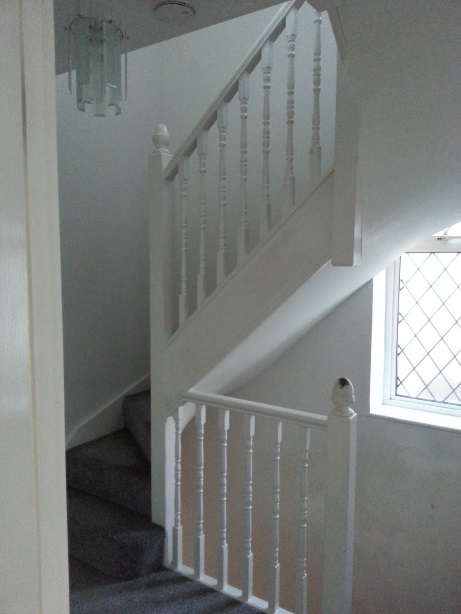
Stripping gloss paint is a bitch. It’s sticky and the spindles are fiddly. Unfortunately they’re so fixed into the staircase that we cannot just remove them to get the dipped and stripped and they were in too poor a condition to just paint over.
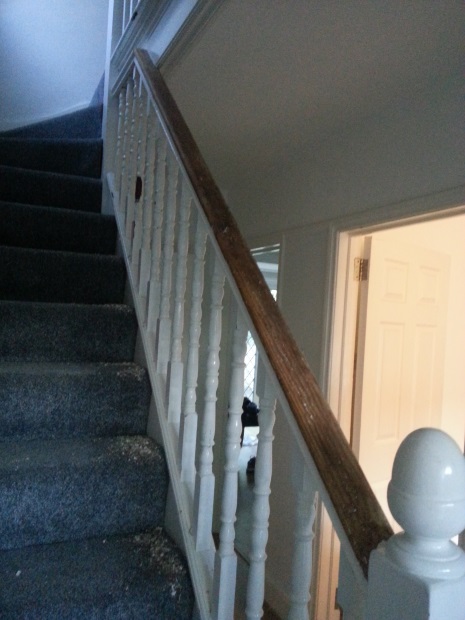
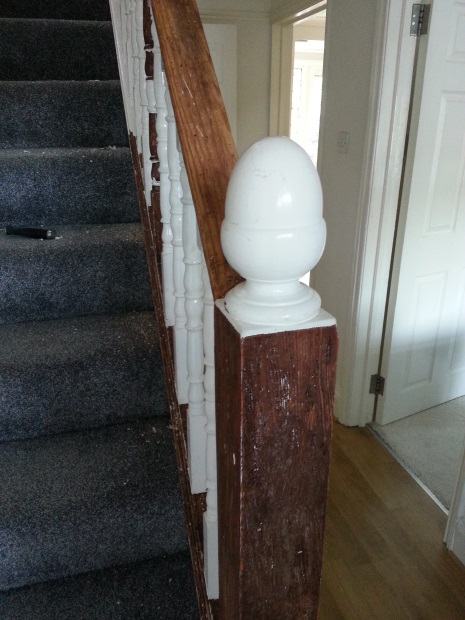
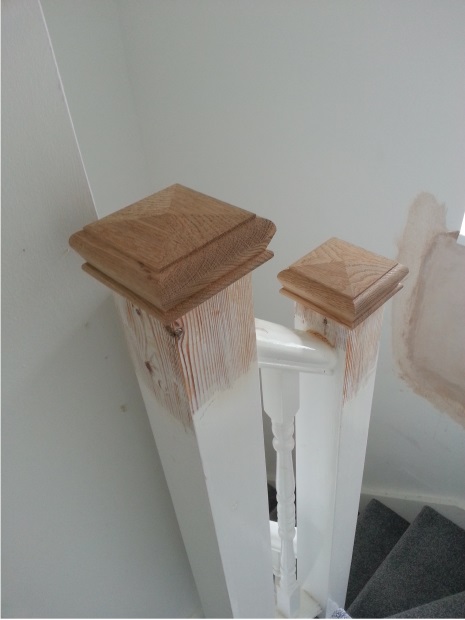
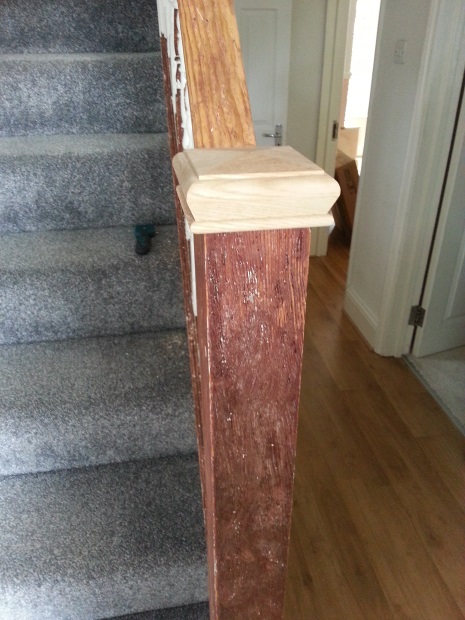
This is a job that will take a long time. You cannot strip for any more than a couple of hours without totally losing your mind, so it’s a case of little and often. I’m encouraged by the fact it will look amazing when it’s done and just getting rid of the hideous massive acorns and replacing them with more traditional style pyramid newel caps has already made such a difference. This one will go on and on and on…
The Dining Room
We had a really big issue with rising damp when we bought the house so decided to get it damp proofed – we plan to be here for as long as possible and damp-proofing is incredibly messy, invasive work. Thankfully it was completed before we moved in basically means that half of all the external walls on the ground floor looked (and still do!) like fresh plaster. Half the kitchen (since re-painted), half the living room (still a mess!), half the hallway (still a mess!) and half the dining room.
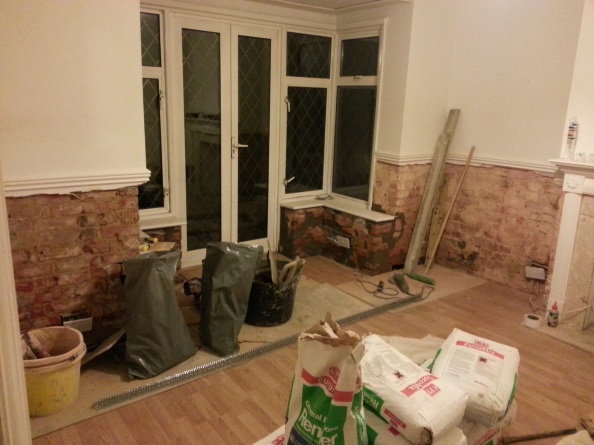
Again, we plan big renovations ultimately for the dining room by building a full one level extension across the back of the house, so knew whatever we did right now was a temporary decoration only.

I had no plans to paint it until about this time last week when I thought that as it will be Maddie’s room whilst we’re puppy training, it would be nice to give it a fresh coat of paint. This is what you call setting yourself up to fail. I started painting at about 3pm on Saturday afternoon. I had to take a break on Sunday to go to market, but have been painting every night this week and have to concede defeat.
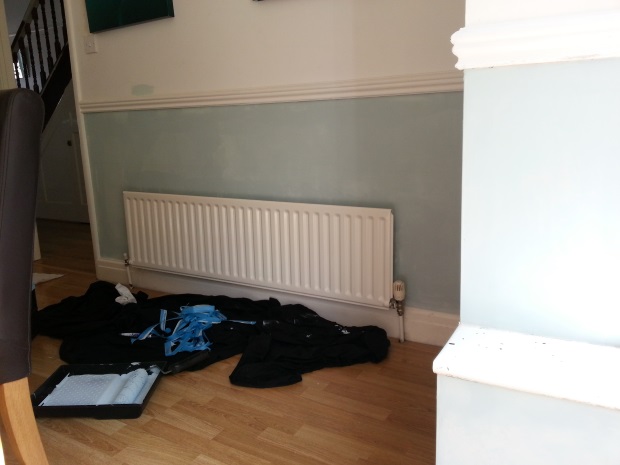
The lower half of the room underneath the dado rail is all now a gorgeous green colour courtesy of Homebase Sanctuary range – I used ‘Escape’. However, it needs touching up in places and the woodwork only got one coat. I still need to paint the entire top half of the room but it already looks miles better than it did.
I really hope I can make more progress over the next month. My plan is to set a little task every day to see if I can focus on finishing what I start!
Click here to visit our webshop, DaisychainBaby.co.uk

