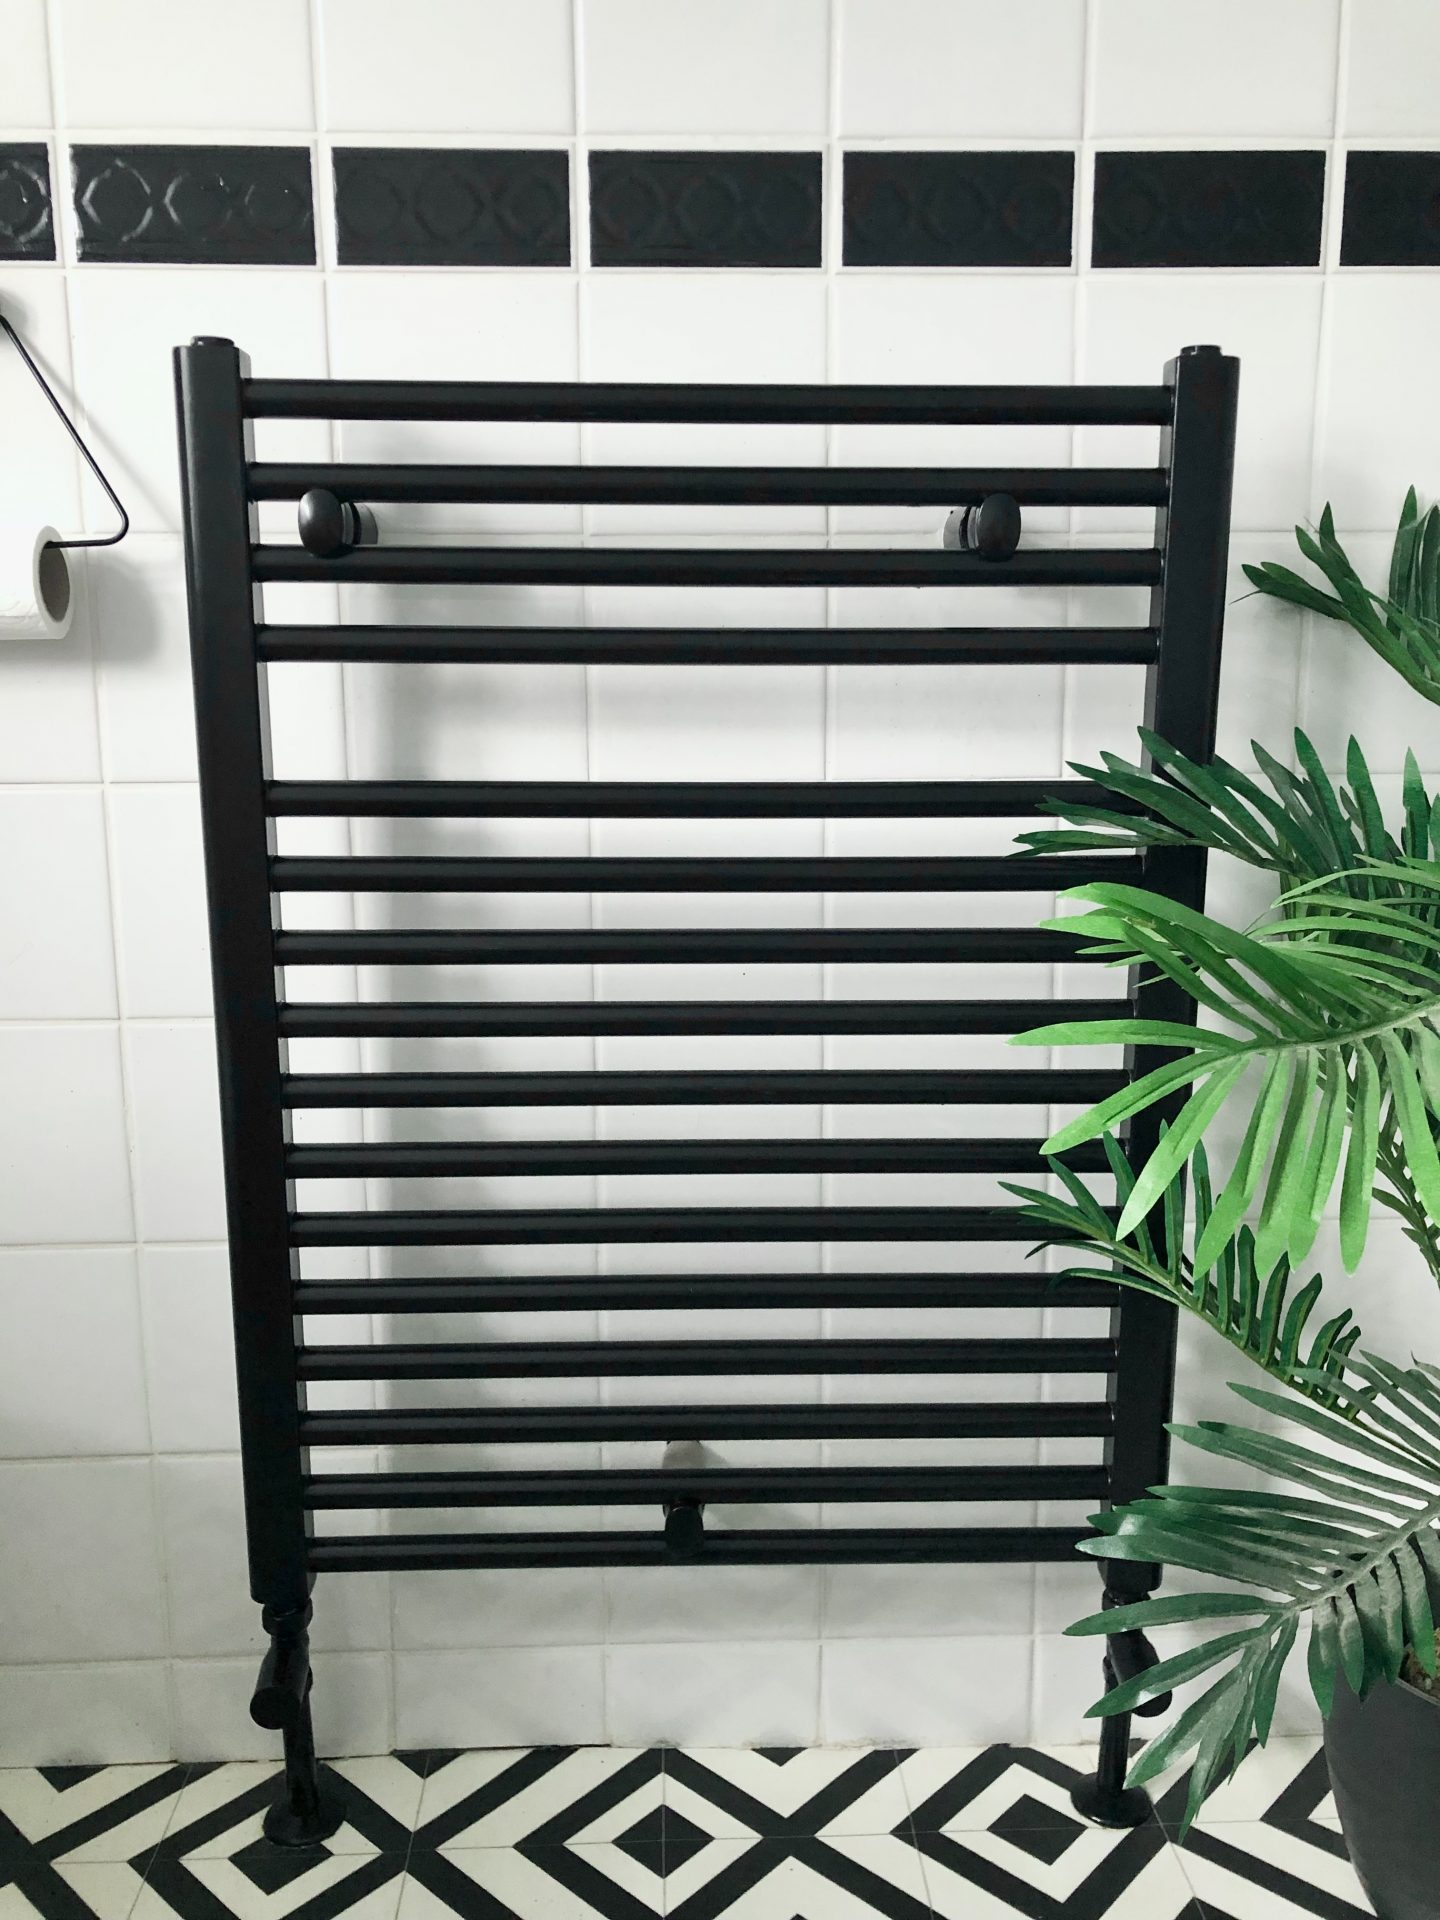
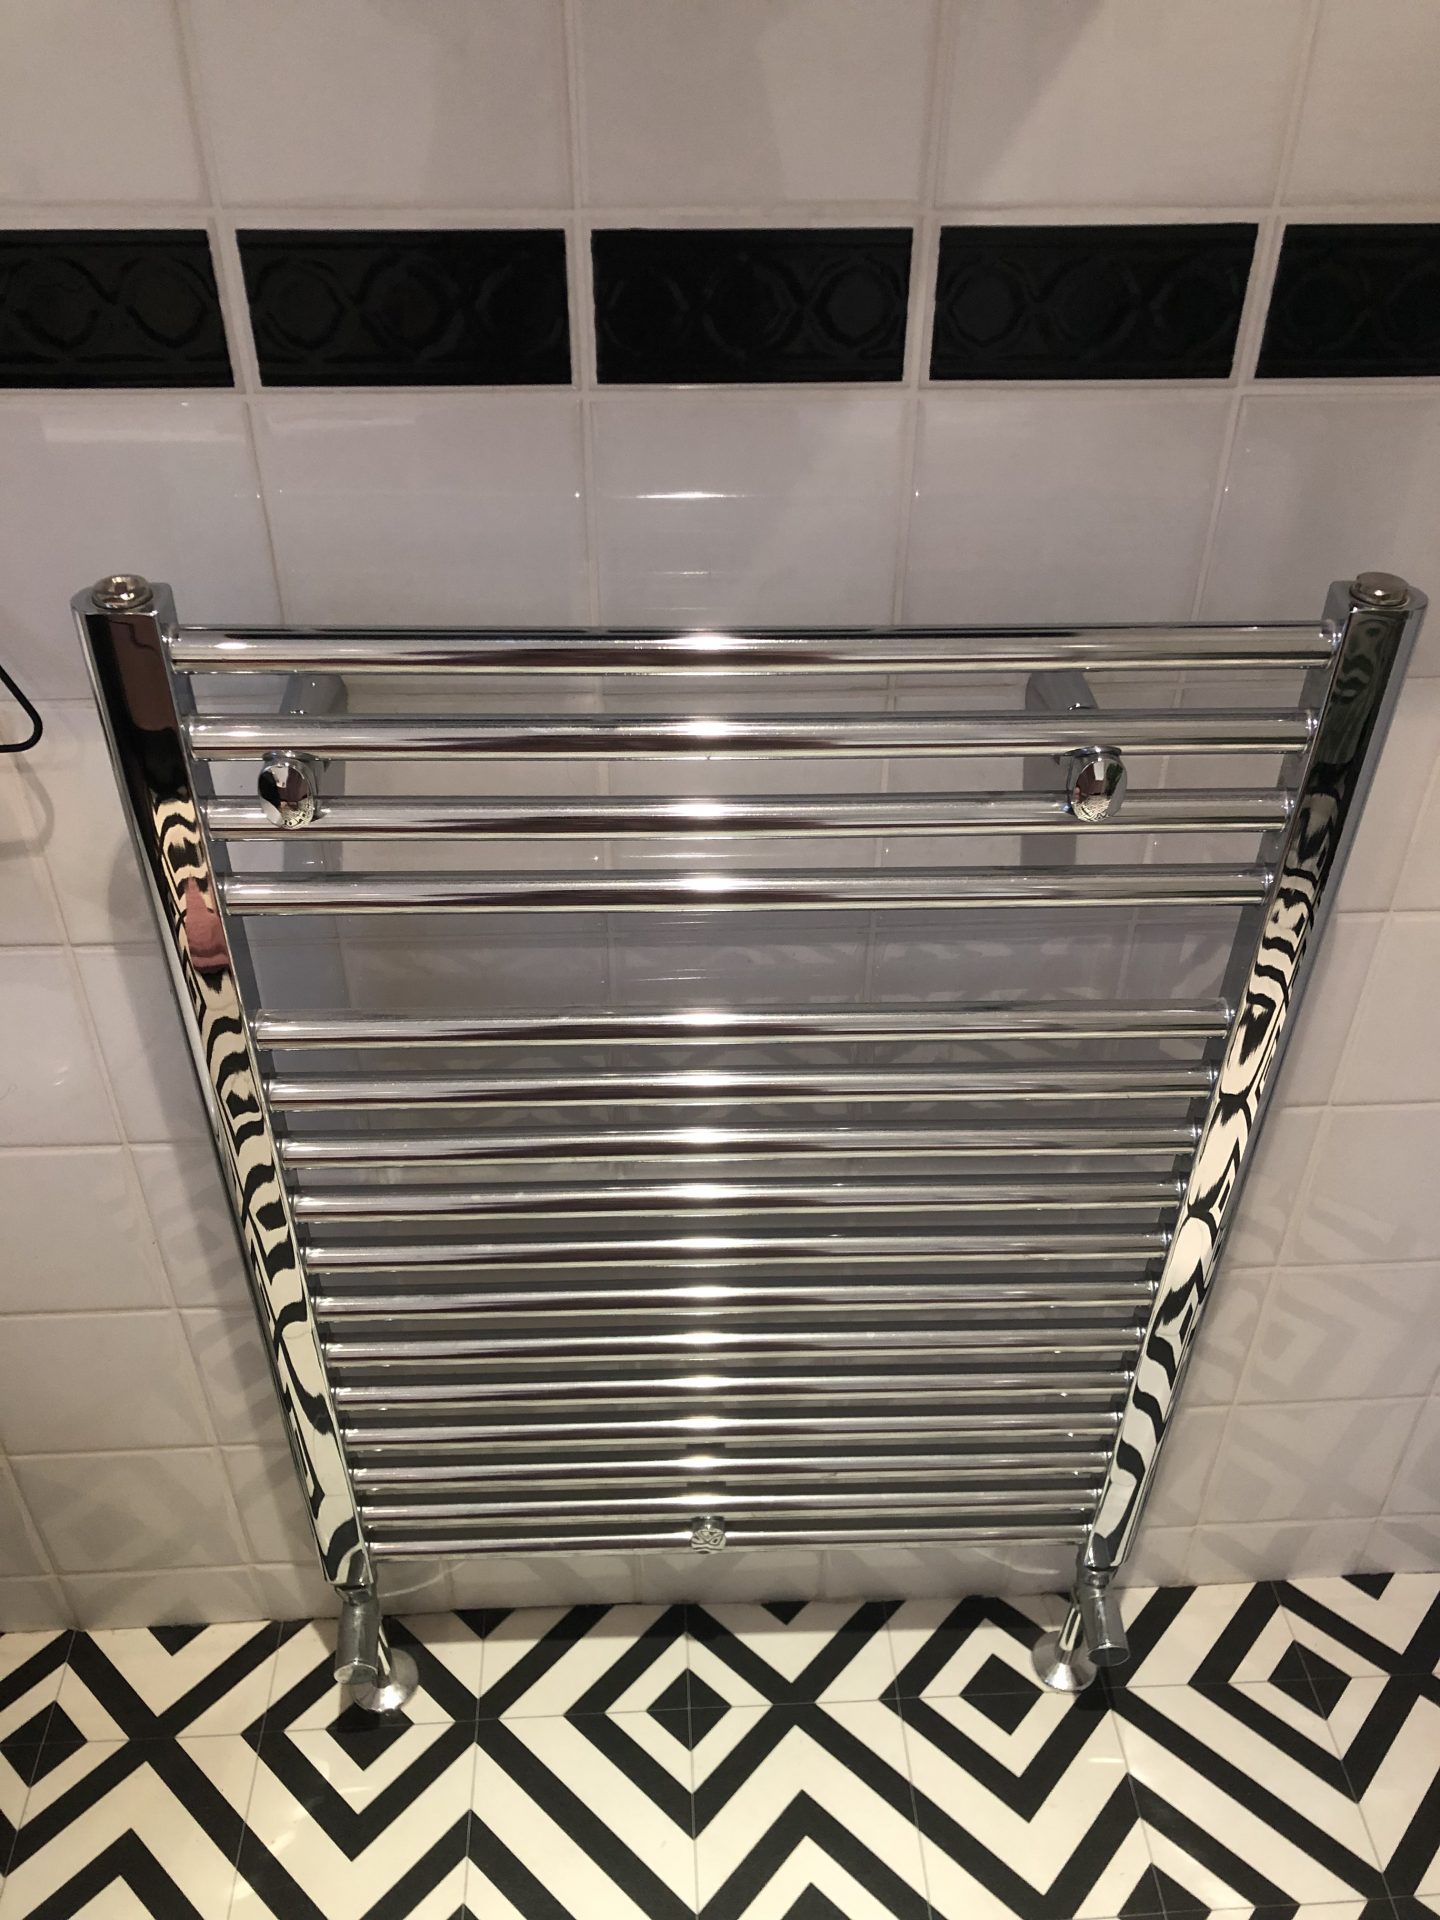
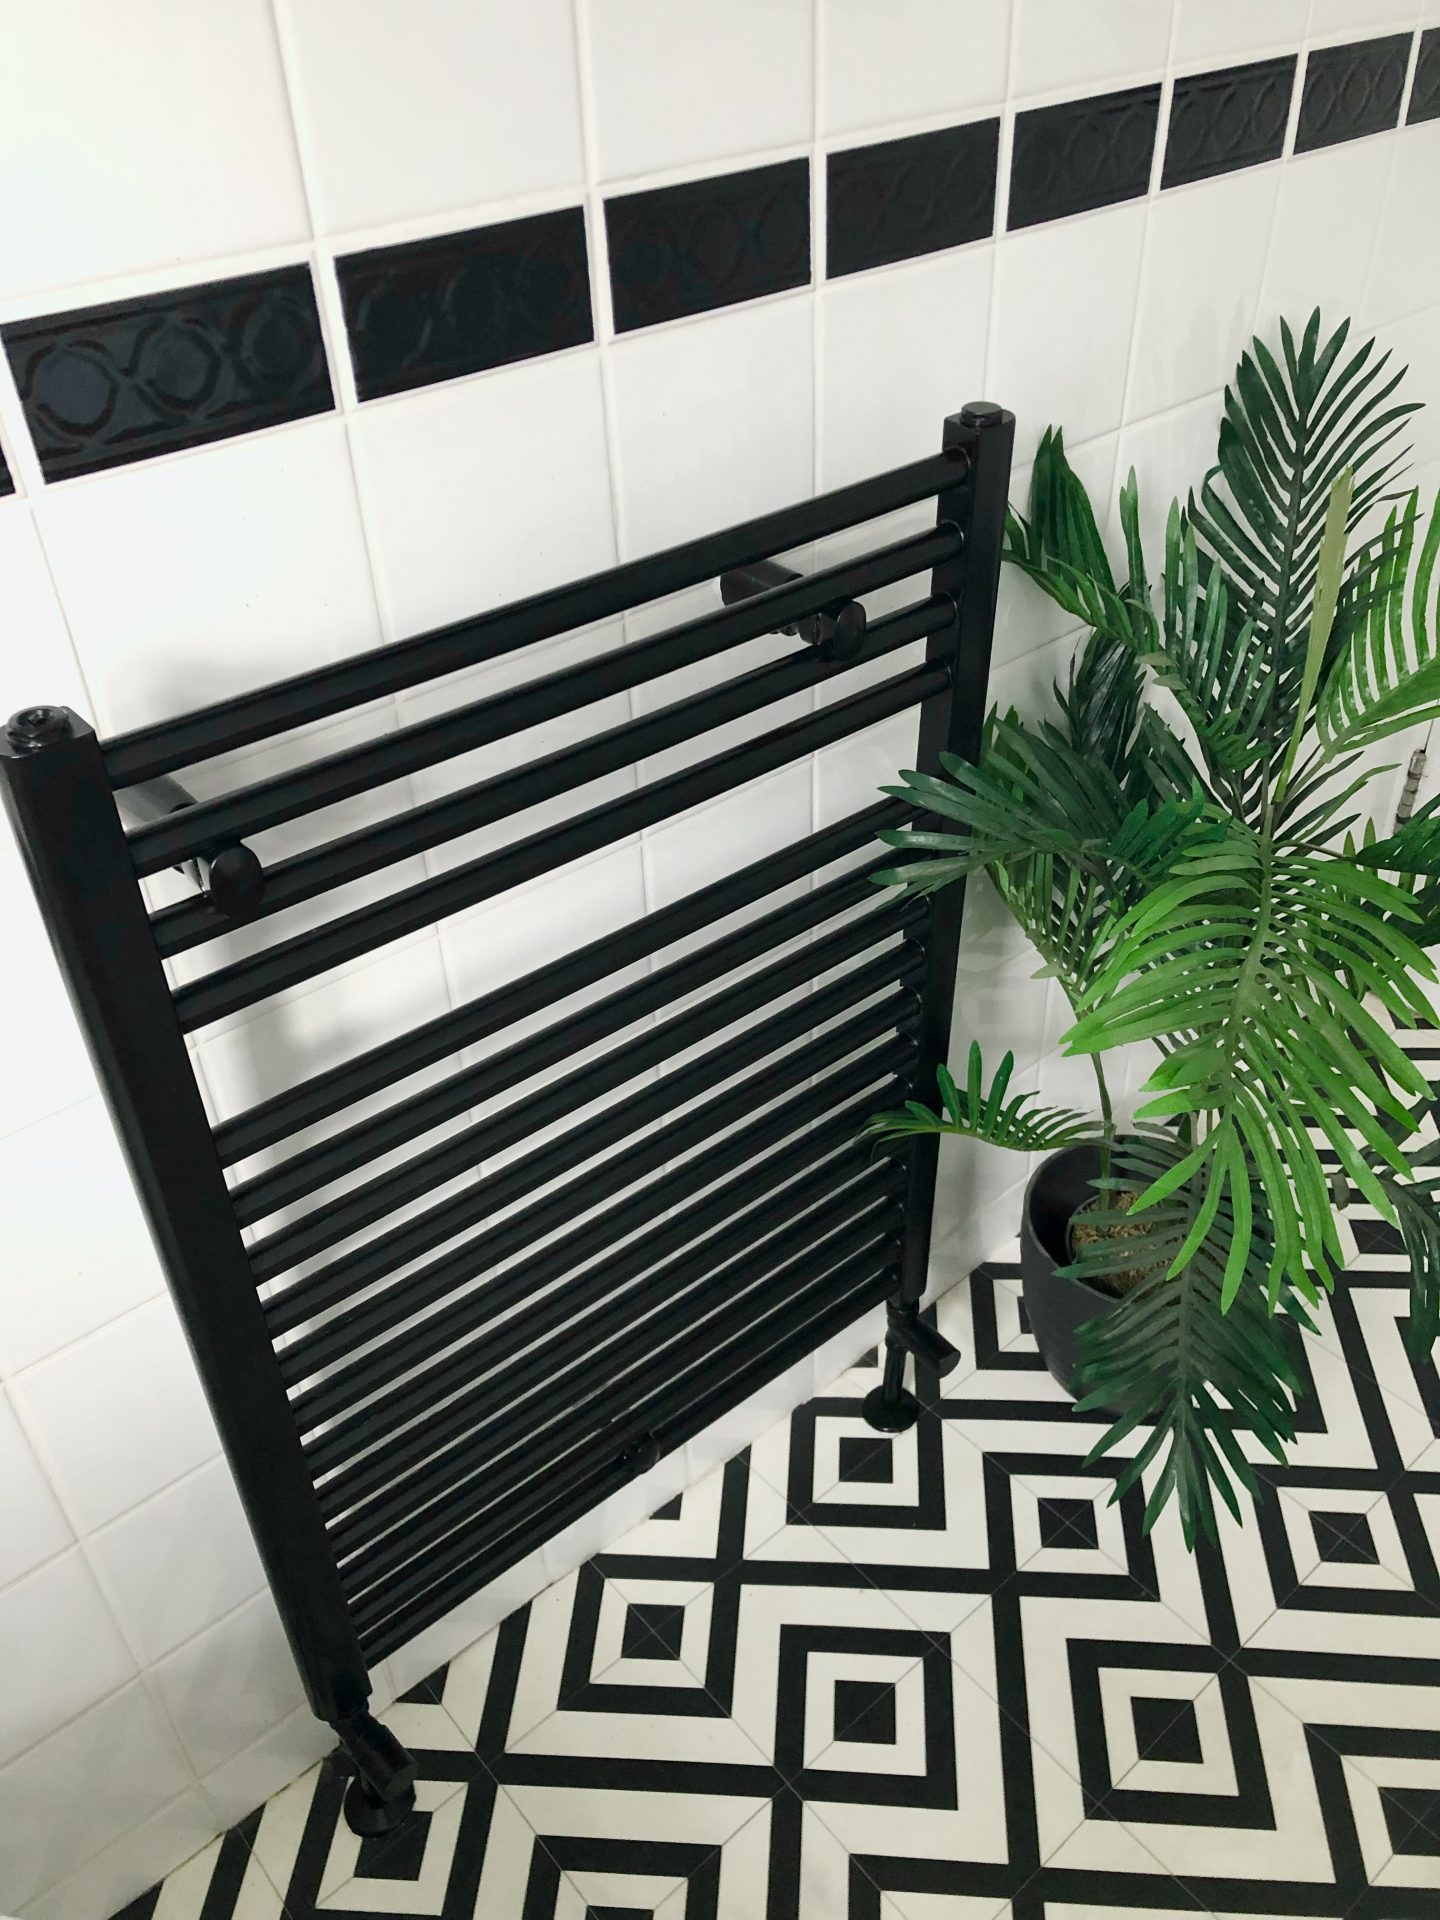
I’ve got to confess, I love a quick and easy DIY project and in terms of budget, ease and results, it doesn’t get much better than painting a towel rail. We had two chrome heated towel rails, one in each bathroom. the first one as part of my en-suite makeover, I loved it so much I decided to do the main bathroom one as well.
There are a few different approaches for painting a towel rail – of course the easiest one would be to take it off the wall and spray. Given that we don’t have the plumbing ability to do that, and the wall would likely cave in knowing this house if we even tried, for me painting a towel rail is best done in situ.
It IS possible to spray them but I’ll be completely honest – having bought some of the most insta-famous matt black spray paint, I tried to do a smaller item in the en-suite and it was a disaster. The spray from the paint went literally everywhere and it wasn’t a great finish at all, so I’ll not be using that again, or recommending it. It’s brushes all the way for me!
The paint I’ve chosen to use instead is the Fortress Black Satin Drainpipe and Gutter paint – I know, I know, a random choice. Stick with me though. Back in spring 2019, I repainted our gutters with this paint, and in just a few months, that will have been 3 years ago. They look immaculate as the day I painted them despite all the elements thrown at them by different weather conditions so I’m thinking this could be a GREAT decision.
I decided there was nothing to lose with this project since at some point in the future both our main bathroom and en-suite will undergo full renovations. Hopefully what I’ve done and this guide will be good enough to last for around 2-3 years until we get around to those particular projects.
Without further ado, here is my guide on painting a towel rail – I hope you think it’s easy enough to give it a go!
Materials:
-A good cleaner like sugar soap or Elbow Grease
-Johnstone’s Any Surface Primer (I use the white one)
-A small around one inch paint brush
-As I’m painting mine black, I’ve used the Fortress Black Satin Drainpipe and Gutter Paint
-Optional: sandpaper, if your towel rail has any loose flaky coatings which will need to be sanded off
Method:
Step 1:
Start by cleaning the towel rail thoroughly, in between, all around including the fixtures and fittings. Remember, bathrooms get steamy and dusty very easily so may sure any dirt is gone, gone gone.
Step 2:
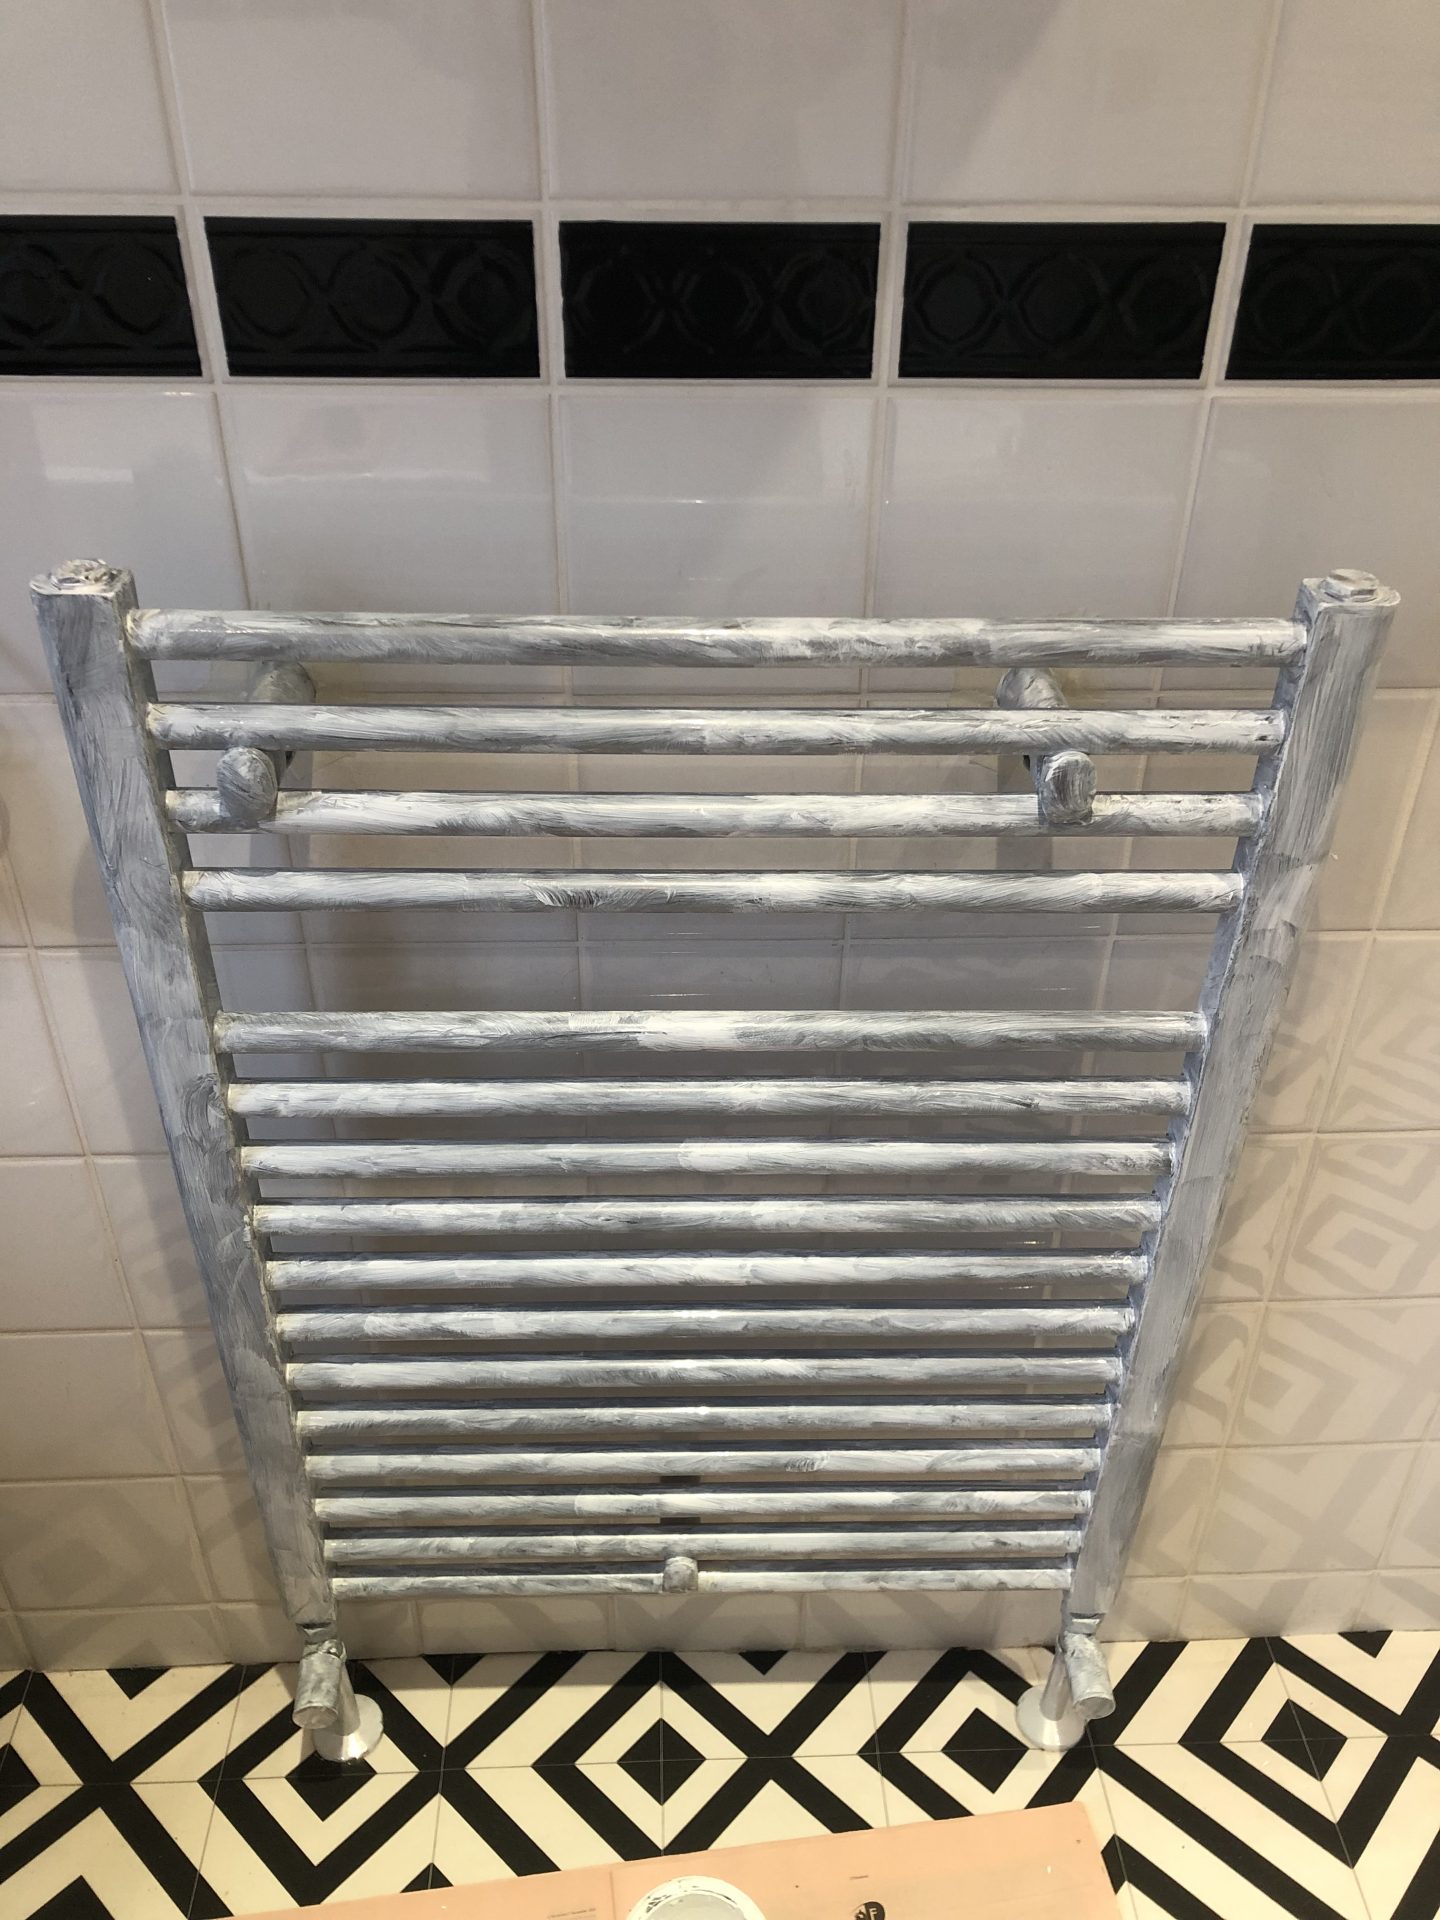
Once the towel rail is clean and dry, you can use your small brush to add one coat of the Johnstone’s Any Surface Primer. What this does is provide a great base for your paint to then stick to whereas if you try to add the paint directly to the towel rail, chances are it will smear all over the place.
Step 3:
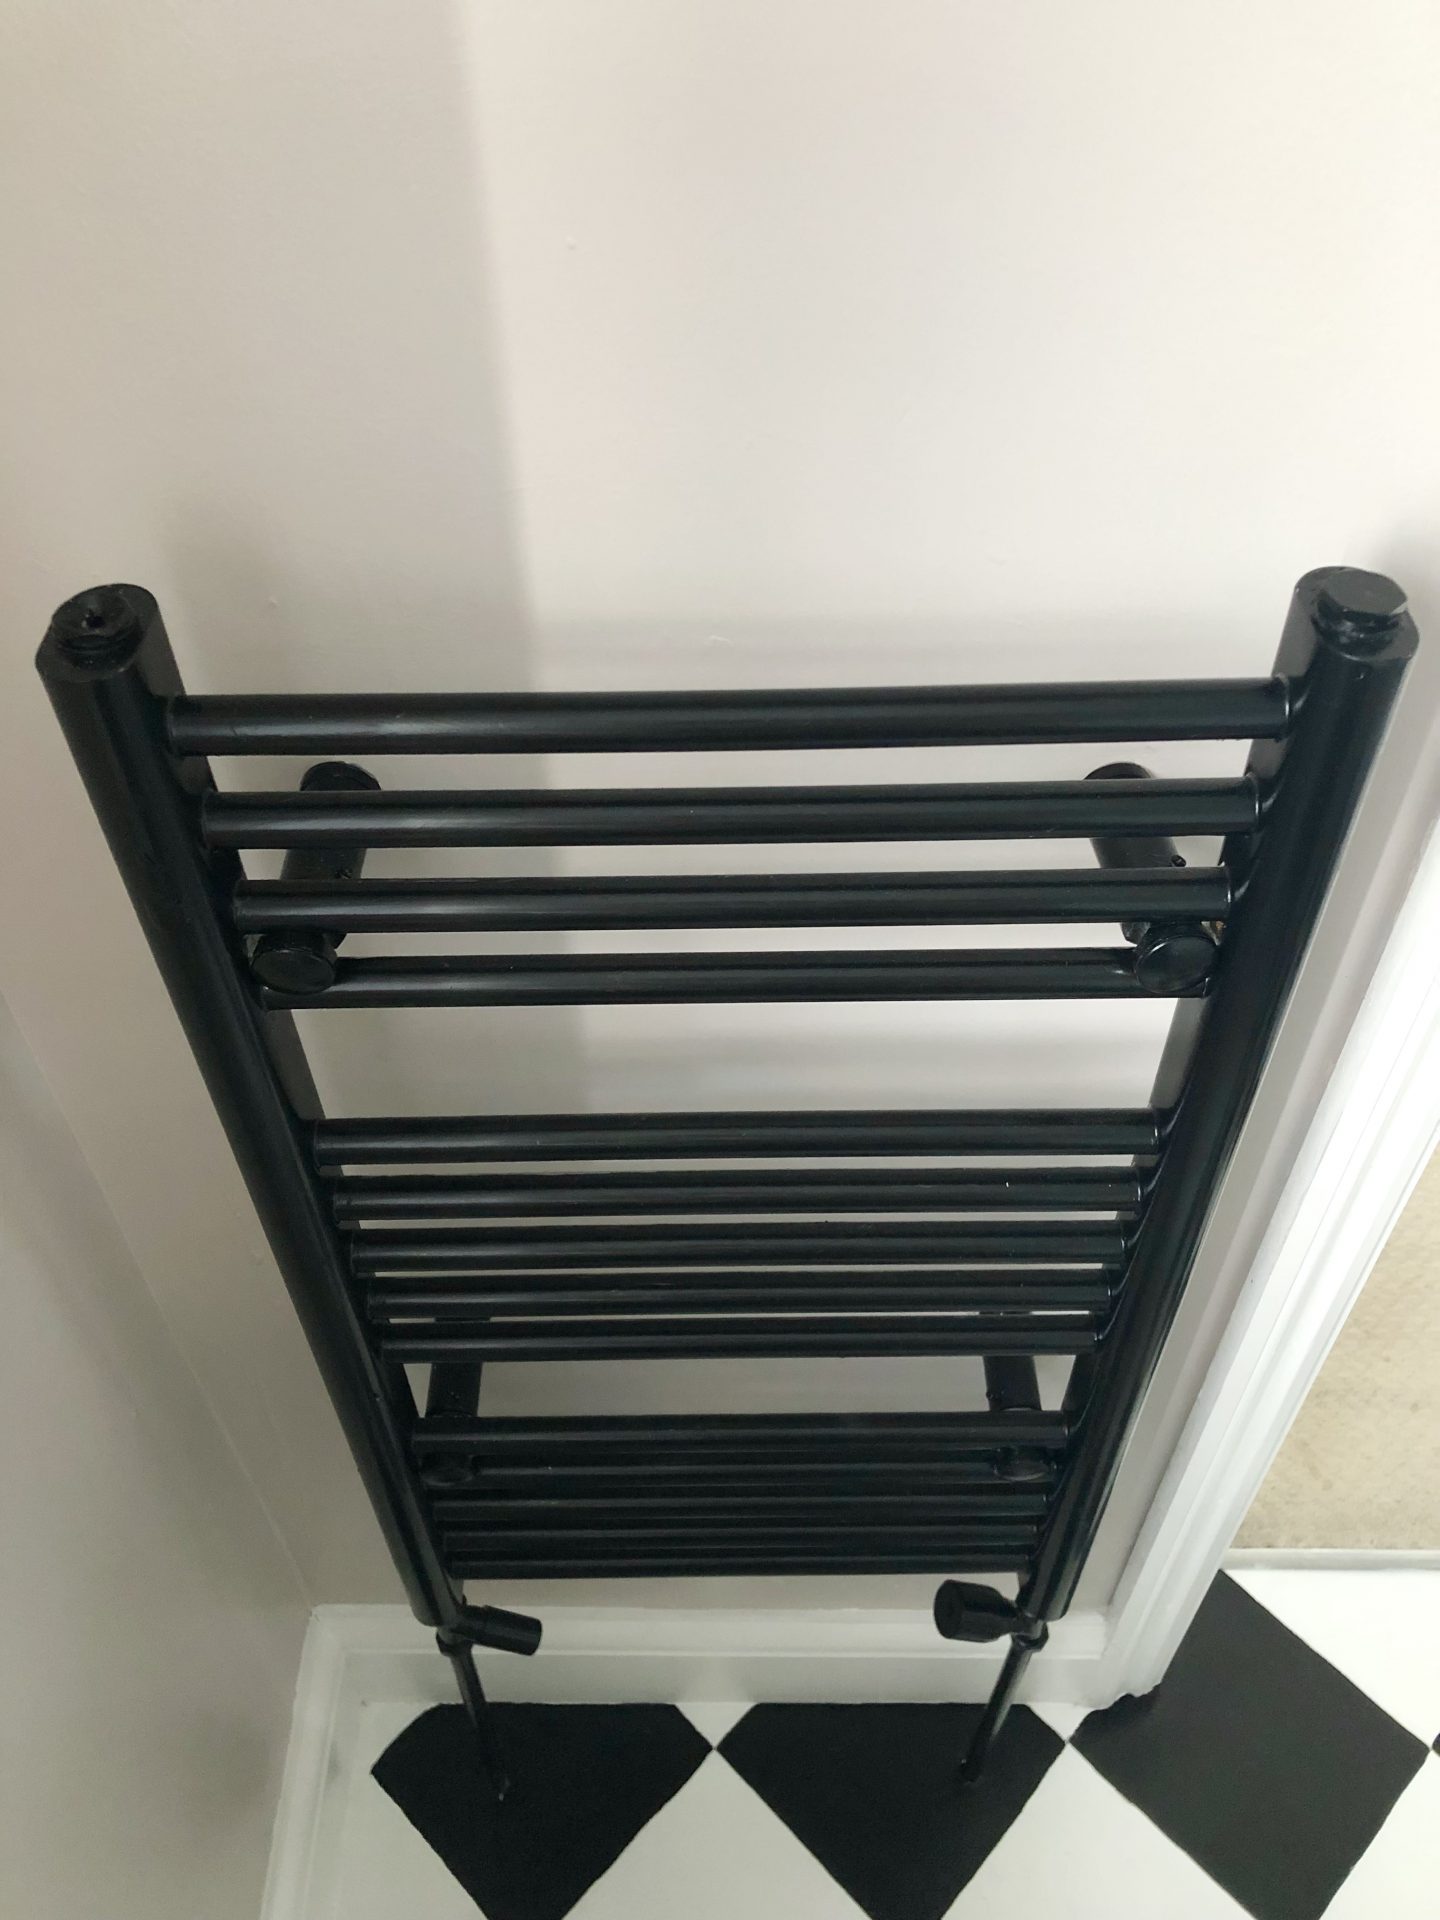
The primer dries very quickly, so much so that by the time you’ve finished a coat, you can start straight on with the main paint. Don’t worry about getting to the back too much – no-one is ever going to see it, especially if like us most of the time your towel rail is covered b a big towel!
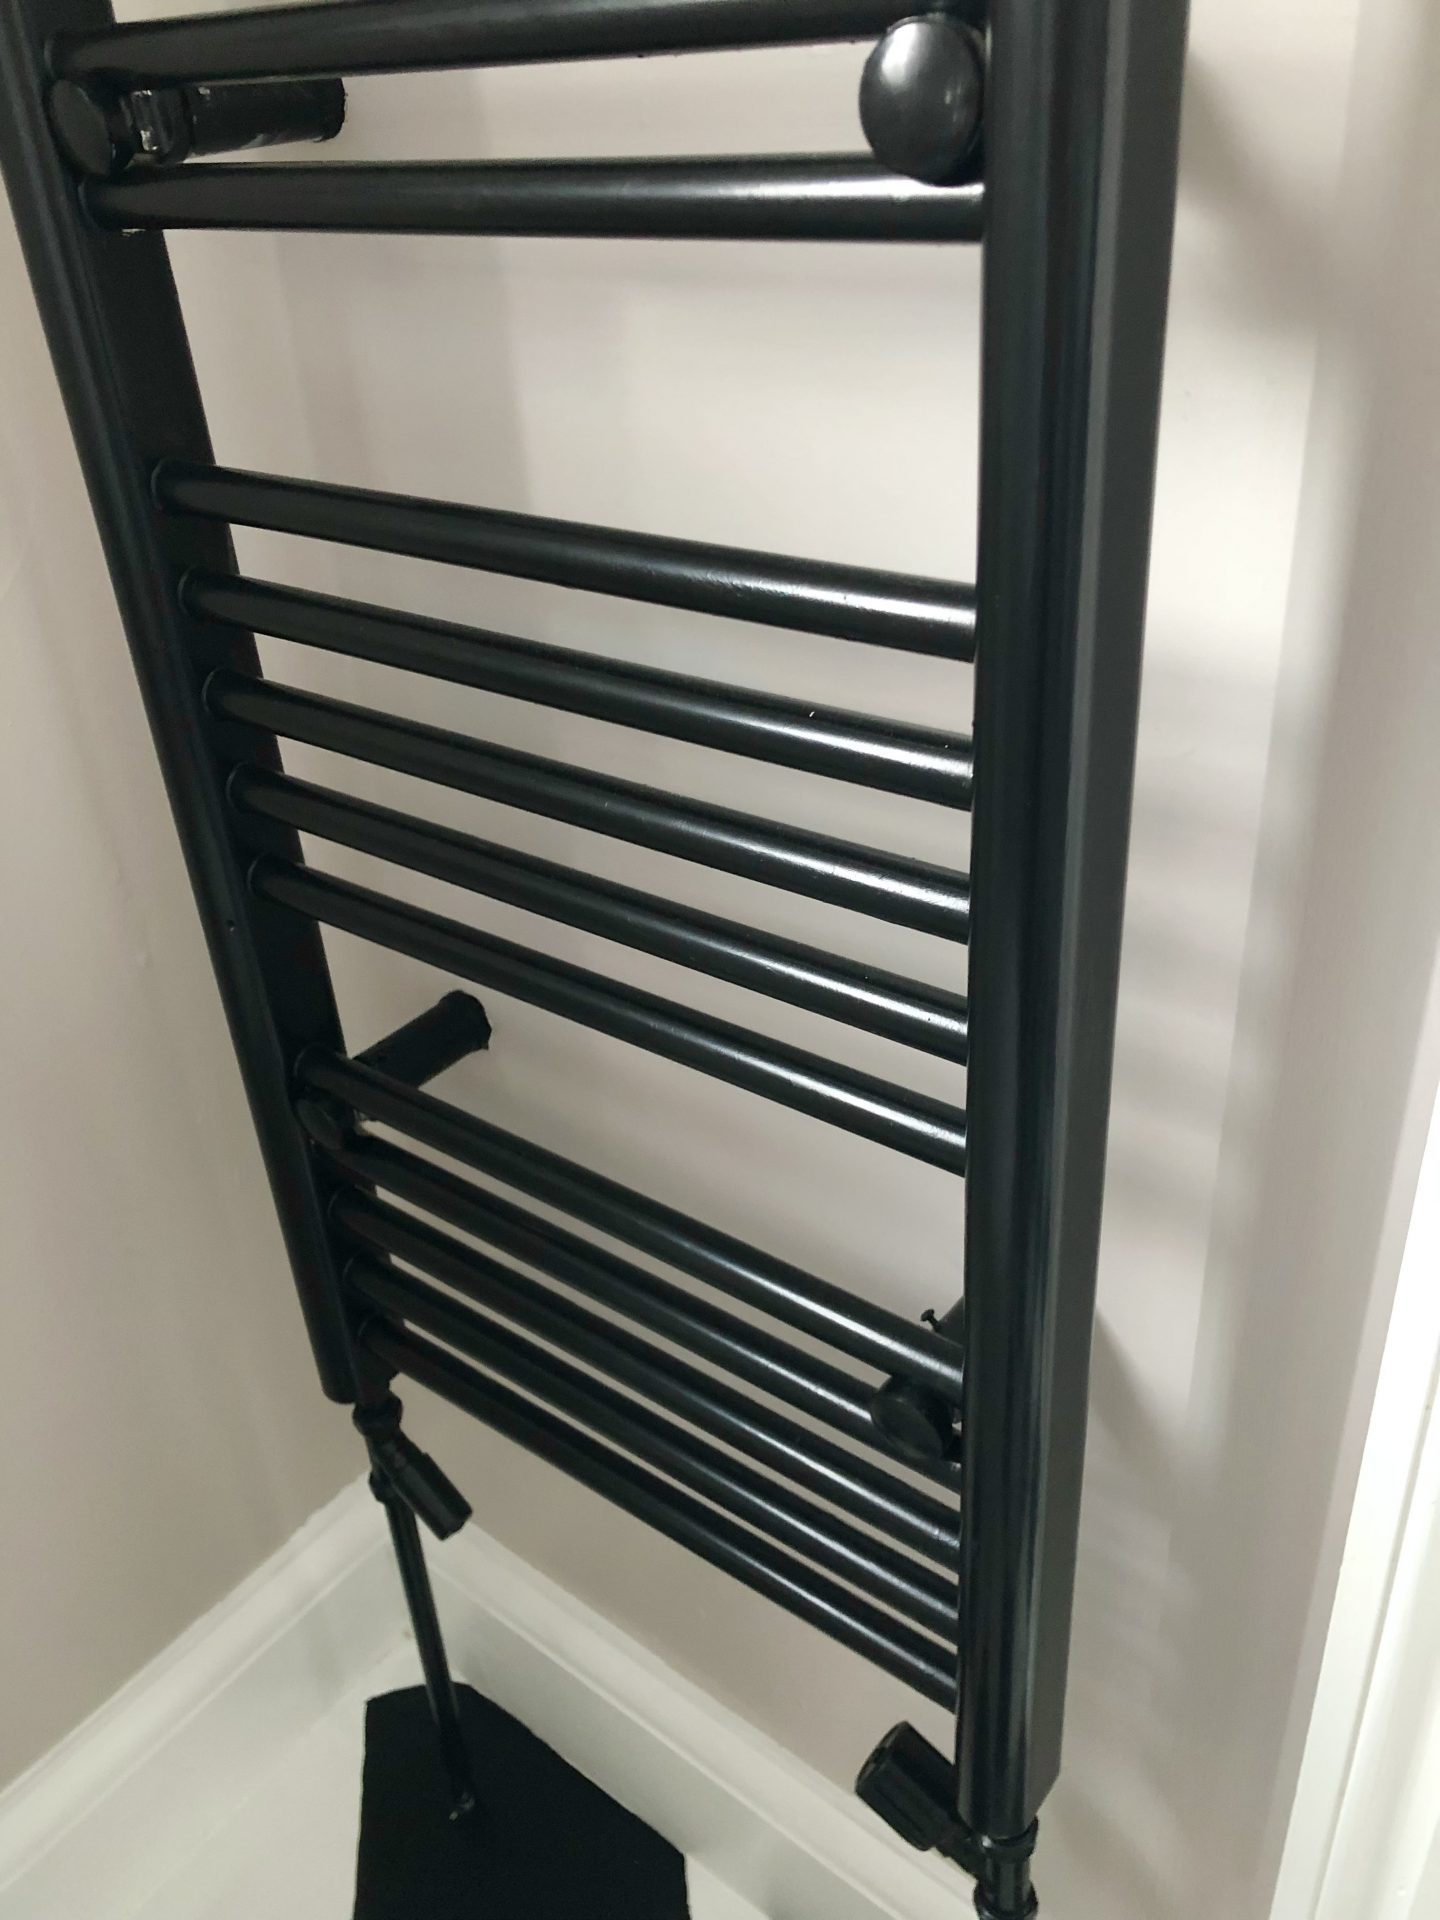
Tips at this point are trying not to overload the paintbrush, and try and paint all in one direction rather than drag the brush back and forth. This will help keep any evidence of brush strokes to a minimum, if at all
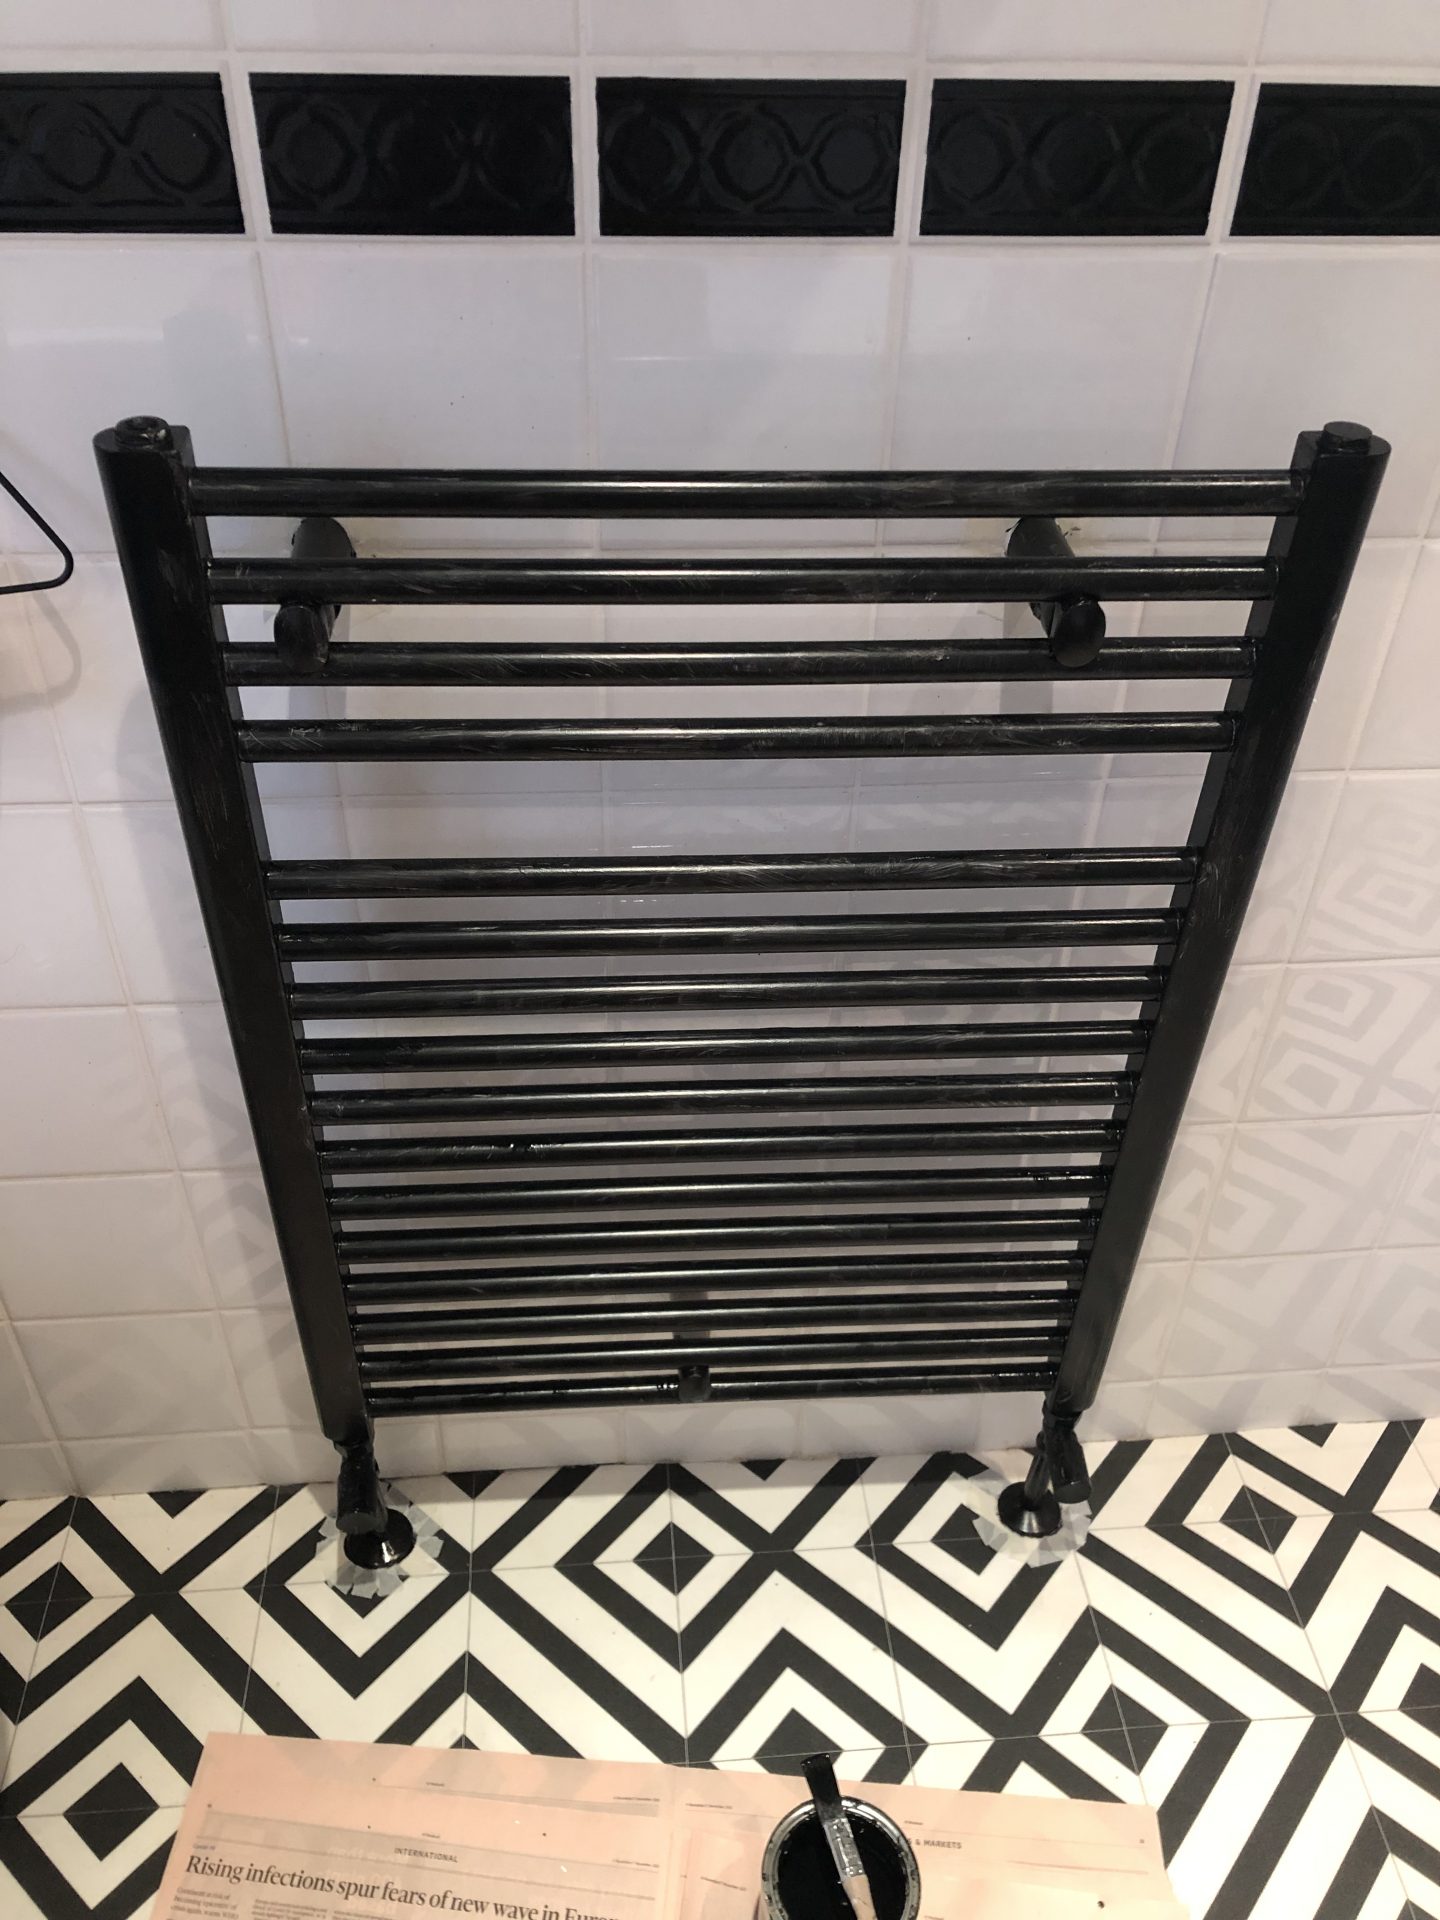
Step 4:
You will definitely need a second coat, and in terms of a third, that’s up to you – I did more a spot touch-up for my third coat rather than an overall one. If possible, leave your heating off for a couple of days just to give the paint time to cure but other than that, all done!
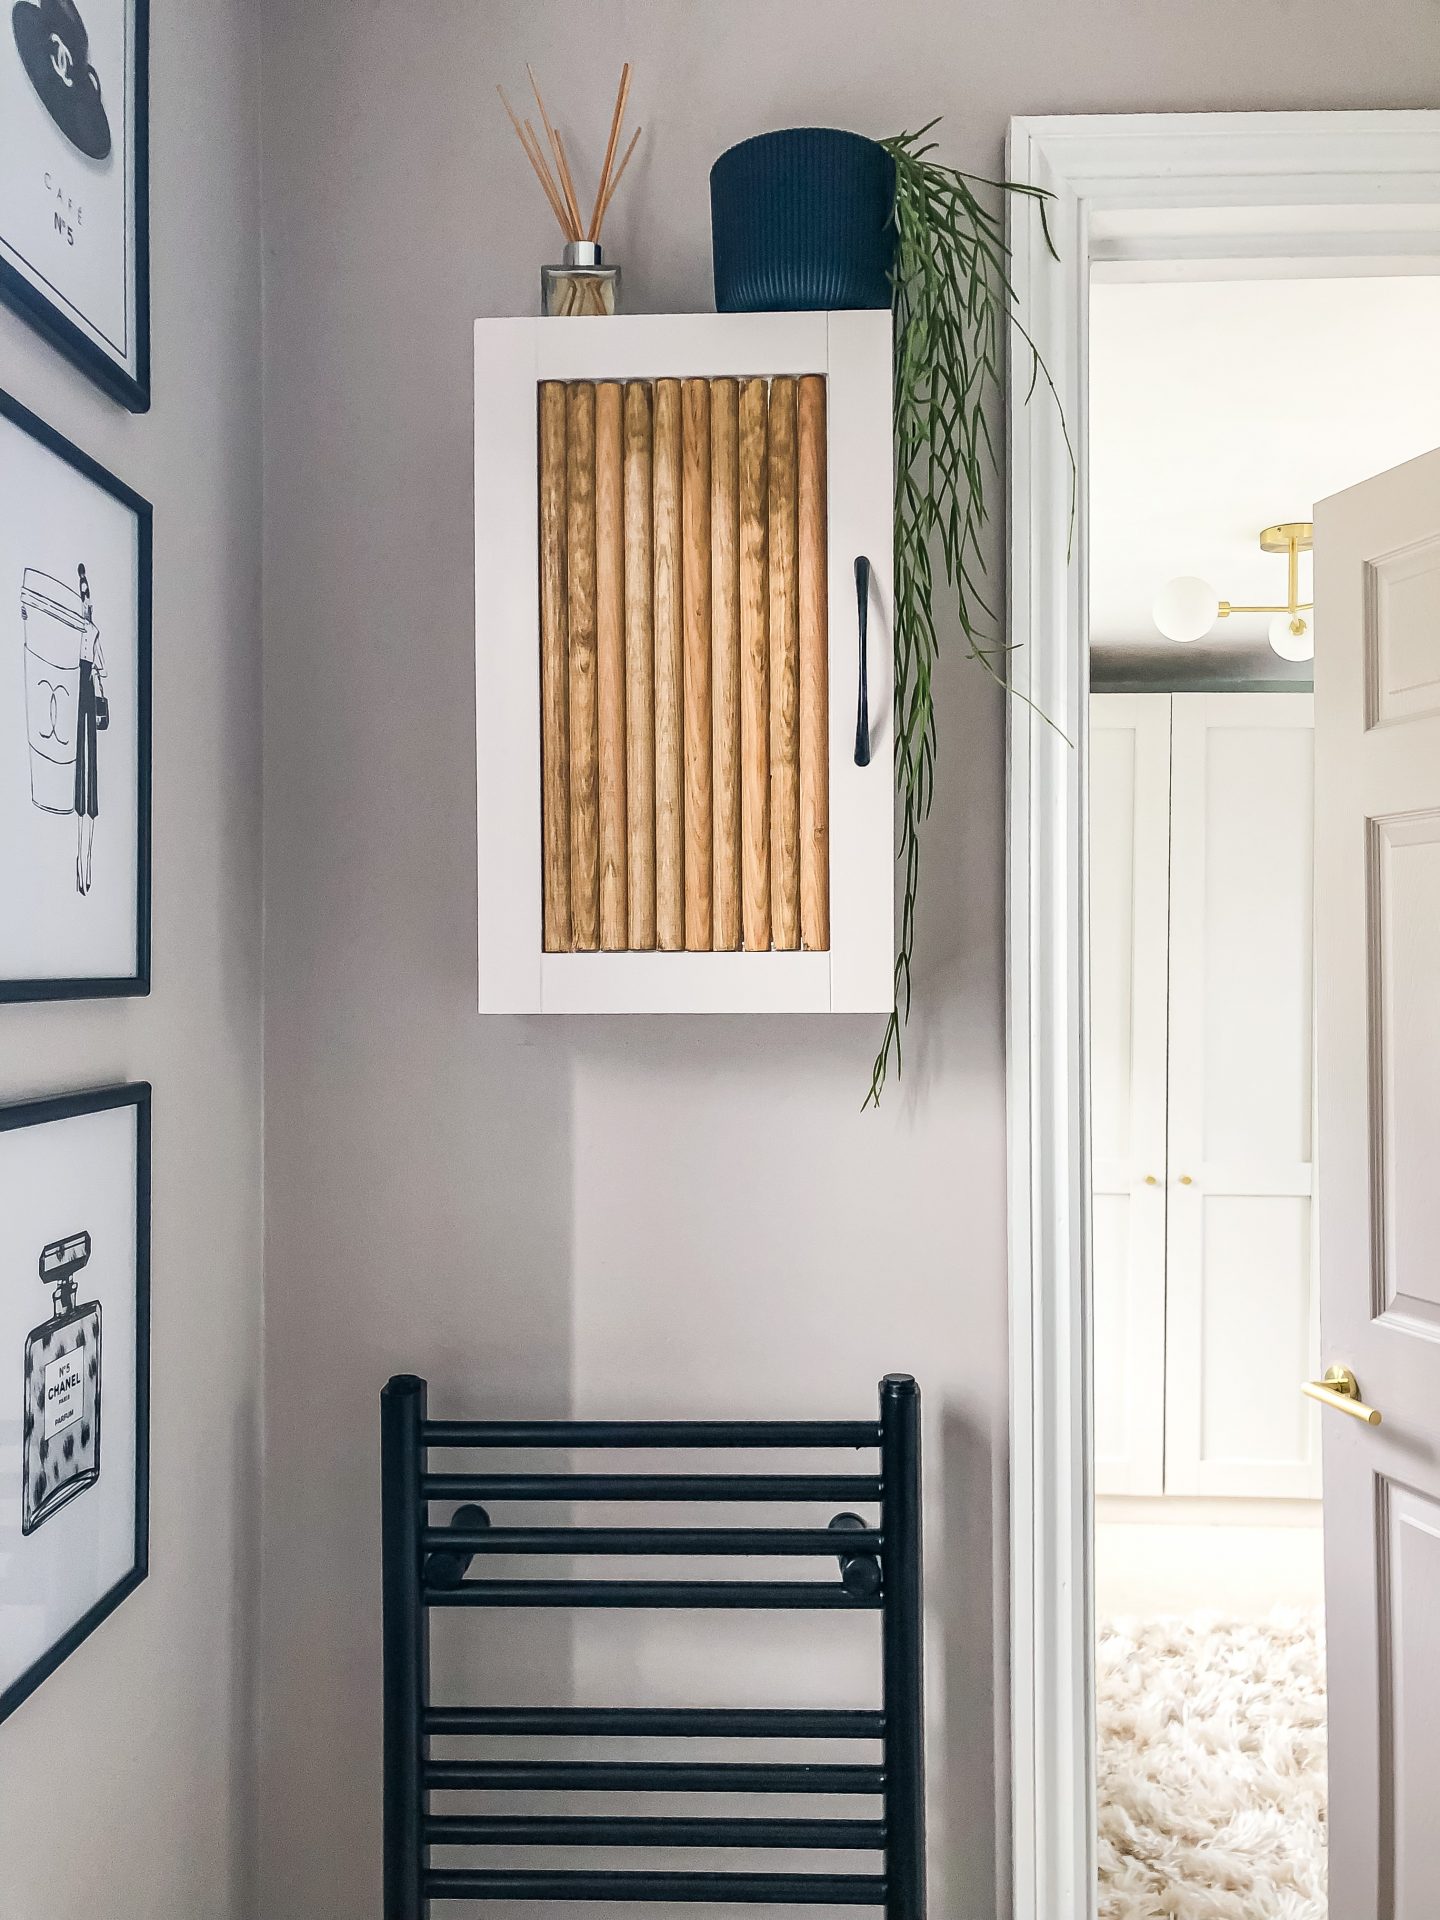
Now, I have no way of knowing how well this method of painting a towel rail will hold up. I can tell you that it’s fine so far with heating and both towel rails work and give off the same amount of heat as they did before.
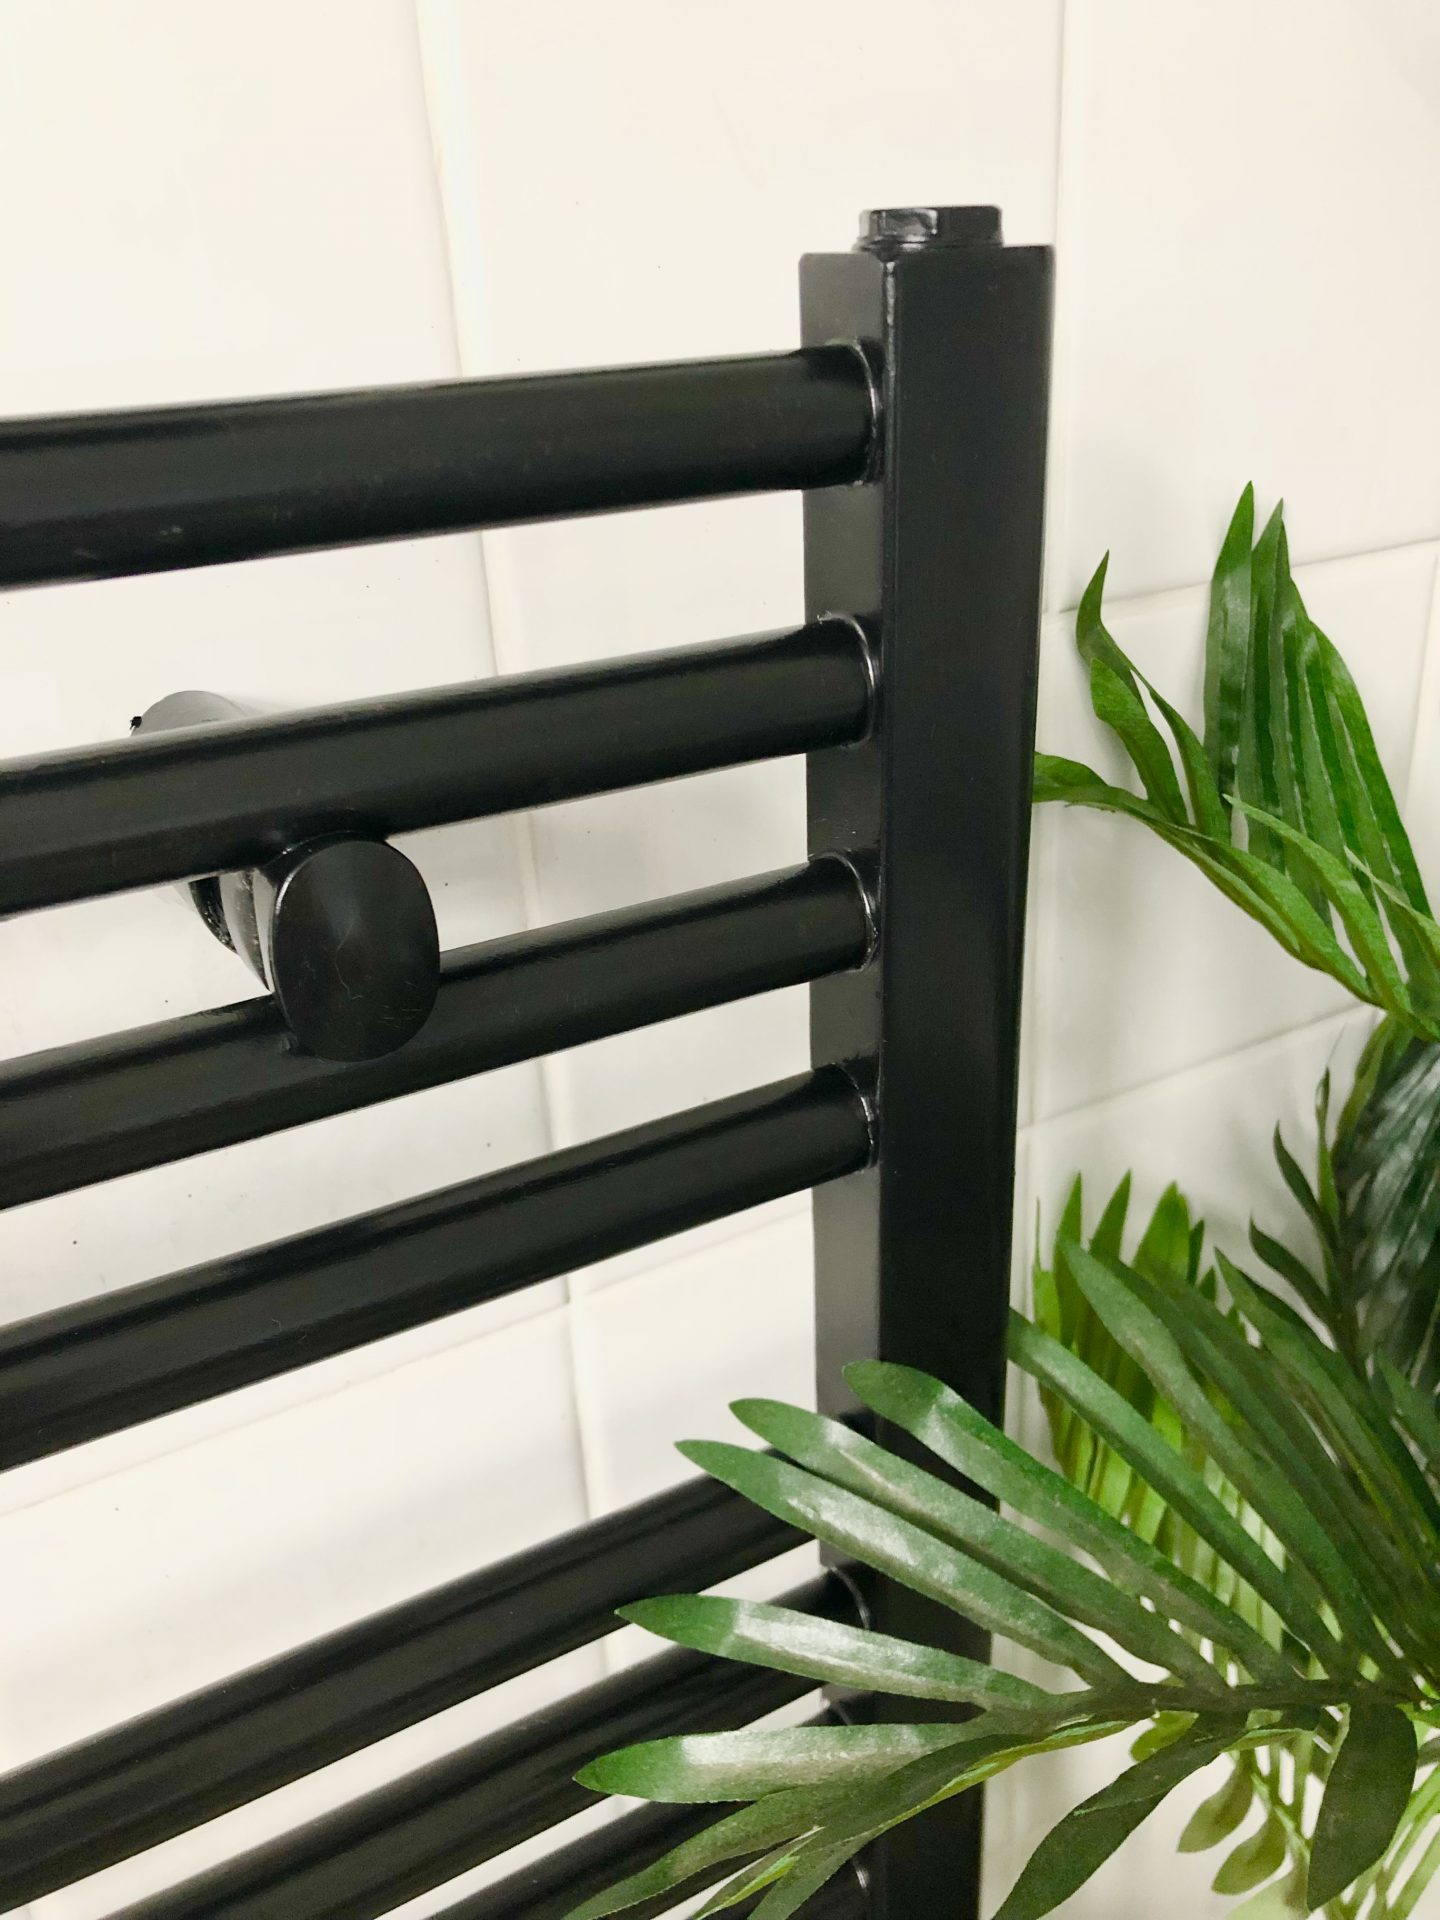
I’ll definitely update this post and/or online with any developments over time but for now if you have any questions about painting a towel rail, leave a comment below.
*this product was part of a previous paid collaboration I worked on with B&Q. Should you purchase this product I will earn a small amount of commission. This does not affect your price paid*
Follow me on Facebook | Instagram | Pinterest | Twitter


Beautiful! this towel rail is just amazing, you did an awesome work, black colour looks adorable, thanks for the pretty diy.
Looks fantastic 🙂
Author
Thank you!
How is it holding up?
Author
Hi Melissa, sorry for the late reply I’ve been away from my blog for a little while. So far, so good! It’s come through several months of heating now and humid bathroom environments and no need to touch up or painting yet
This looks fab! Can I ask how it has lasted so far? Thanks
Author
Hi Alex, sorry for the late reply. So far so good, I haven’t need to touch up and no peeling thankfully. I’ve also done our en-suite one back in October and it’s just like it was only done so I’d definitely recommend
Looks great! Is the gutter/ drainpipe paint ok to apply to a heated towel rail? Thanks
Author
Hi Brenda, thanks so much! Yes so far so good – I figured that given how durable it has to be outside (lots of moisture and lots of heat) it would be worth a go. No peeling or corosion or anything like that and its been a good few months now of heating and damp towels. Hope that helps!
Great thank you! I will try it on my old towel rail.
You have no idea how many websites I have been searching for to find if ANYONE had done this! Thank you so much!
My summer holiday ensuite makeover will now definitely include painting my towel rail black!
Author
Ahh fabulous Natalie, good luck!
Hi Lins,
Love this. Just wondered what tiles you have in your bathroom? I think they look great alongside the black radiator and white walls.
Thanks
Author
Hi Nick,
Thank you! Is that the flooring you mean? It’s actually vinyl believe it or not from Carpetright, I’d recommend as a good alternative its been down about 5 years now. That said when we renovate the room properly I would like to have proper tiles down but this has been a good stop gap.
Hi it fab going to try it myself, did you change your taps or spray them or leave them chrome?
Author
Hi Sharon, I’ve left the taps chrome for now 🙂 Good luck!
Love it! I want to paint my bathroom black along with the radiator. Do you think as it’s all going to be black the spray paint could work? Sounds easier to me?
Author
Hi, yes spray painting will absolutely work if your whole bathroom will be black (it’s just much messier and needs more prep if not 🙂
Hey, this looks amazing!! What a difference! In terms of cleaning them, have you changed what products you use to clean them or have you been able to stick to your usual cleaning products?
Author
Hi Jess, thanks so much! I don’t tend to use anything on them other than just wiping over with a damp cloth to get the dust off 🙂
I am so relieved to find your post! I hoped someone would be in the same situation as me. How is the towel warmer in 2025? any peeling or other considerations? Thanks for sharing!
Author
Hi, yes it is still looking good!
Hi Lin,
A few years later after your radiator painting.
Is it still good?