Now we’re back from holiday we can’t put off getting properly stuck into the house any longer. It feels like every day we change our minds about what we want to do, to what room, in what order. Do we replace the windows whilst the weather is warmer before next winter? What about the front door which will make such a difference to how the house looks? What about decorating the walls of bare, naked plaster? The list goes on and on.
Still, we had to start somewhere and with weekend time in short supply owing to DaisychainBaby markets, it’s going to be best effort as and when. Despite the fact that neither of us have much DIY experience, we’ve realised that as money doesn’t go on trees we’re going to have to learn. Plus, there’s something fairly satisfying about smugly surveying your kingdom knowing you’ve done something more than just push a vacuum around.
Our guinea-pig for this new-found bravado ended up being what was marked as the fourth bedroom but in reality is not much bigger than a shoe box so we’re turning it into an office that we can both use. We also figured that it’s a good room to experiment on and if we mess up on a grand scale, then we can just cover it with shelves. Or desks. Here is what the ‘office’ looked like since we moved in.
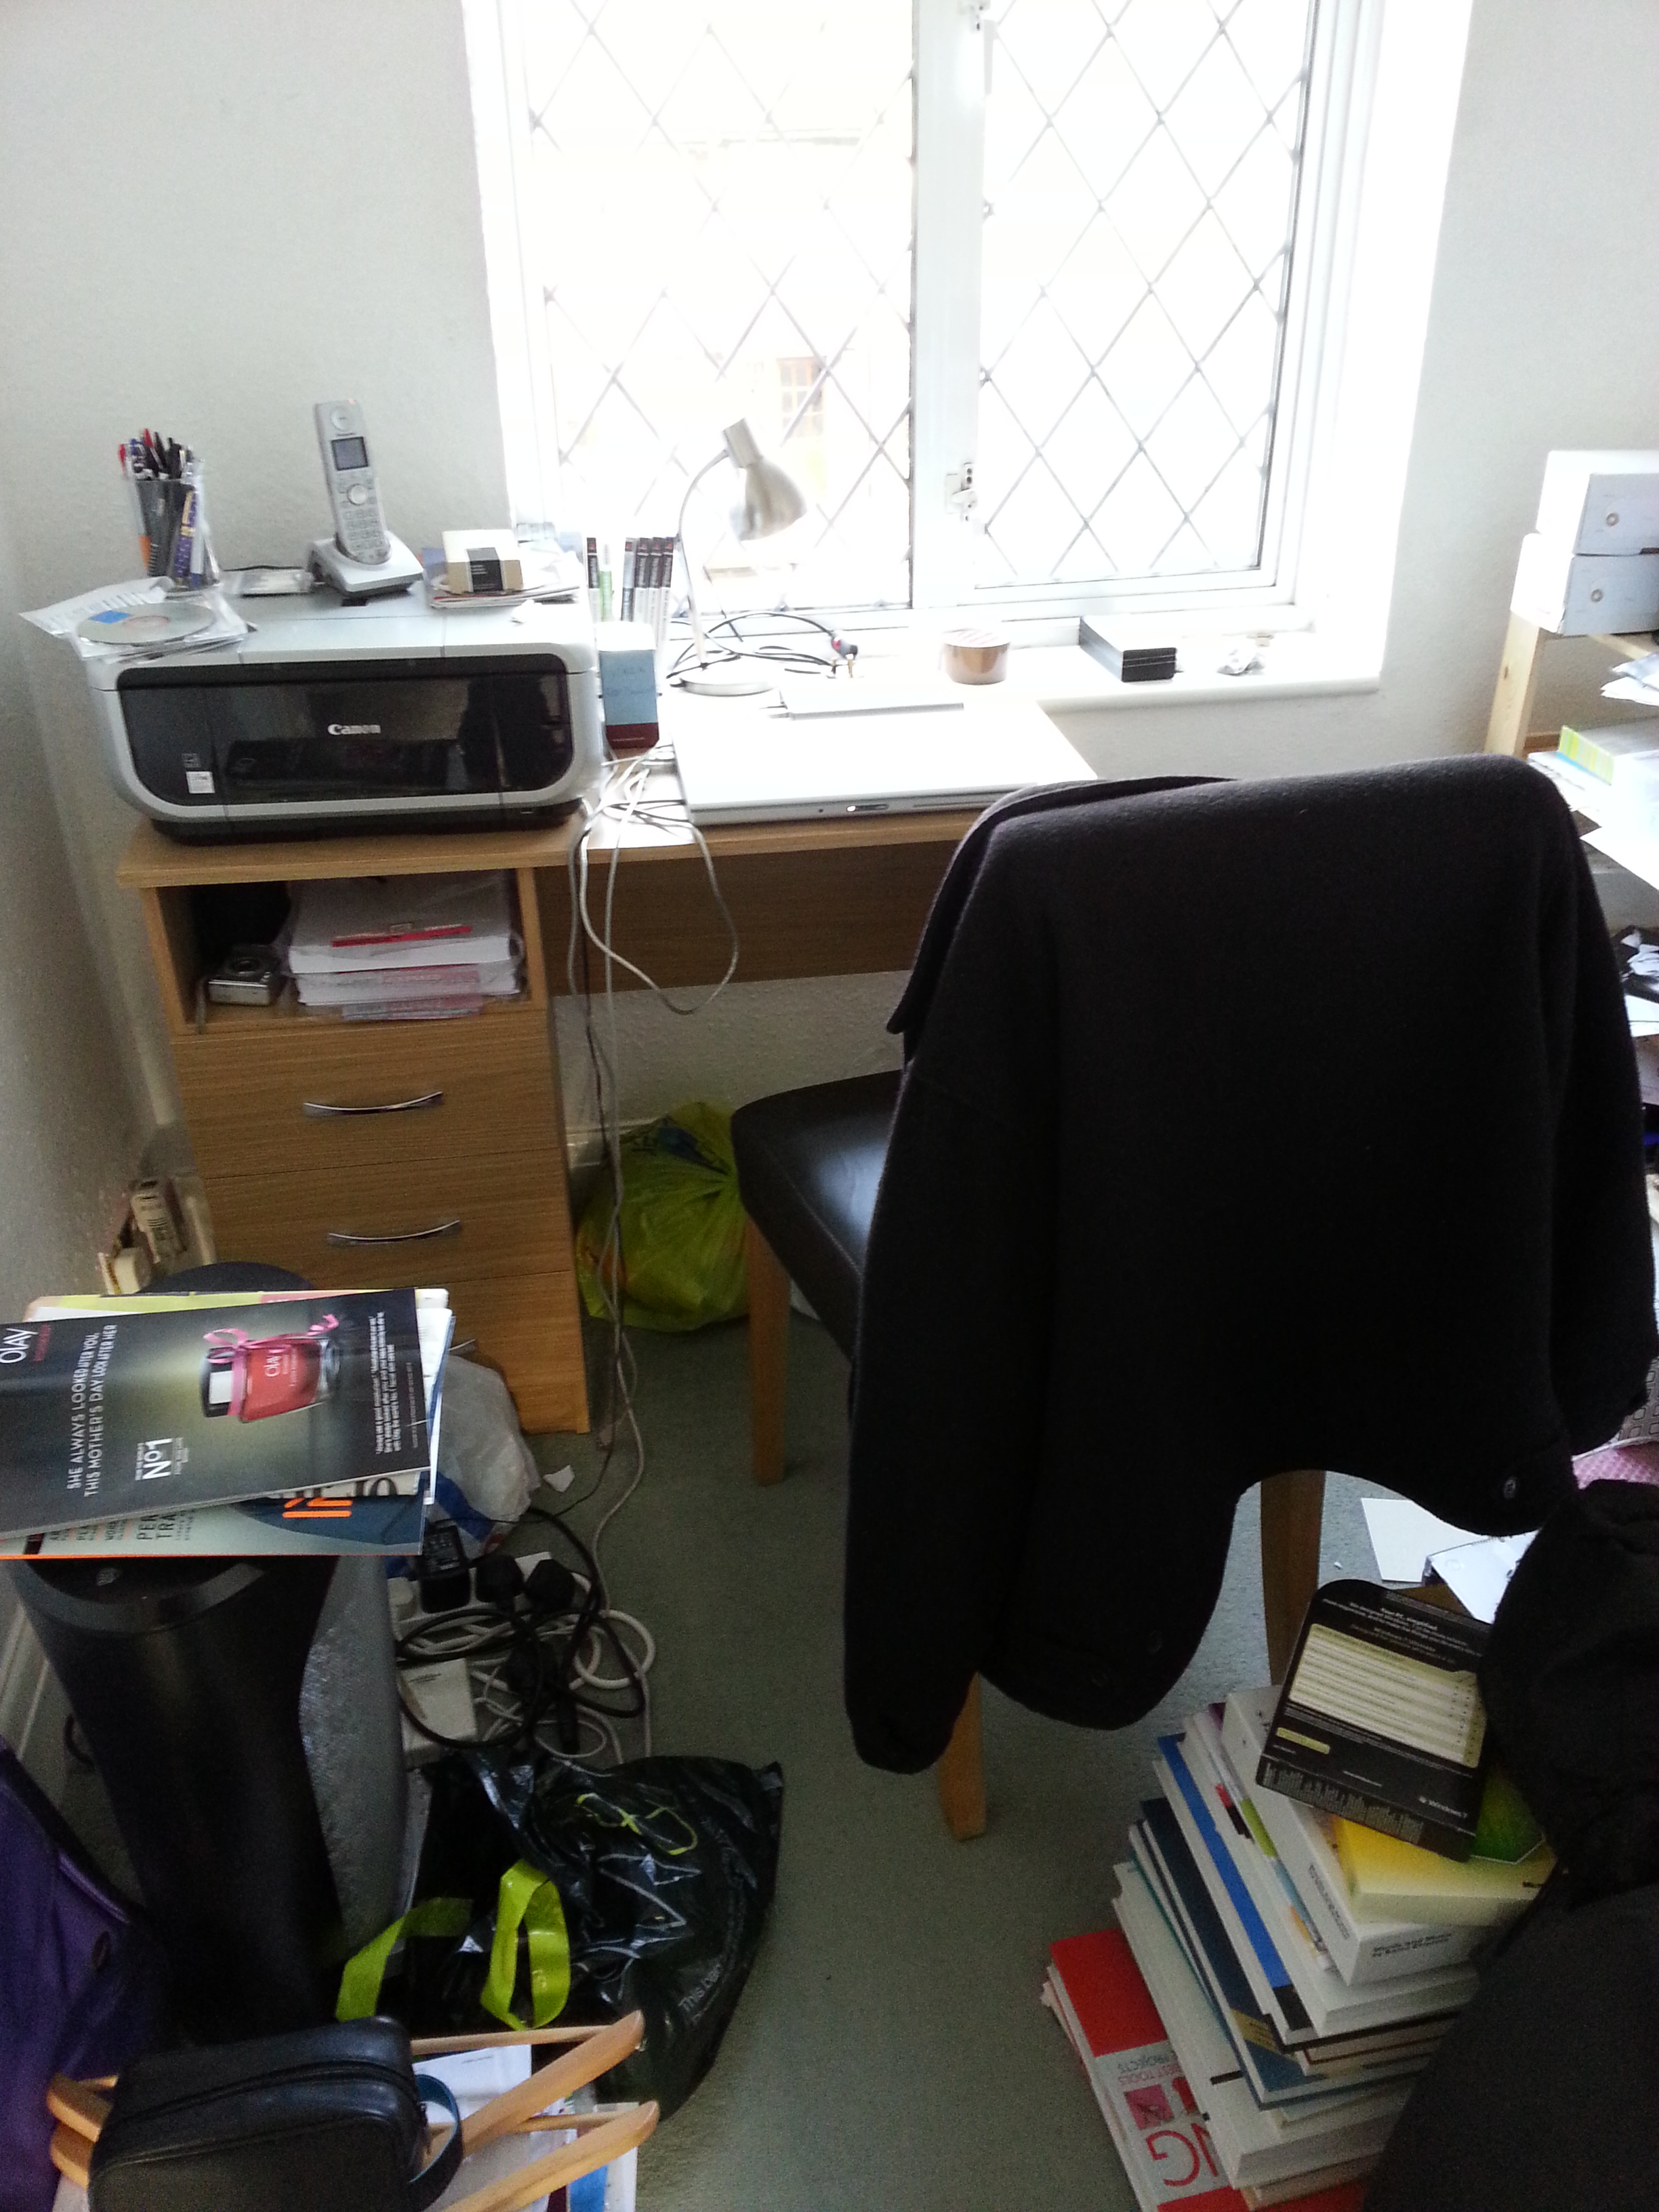
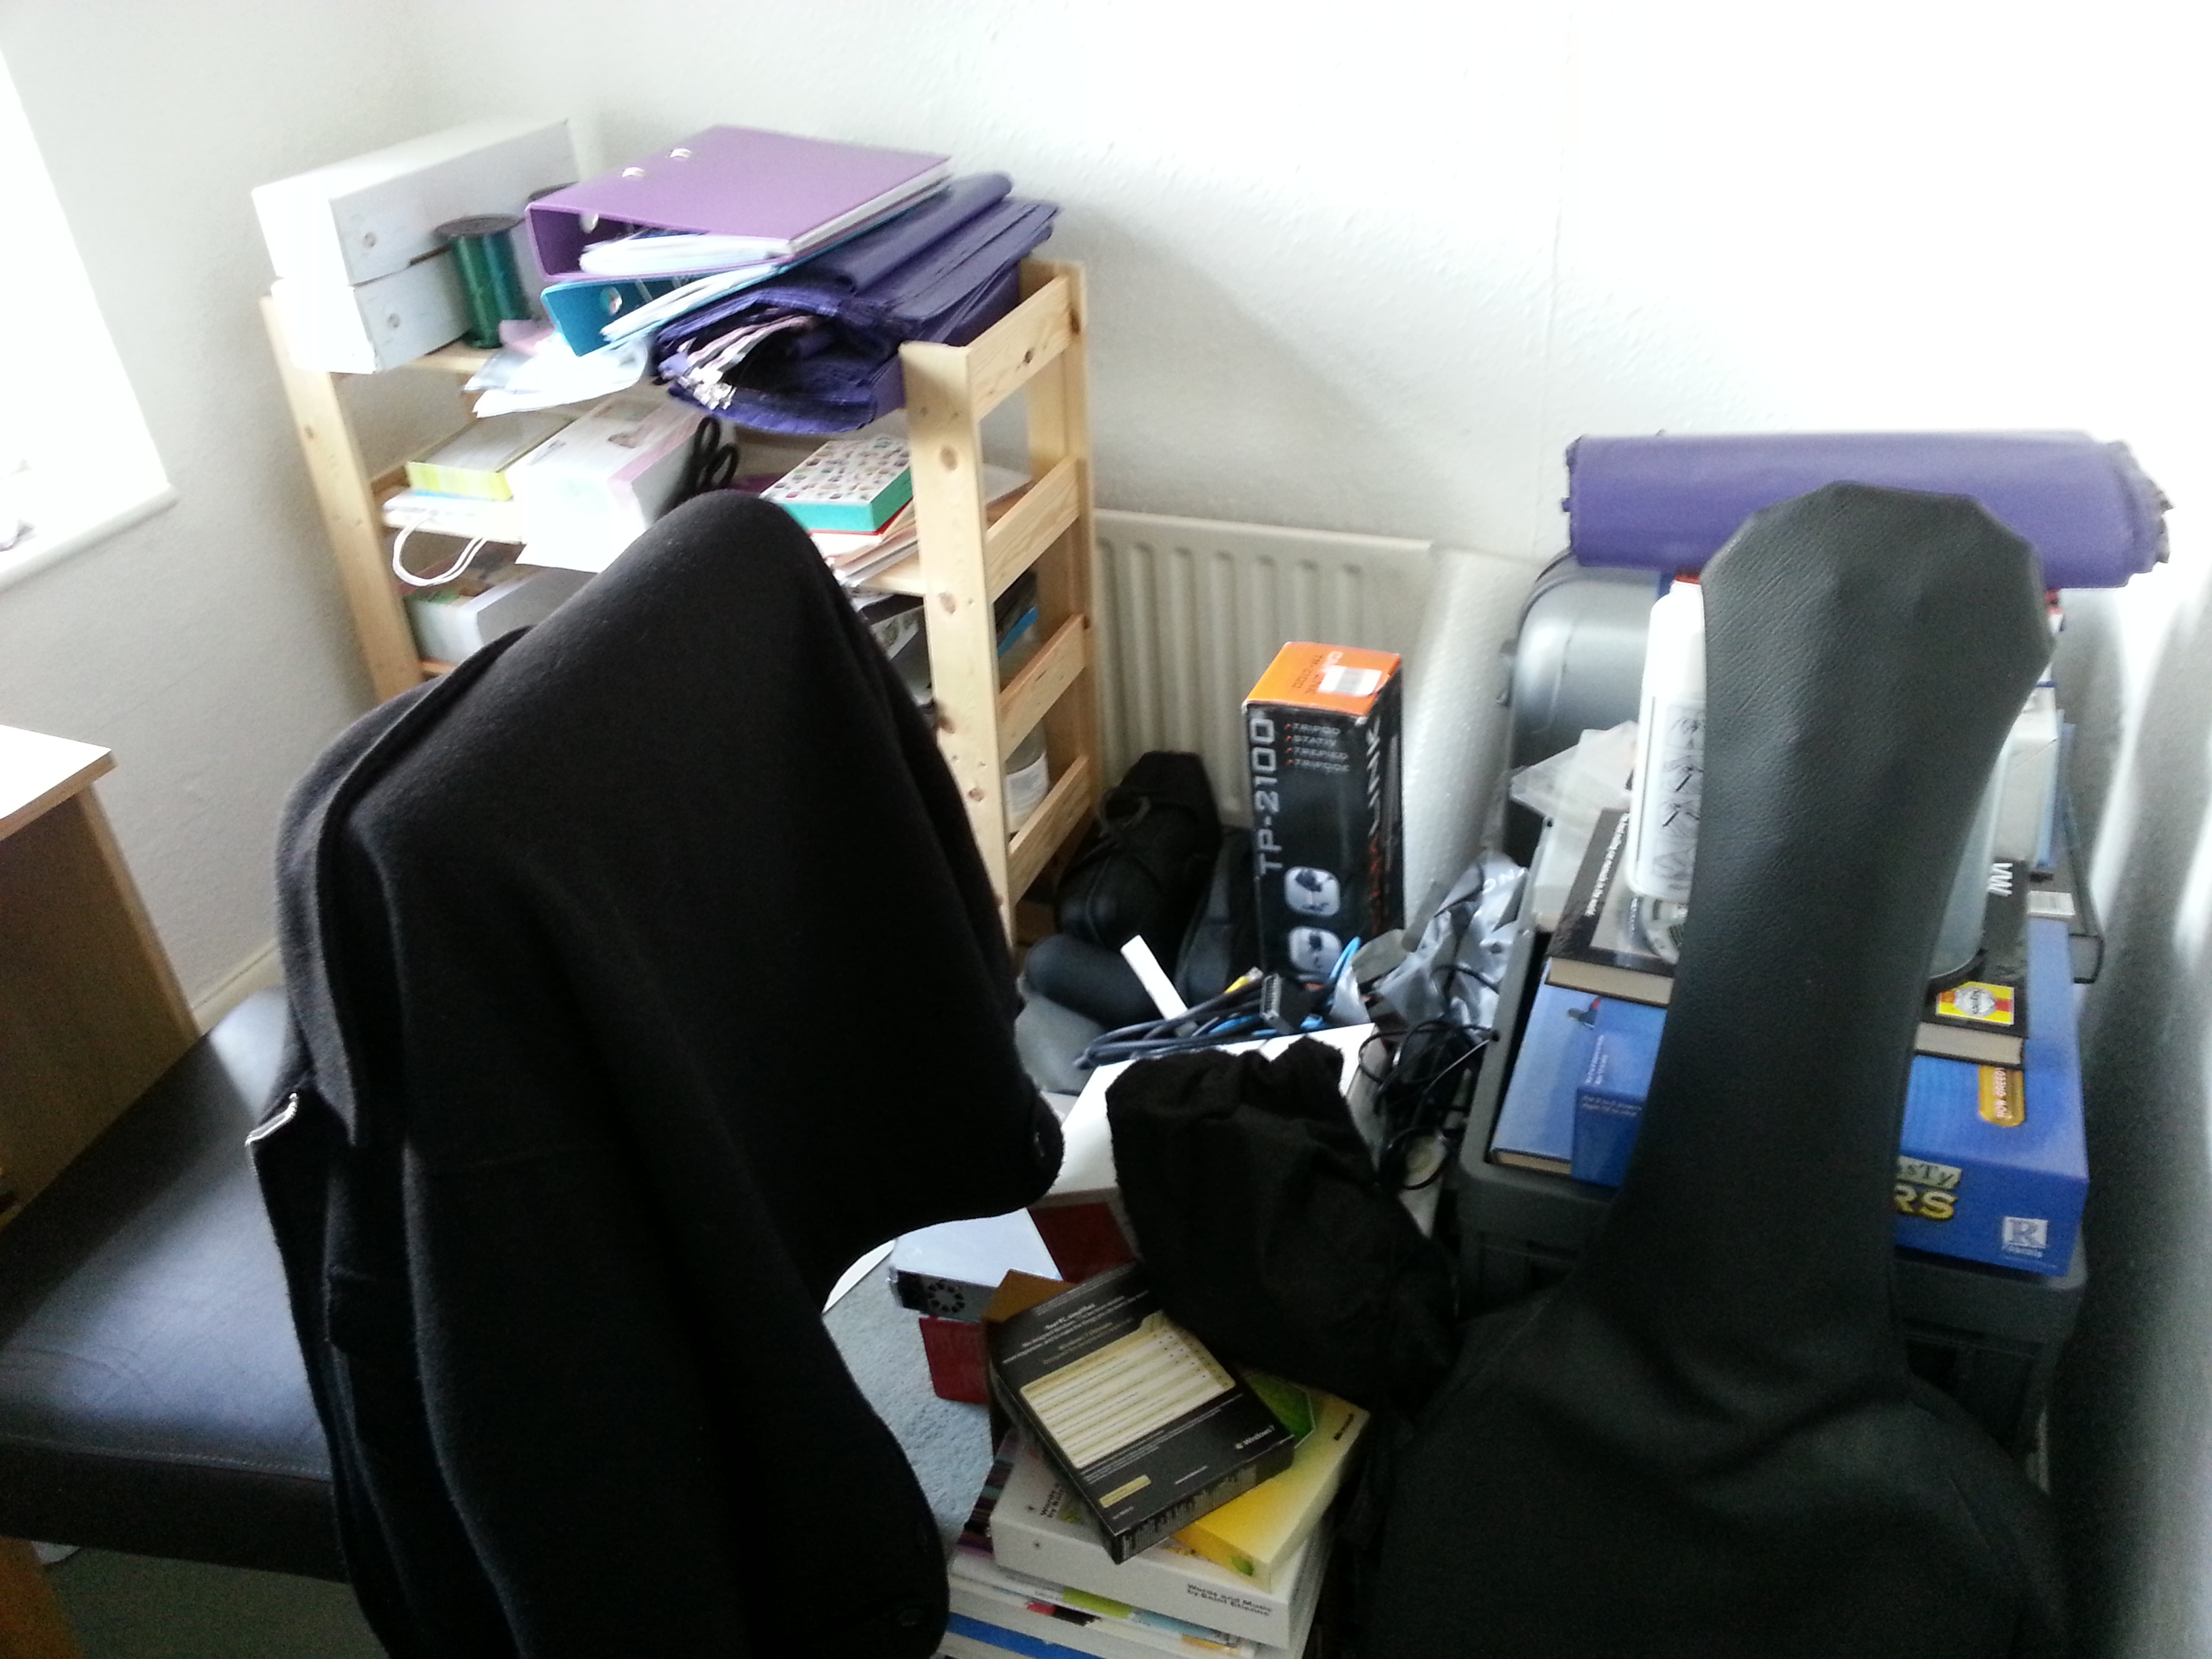
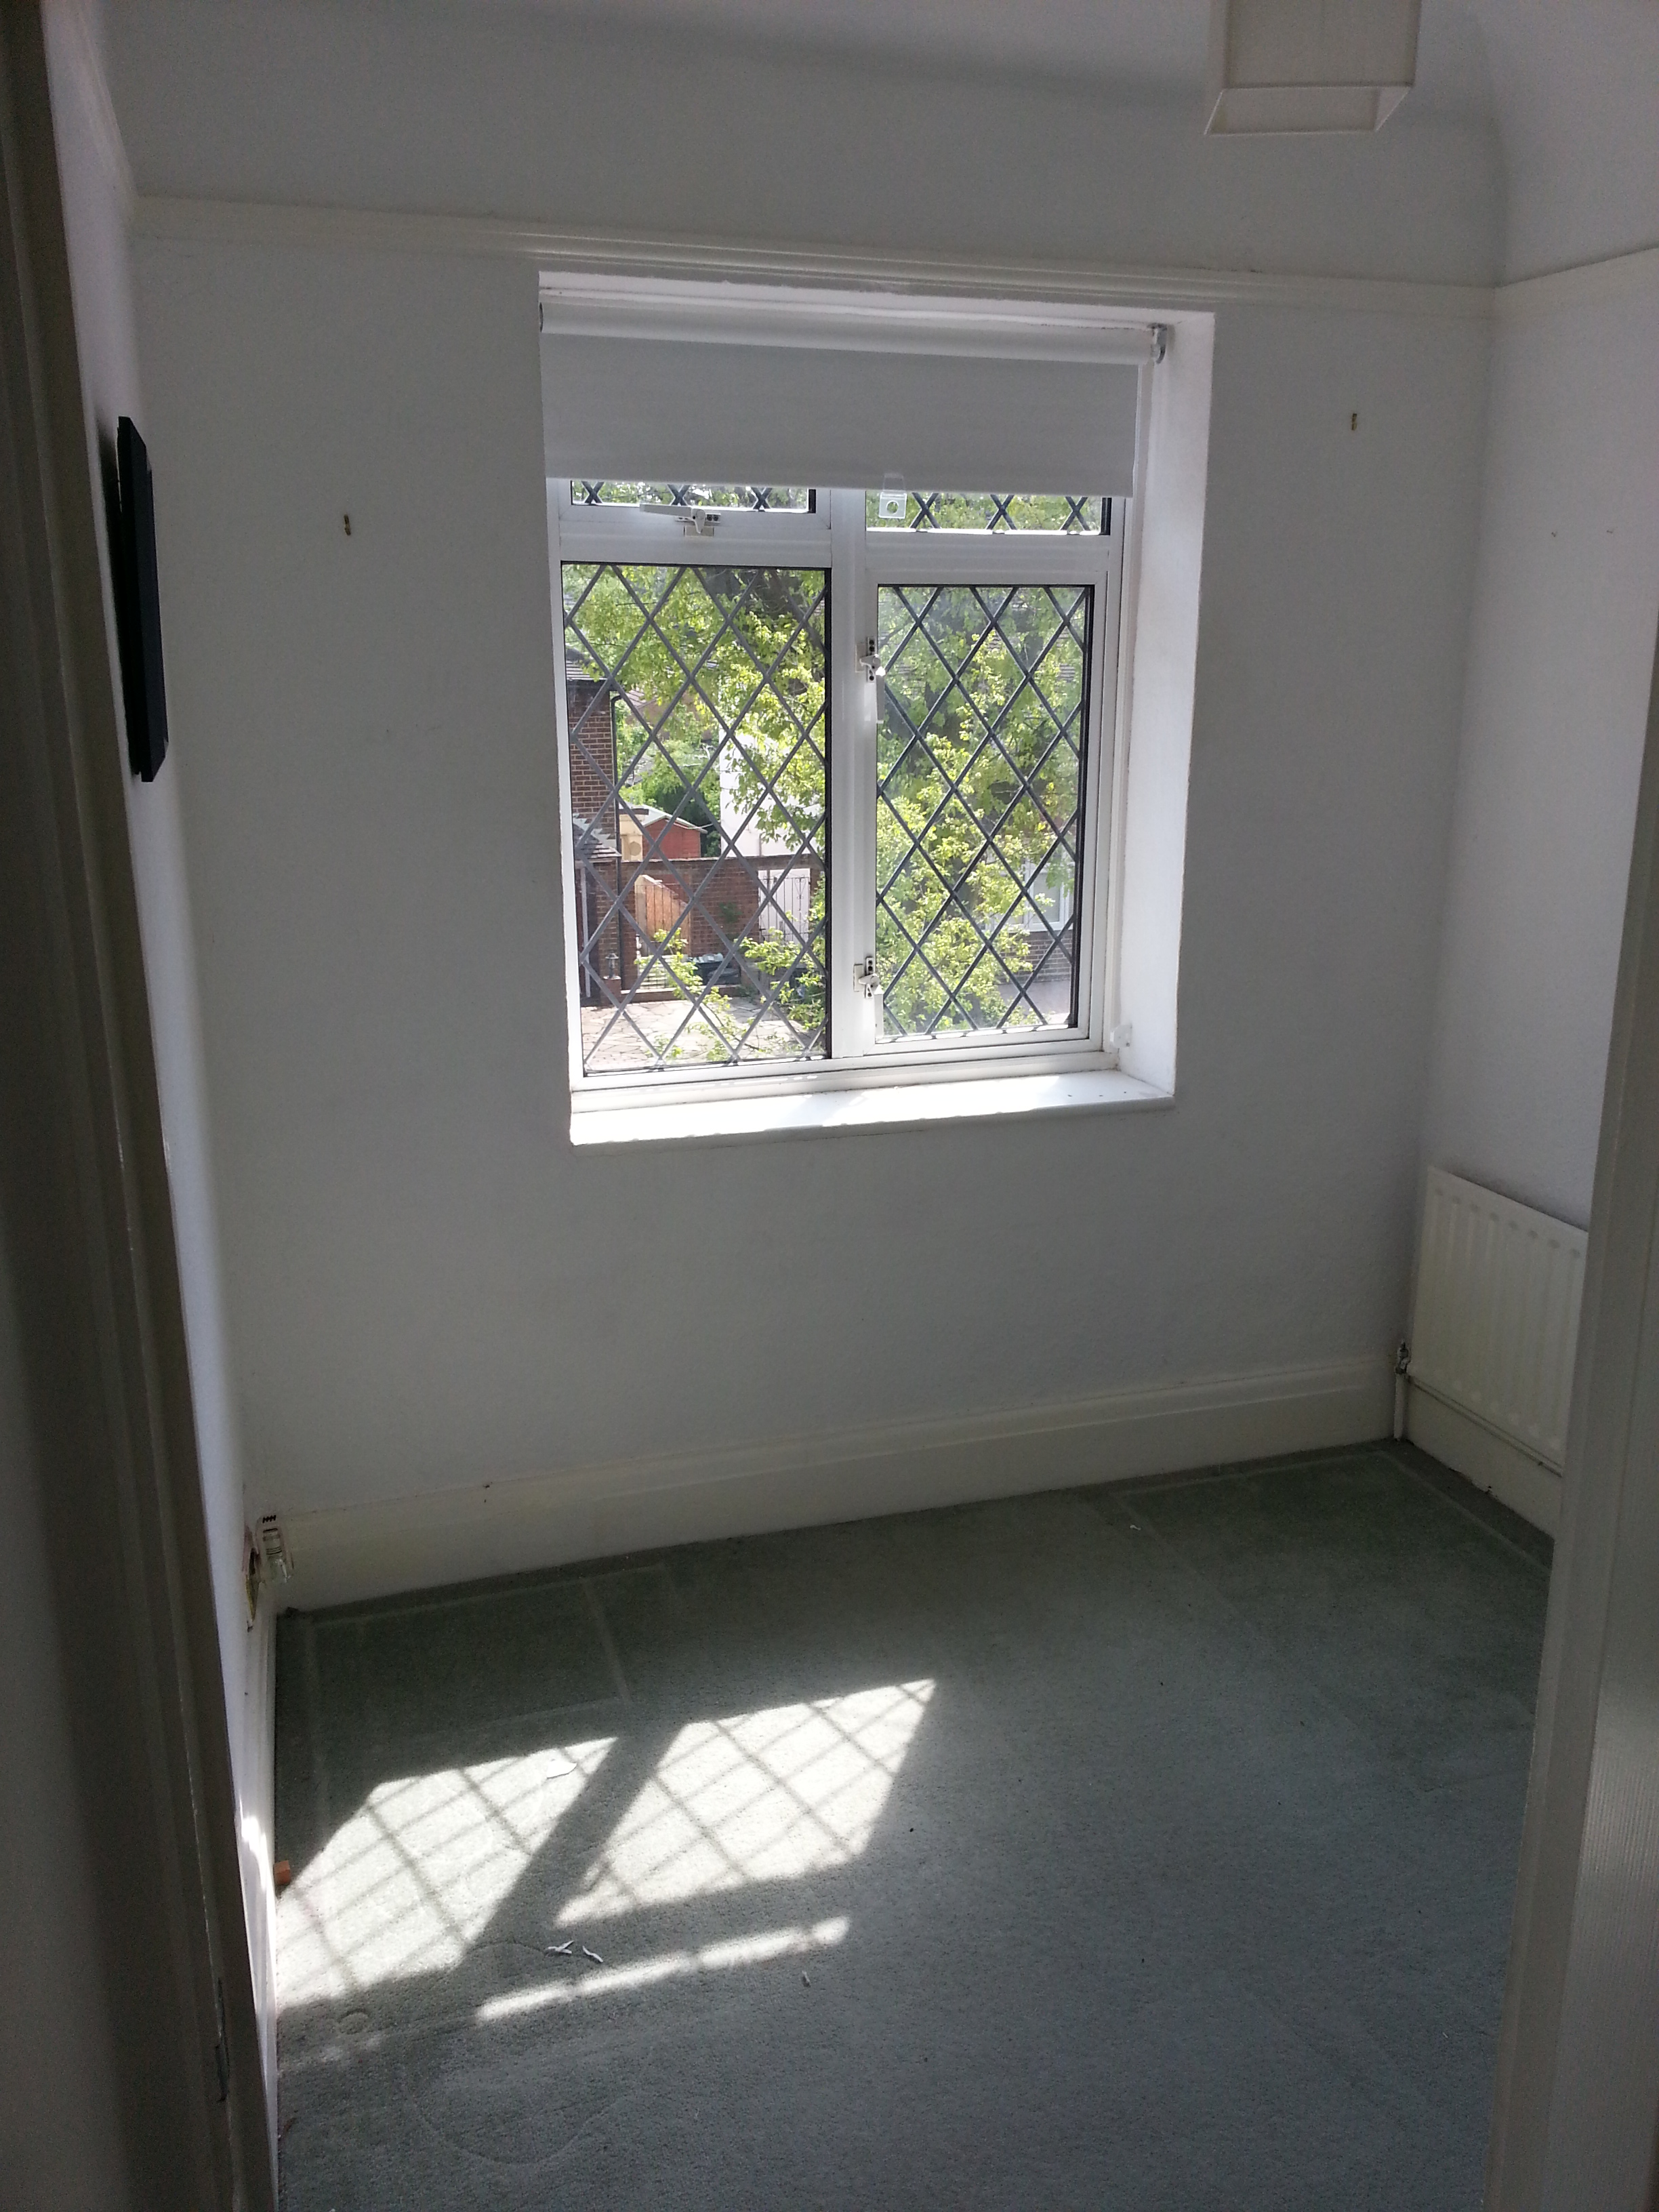
As you can see, a bit of an undesirable junk yard with wood chip wallpaper (HOW 1970s?!) and a lovely green carpet. Still, it has potential – the room is lovely and airy and with a bit of TLC it will look amazing. The problem that we have is that we’re both perfectionists in different ways. Yes, the easiest thing to do would be paper over the wood chip wallpaper and hey, no-one would ever know. But I’D know! I wanted to get back to the walls, to cure them, to love them and start from scratch. So this Bank Holiday Monday we emptied it all out and got to work.
It quickly became apparent that not only was it going to take us longer than we thought (even with a wallpaper stripper that OH picked up from Homebase) but that there were so many layers of paper on paint on paper on paint that the walls might get damaged. We scored the paper and soaked it with warm water which definitely helped with the stripping process but it still took us 5 hours for a fairly small room. I’m hoping that whichever room we choose next we’ll be faster now we’ve had some practise.
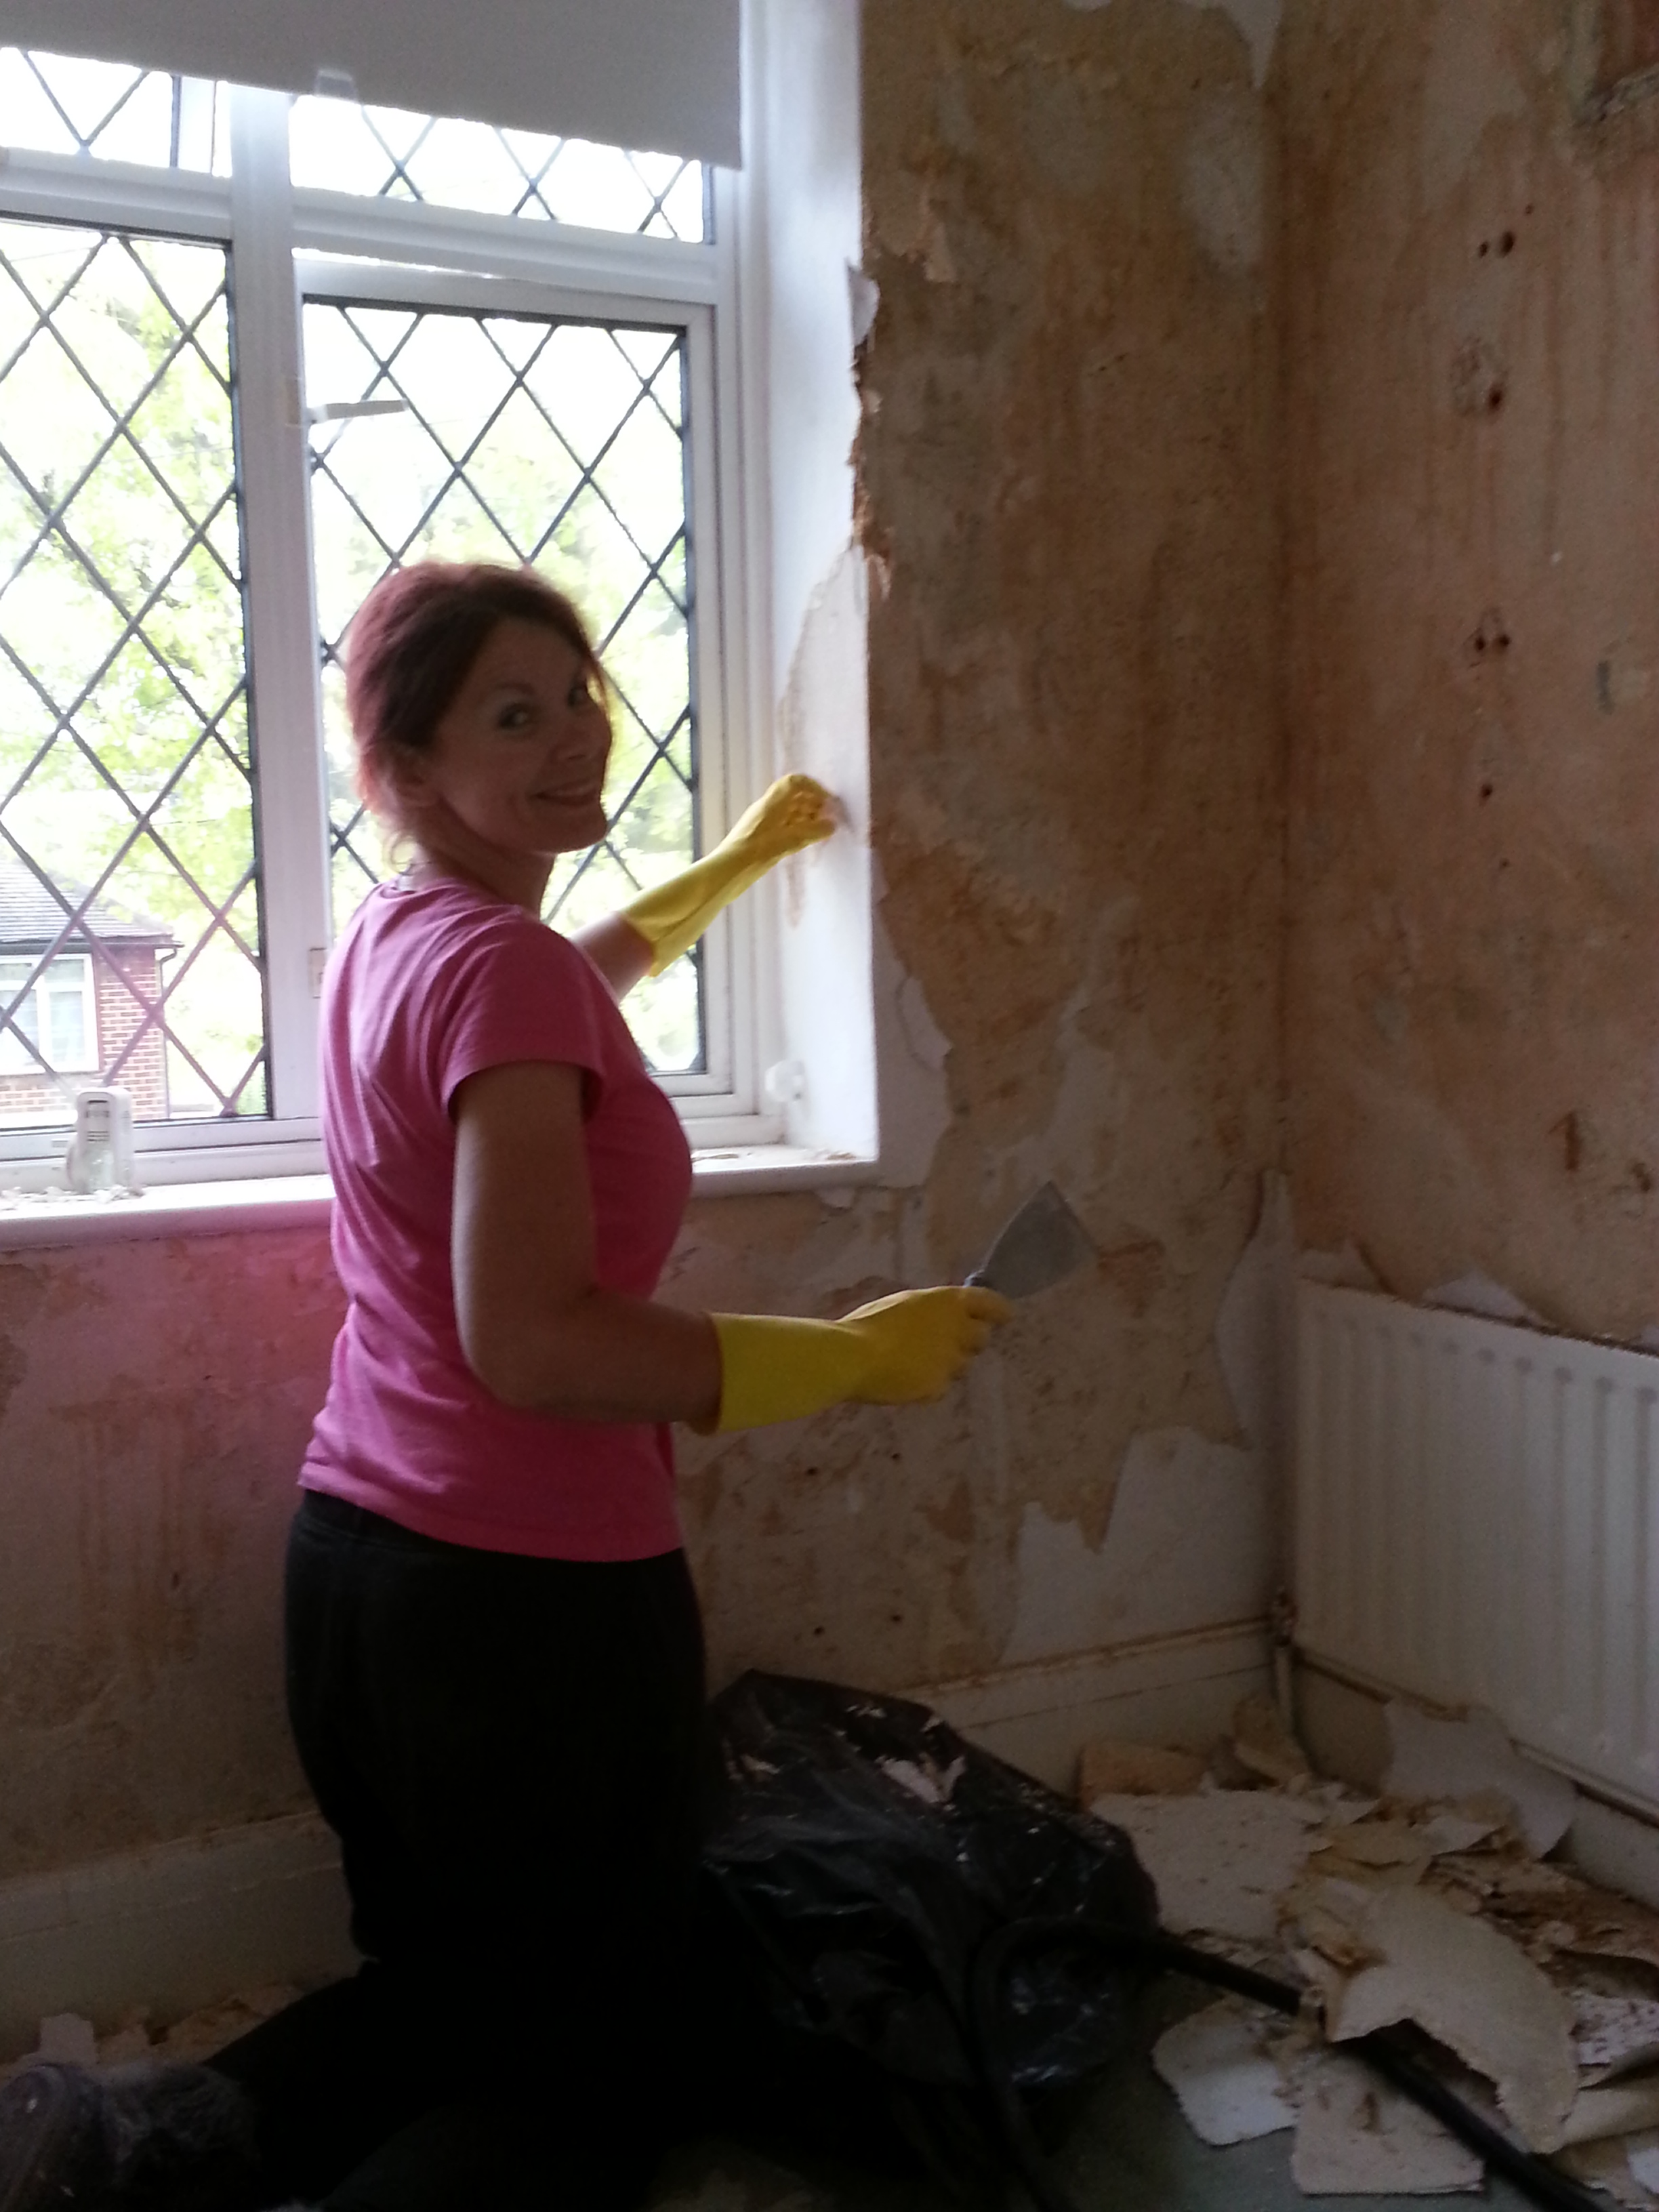
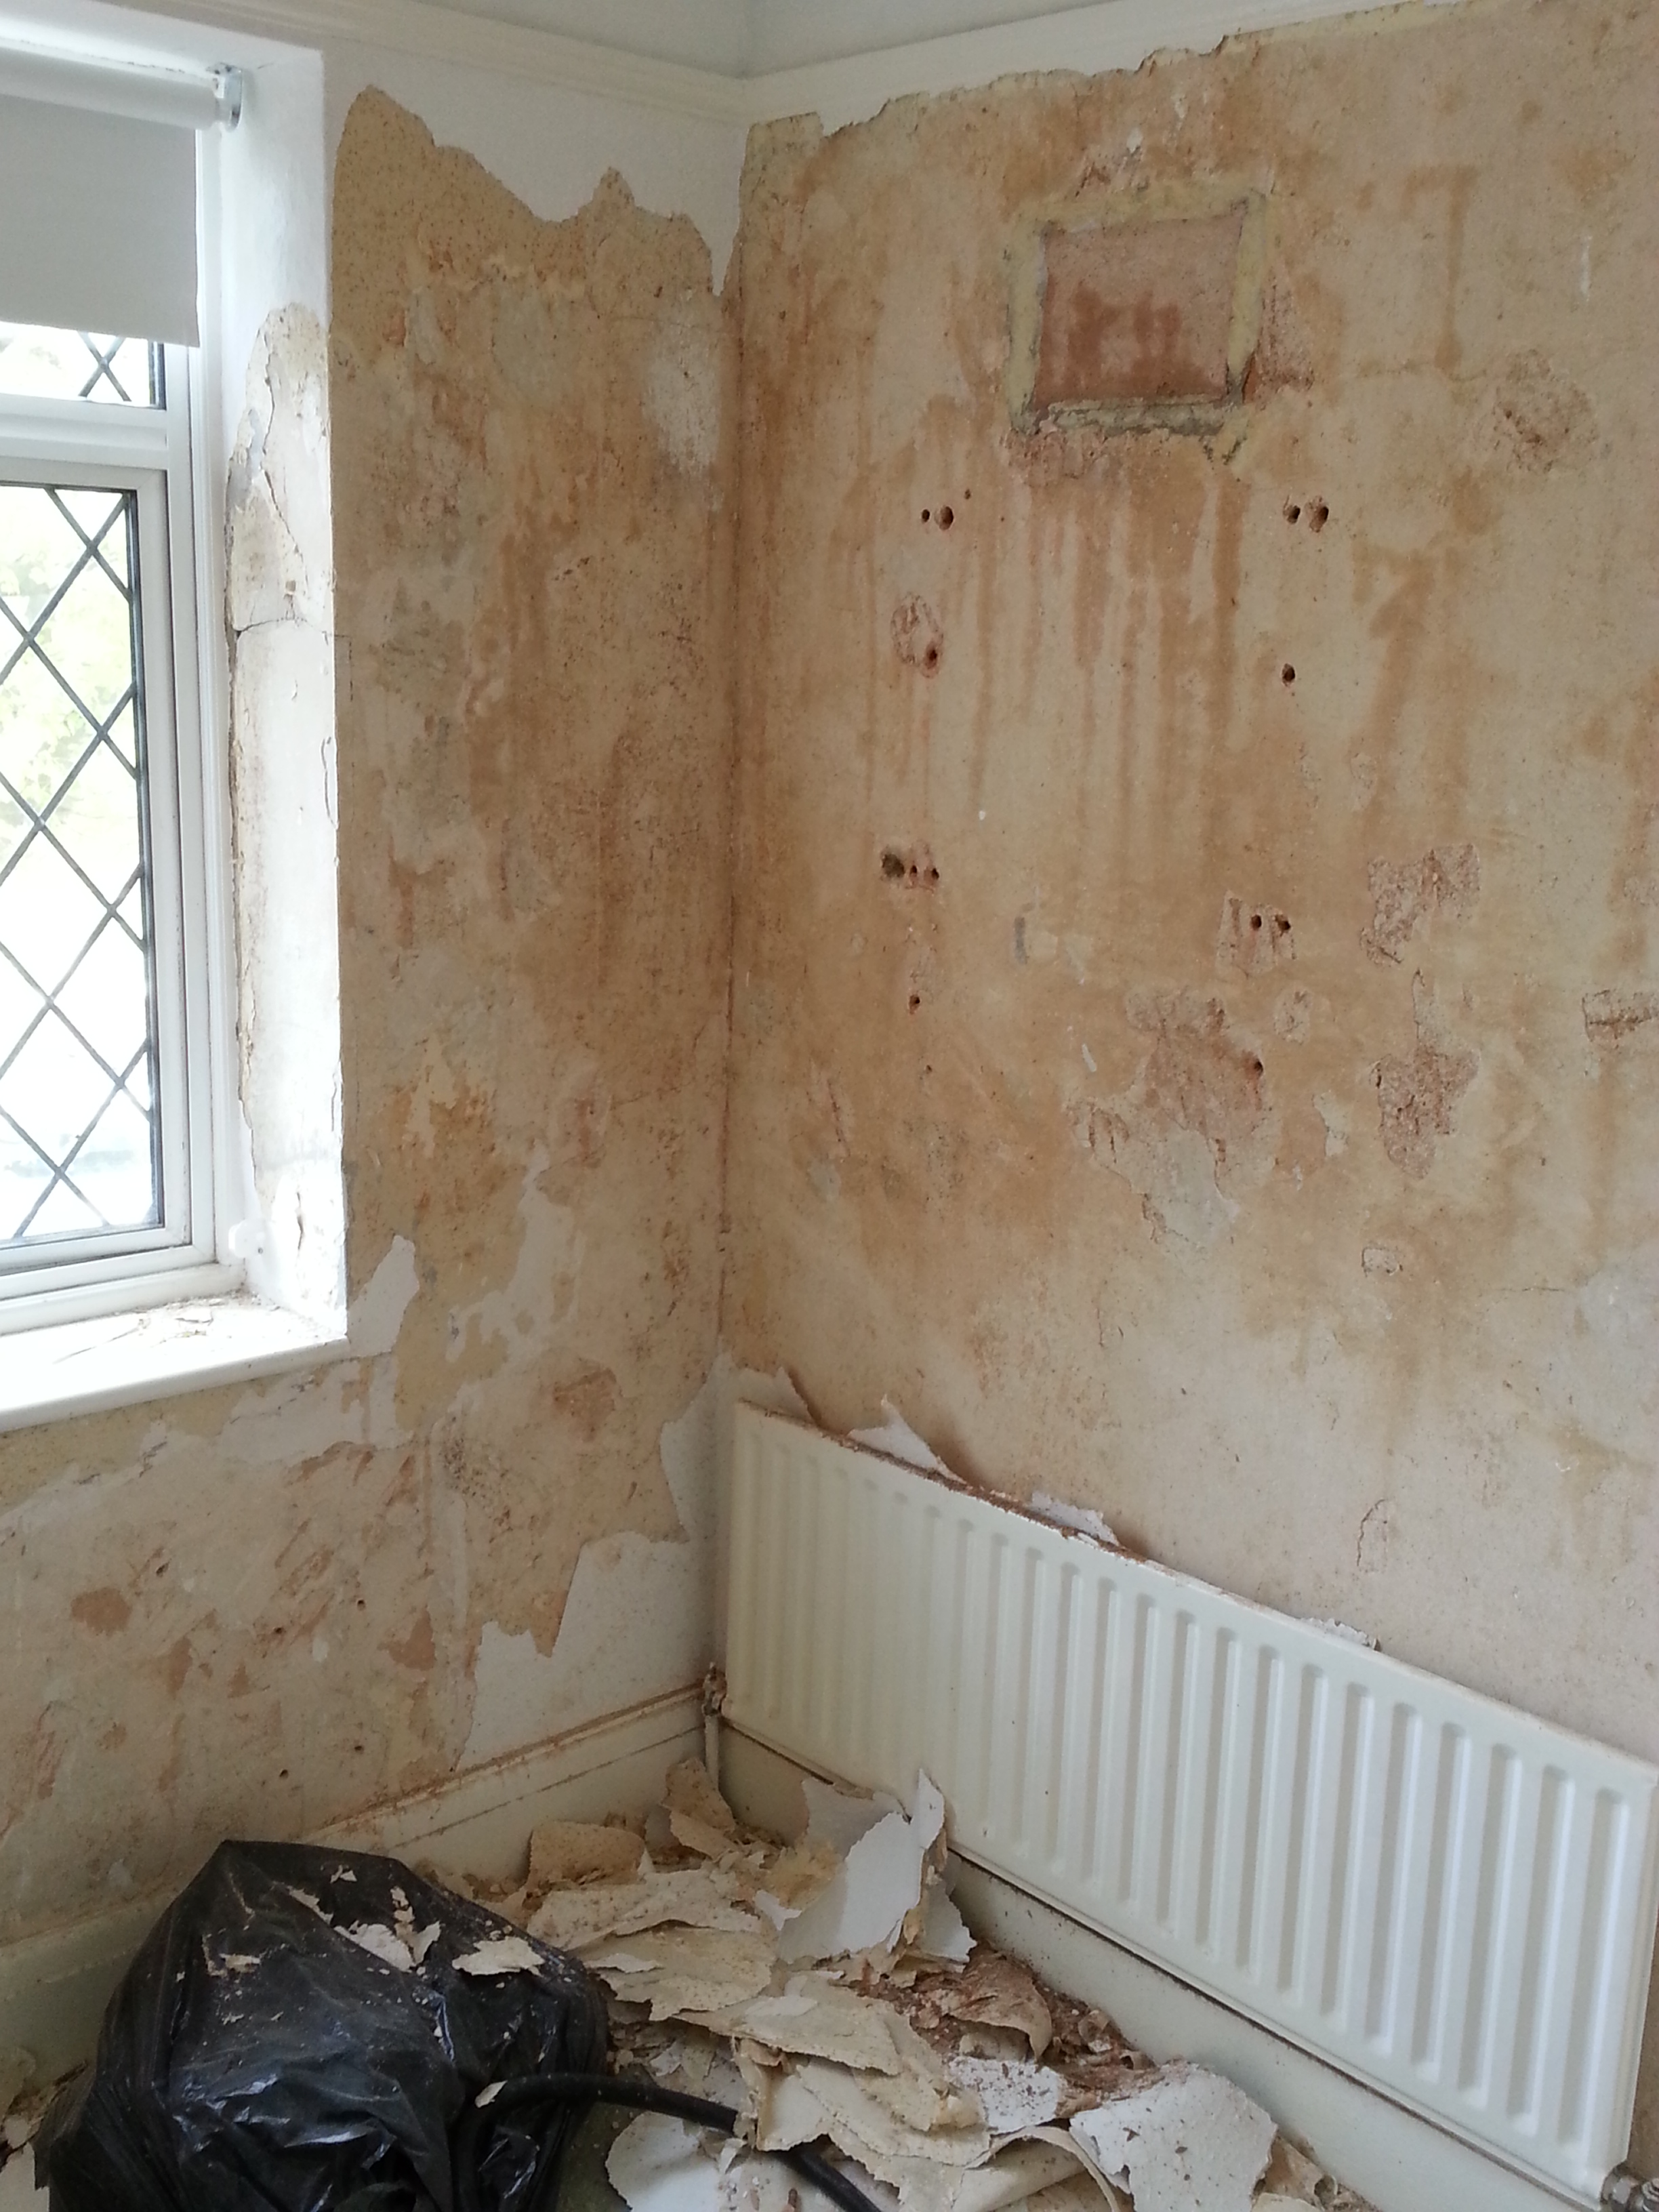
The walls are in a pretty bad state, there are holes all over the place and even some kind of blocked up air vent judging by this photo. We also found some damp at the corner of one of the external walls. It’s going to take some putting right but I’m really happy we did this. OH was considering learning how to plaster which might still happen at some later point, but for now we’re going to get the plasterers round who damp-proofed the house and fixed our other damp problems before we moved in. We need to take the radiator and skirting off and once the plastering is done we need to think about colour schemes and flooring. And if you want to know what I’m aiming for, it’s something like this (photo courtesy of Houzz.com)


Very exciting blog! I’m based in SE London also (Greenwich) and we’re halfway into the lengthy process of selling our flat and buying our first house (1920s/30s semi detached) nearby and it’s a HUGE renovation project, so i was thrilled to find your blog. Do you remeber the builders who sorted your damp for you? If you recommend them, I’d love to contact them about doing work on our house when we complete. Thank you!