This post is in collaboration with Photowall who kindly gifted the wallpaper for this project. If you would like to take advantage of a 25% discount on any Photowall product, please use code booandmaddie2019 until January 18th.
2019 will definitely go down for me as one of the most productive house years we’ll probably ever have, and the year that I can proudly say I learned some mad new skills. Sometimes we can be overwhelmed with the rhetoric that “If I can do it, anyone can”, but more often than not it really is about having a go and trying to conquer our fears. Despite that, no matter how many things I’ve been willing to try with the house (and I grow in confidence all the time), learning to wallpaper wasn’t one of them.
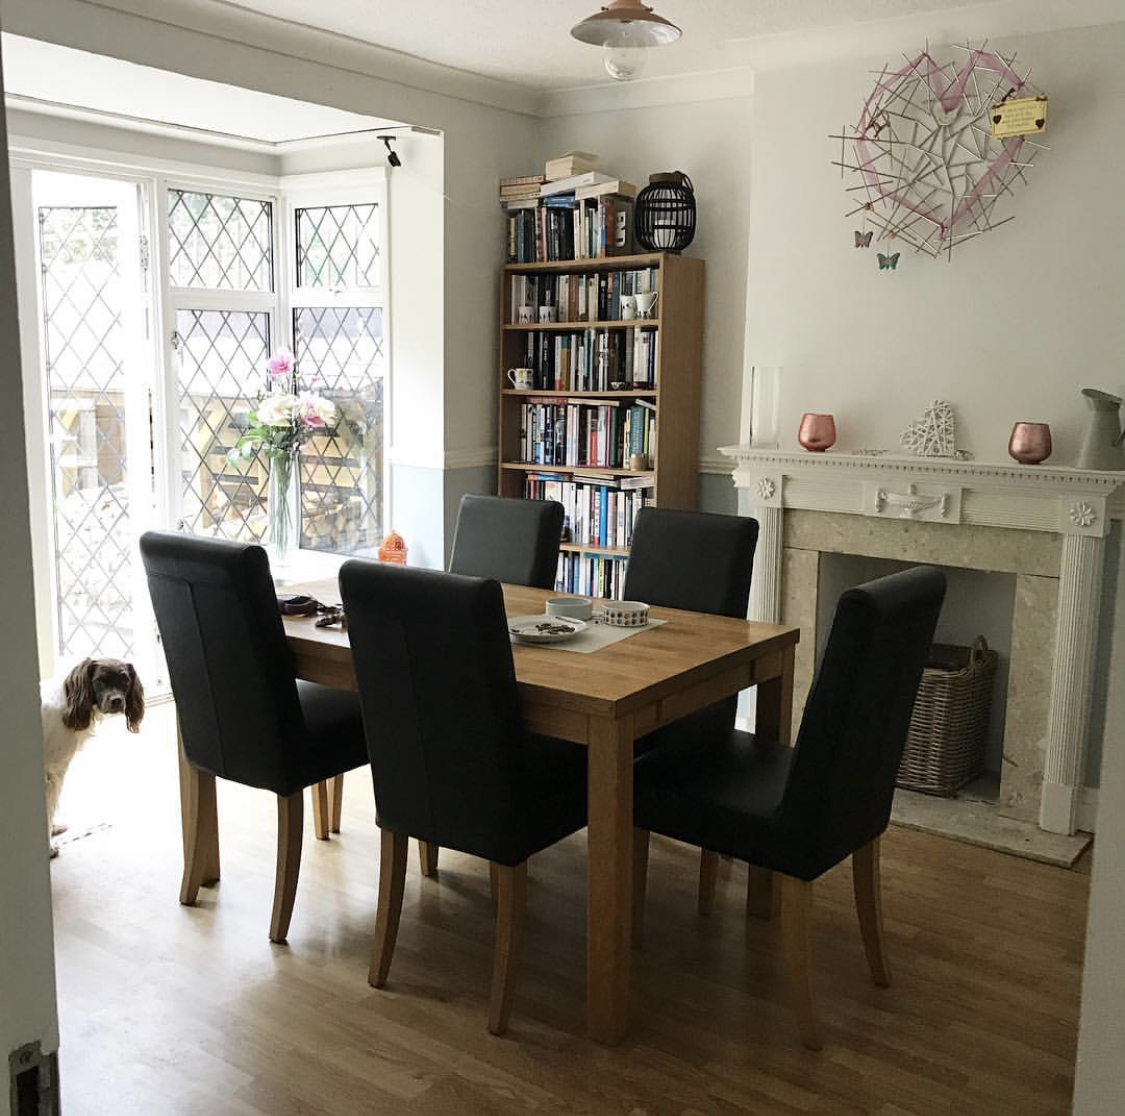
To be honest, we’re also running out of places to try new things on. The only rooms that need/ed major work were the dining room and one of our spare bedrooms and with plans to turn the former into a new kitchen and the latter needing the works, they’ve both been left to fester. I just didn’t see the point. Cue Photowall who reached out and asked if I’d be interested in a collaboration. Immediately I thought it was a no-go, neither of us can wallpaper (and learning to wallpaper wasn’t part of the plans), I have nowhere to put it and I didn’t want to pay anyone to do it for me. Sometimes though, sometimes you have to reframe.
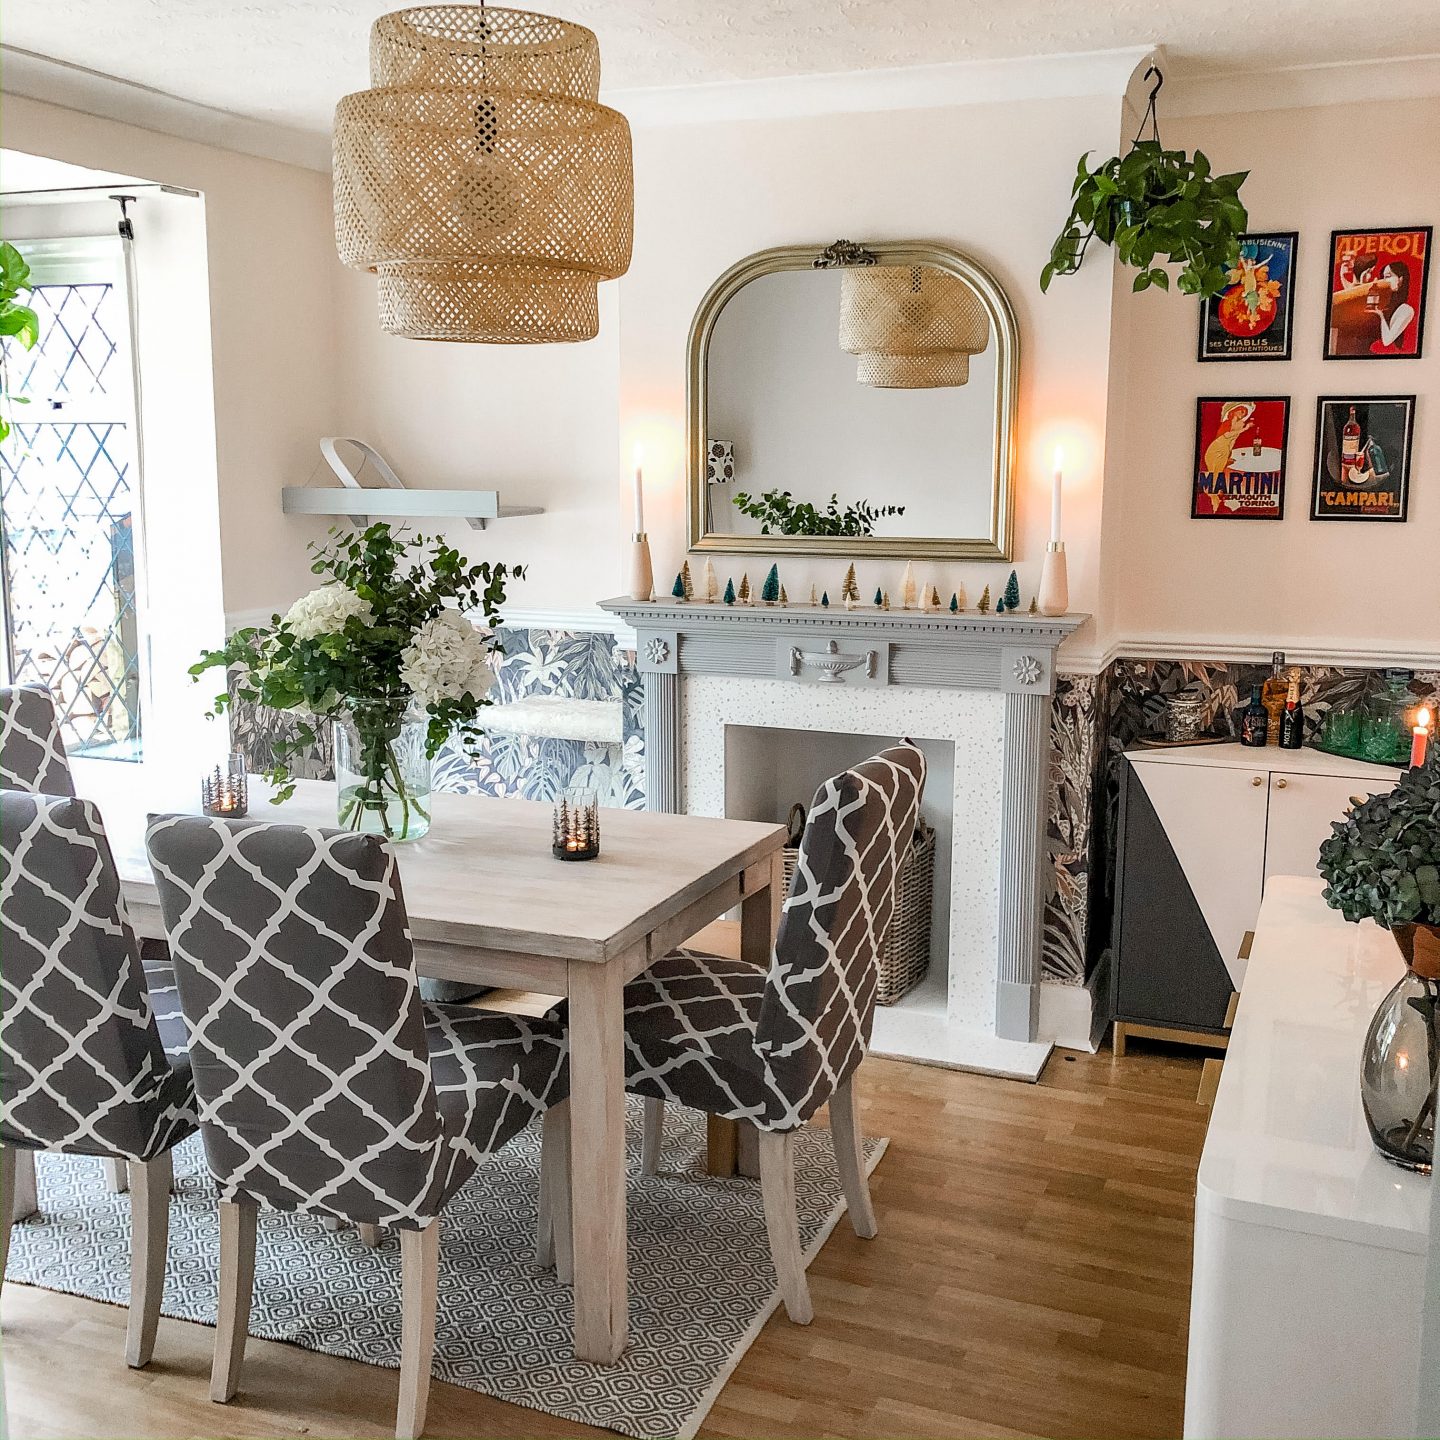
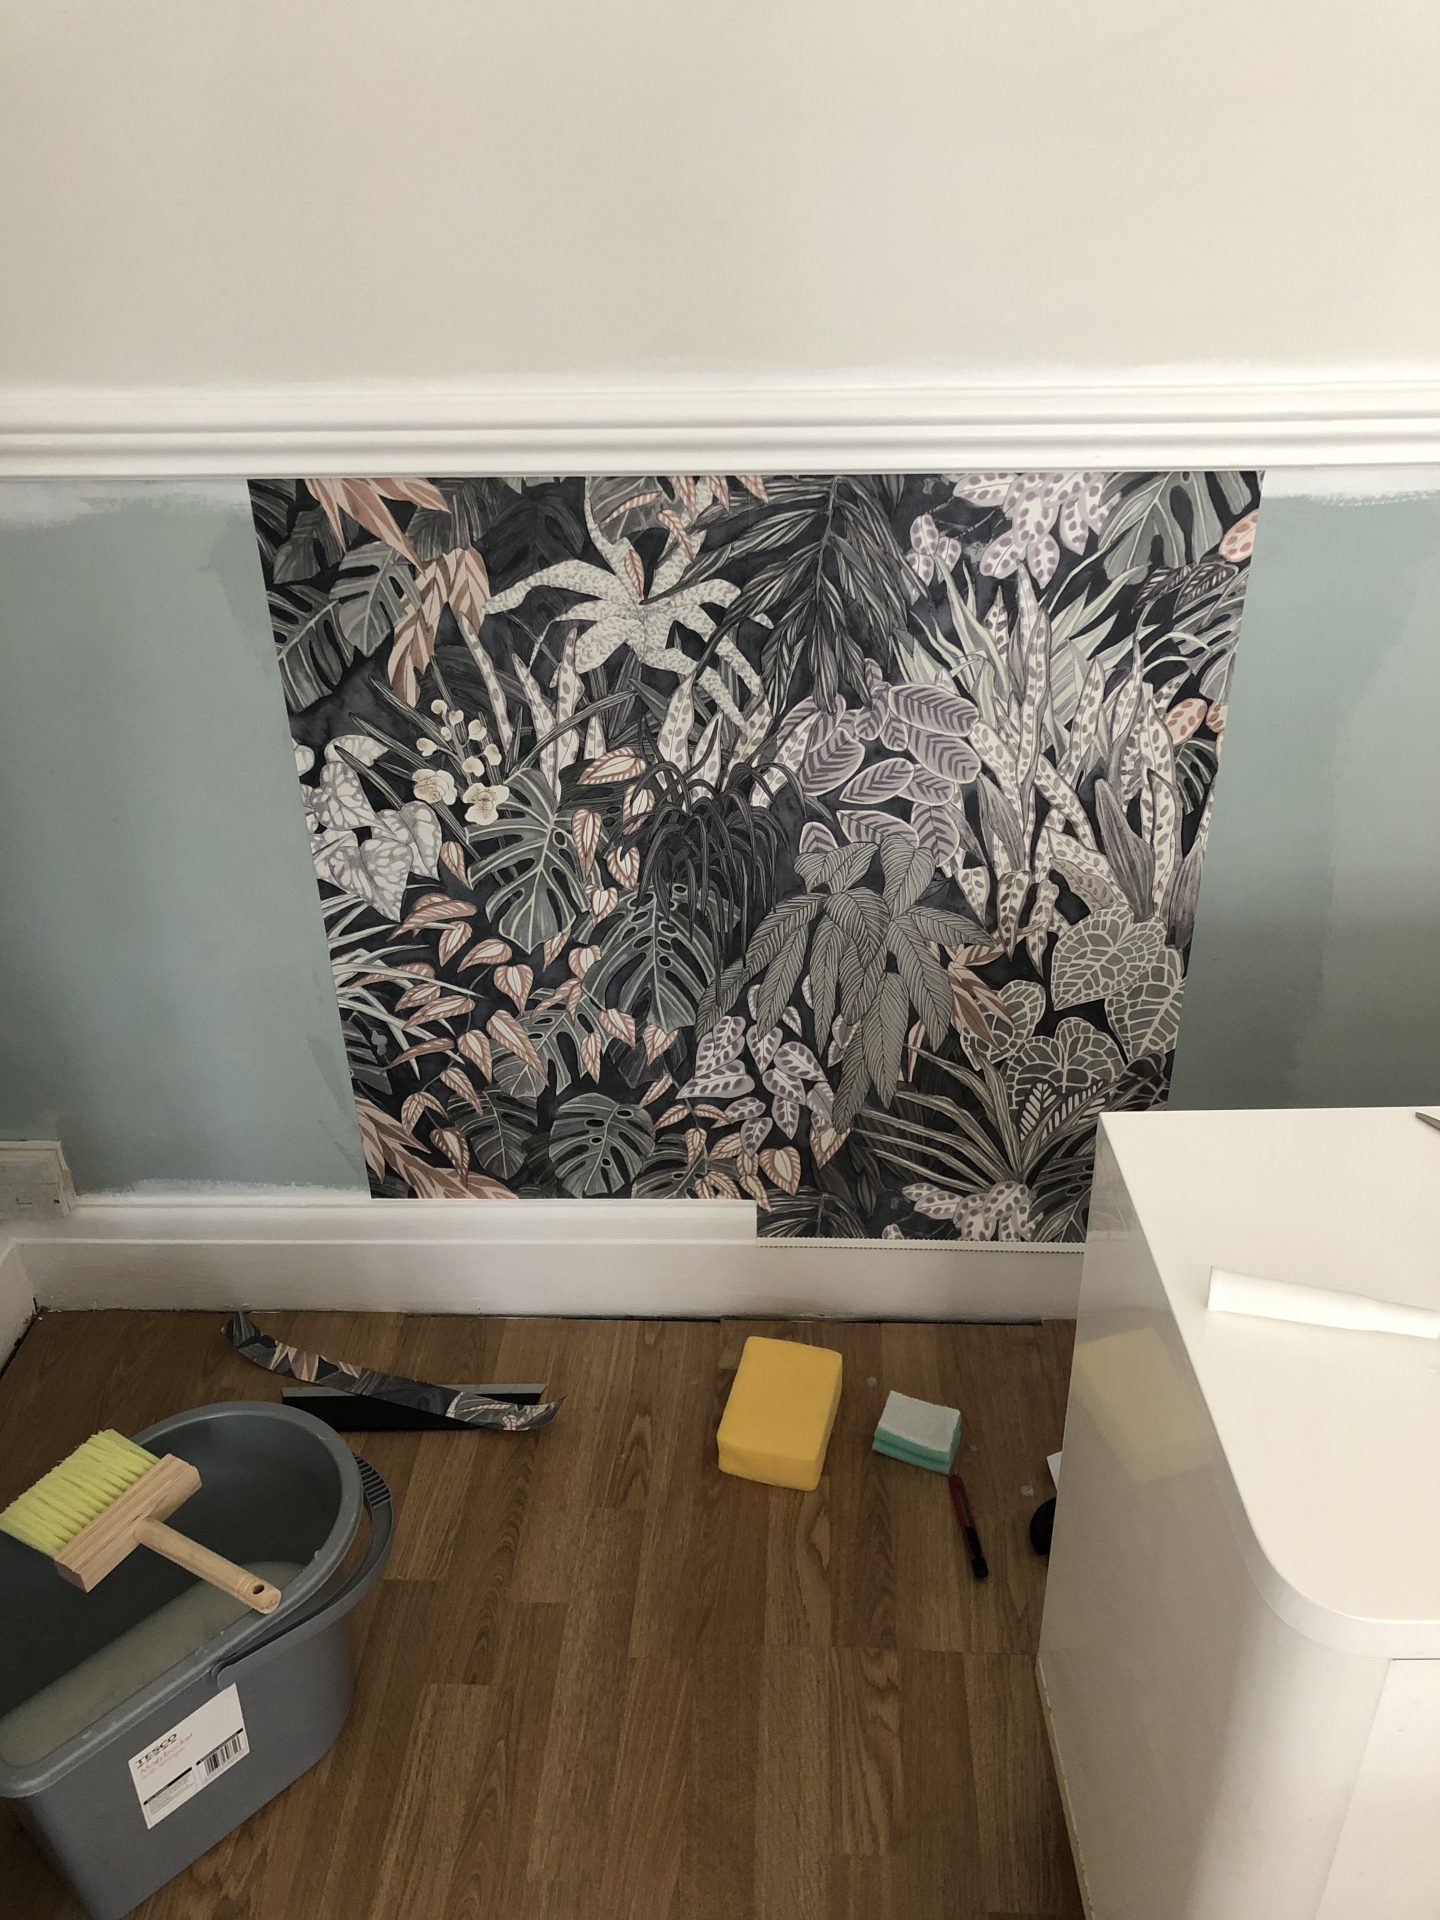
I started to think that actually, who knows when we’ll do the major work in our dining room and I could give it a bit of a pre-Christmas makeover. With everything else I tackled last year learning to wallpaper couldn’t really be that hard. Our dining room was literally used for nothing other than housing the animals and our route to the garden and in the nearly 6 years we’ve lived here we’ve probably eaten at the dining table just a handful of times. Plus, with a dado rail I realised I could “cheat” at wallpapering and only have to do half the wall which would surely be SO much easier (famous last words…)
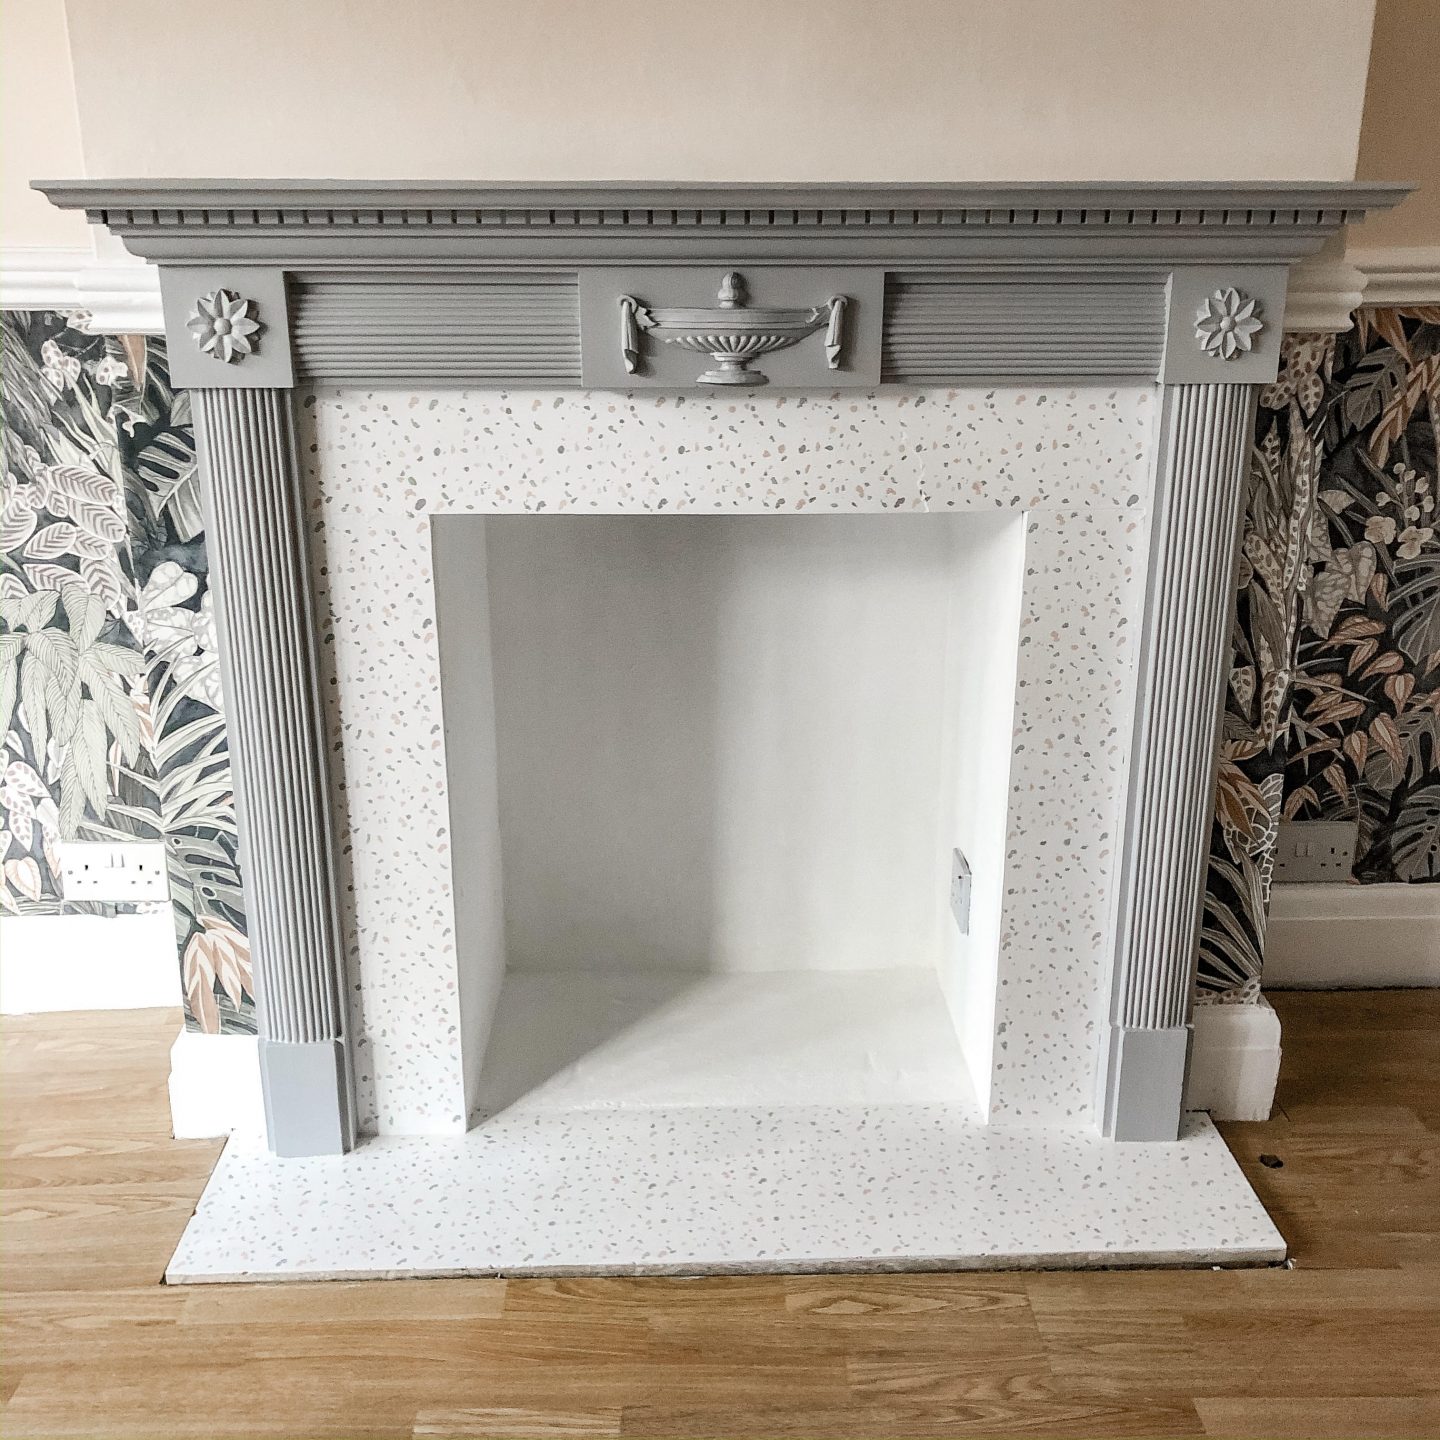
Let’s just kick off with how AMAZING Photowall actually is. From wall murals to designer wallpapers to posters, there is just so much choice. I opted for the Tanglewood Silver Ash, loving both the design and deciding that the greys/greens/pinks of the colour scheme would link the dining room perfectly with other rooms in our home.
Ordering
Ordering is beyond a doddle and here’s why: you give your actual wall measurements, rather than having to second guess how many rolls you’ll need. So you measure the height and width, plus a bit excess for trimming. The wallpaper is then delivered on one long roll with instructions on where to cut and with each panel being numbered. In theory it takes the headache of trying to pattern match – of course, you still have to line everything up correctly which is easier said than done with wonky old walls but it’s considerably easier than I was expected. Learning to wallpaper was turning out to be a cinch…
Research
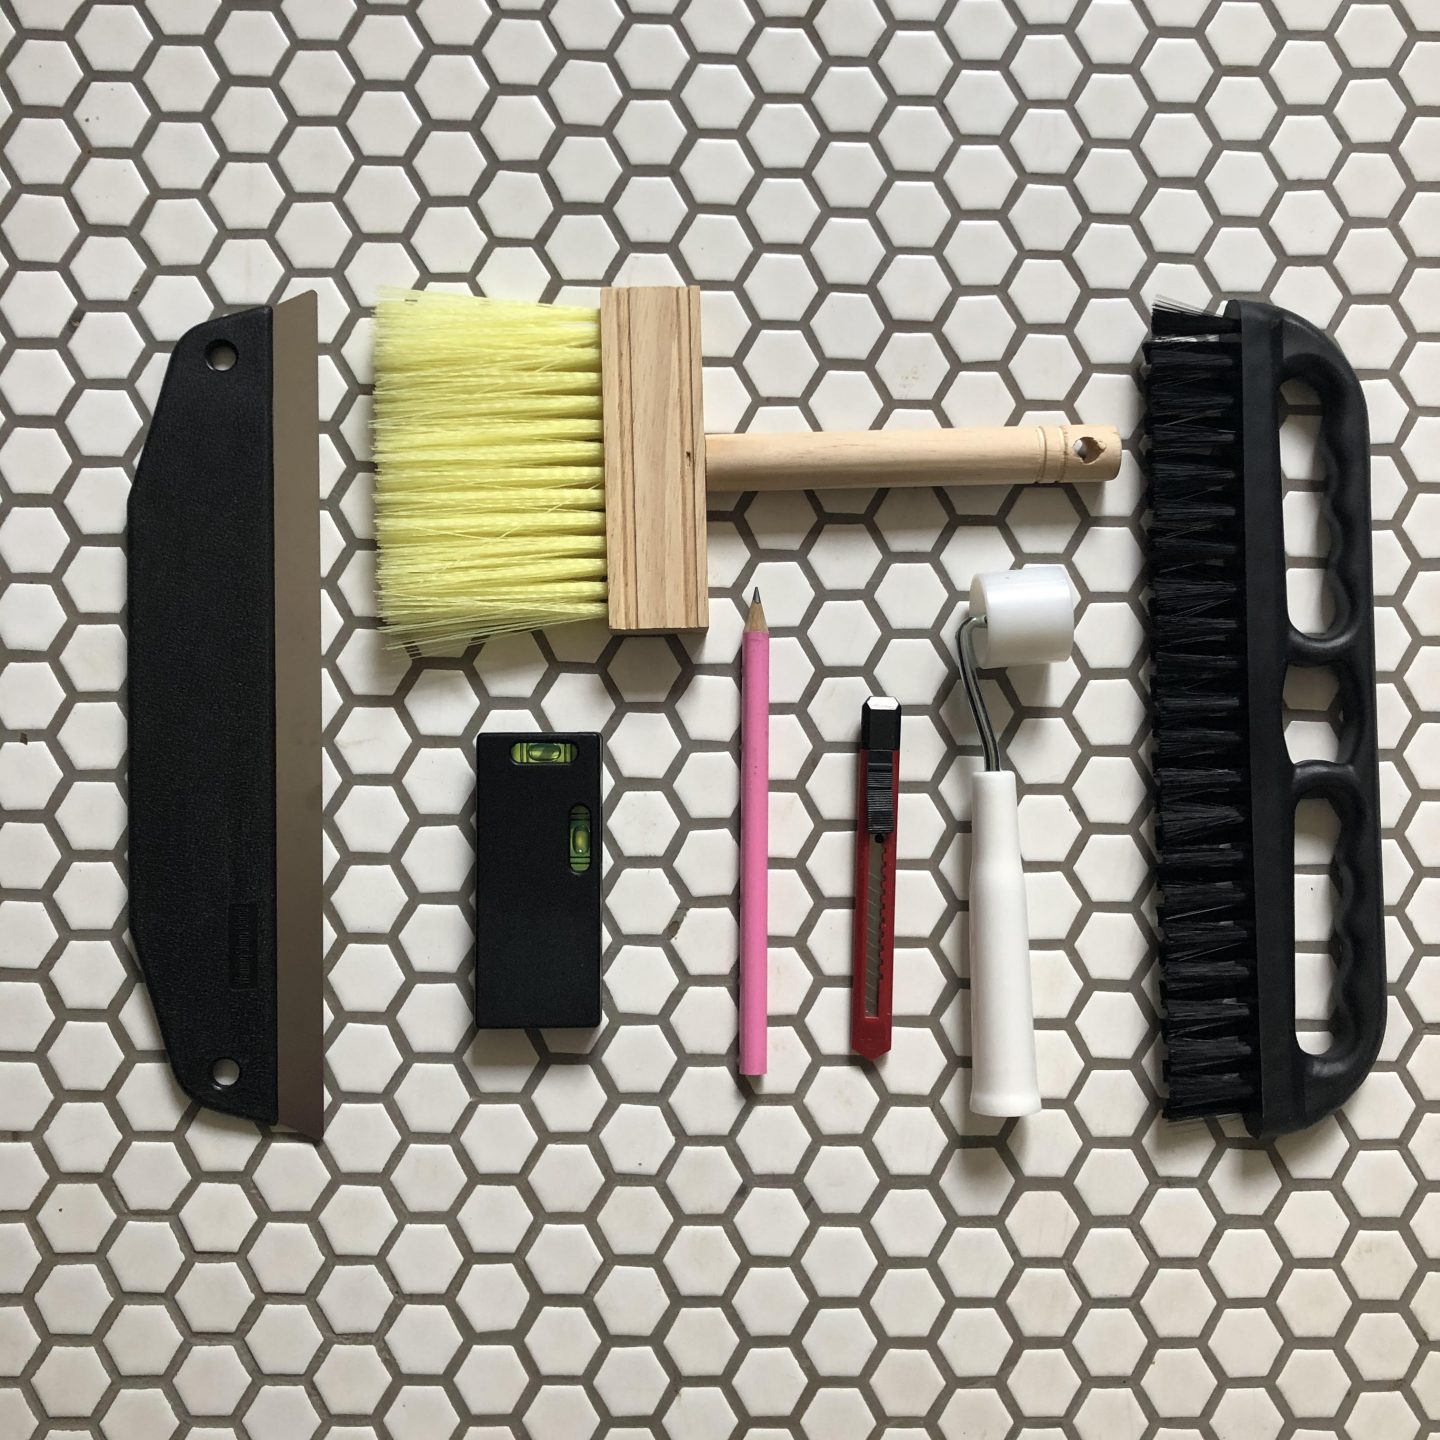
I’d asked a few people for advice before I began and the ever-talented Melanie Lissack Interiors has a superb blog post all about it which I definitely referred to. Ultimately though I decided to stick to the exact instructions Photowall provided. I ordered one of their wallpapering kits which included a pasting brush, a smoothing brush, a seam roller and a tape measure/spirit level. A mixture to make up your paste is provided and is enough to cover 50sq meters so you can’t go wrong. Another huge plus is that the wallpaper is delivered without a scrap of plastic packaging and delivery takes around 2-3 days from ordering.
Getting Started
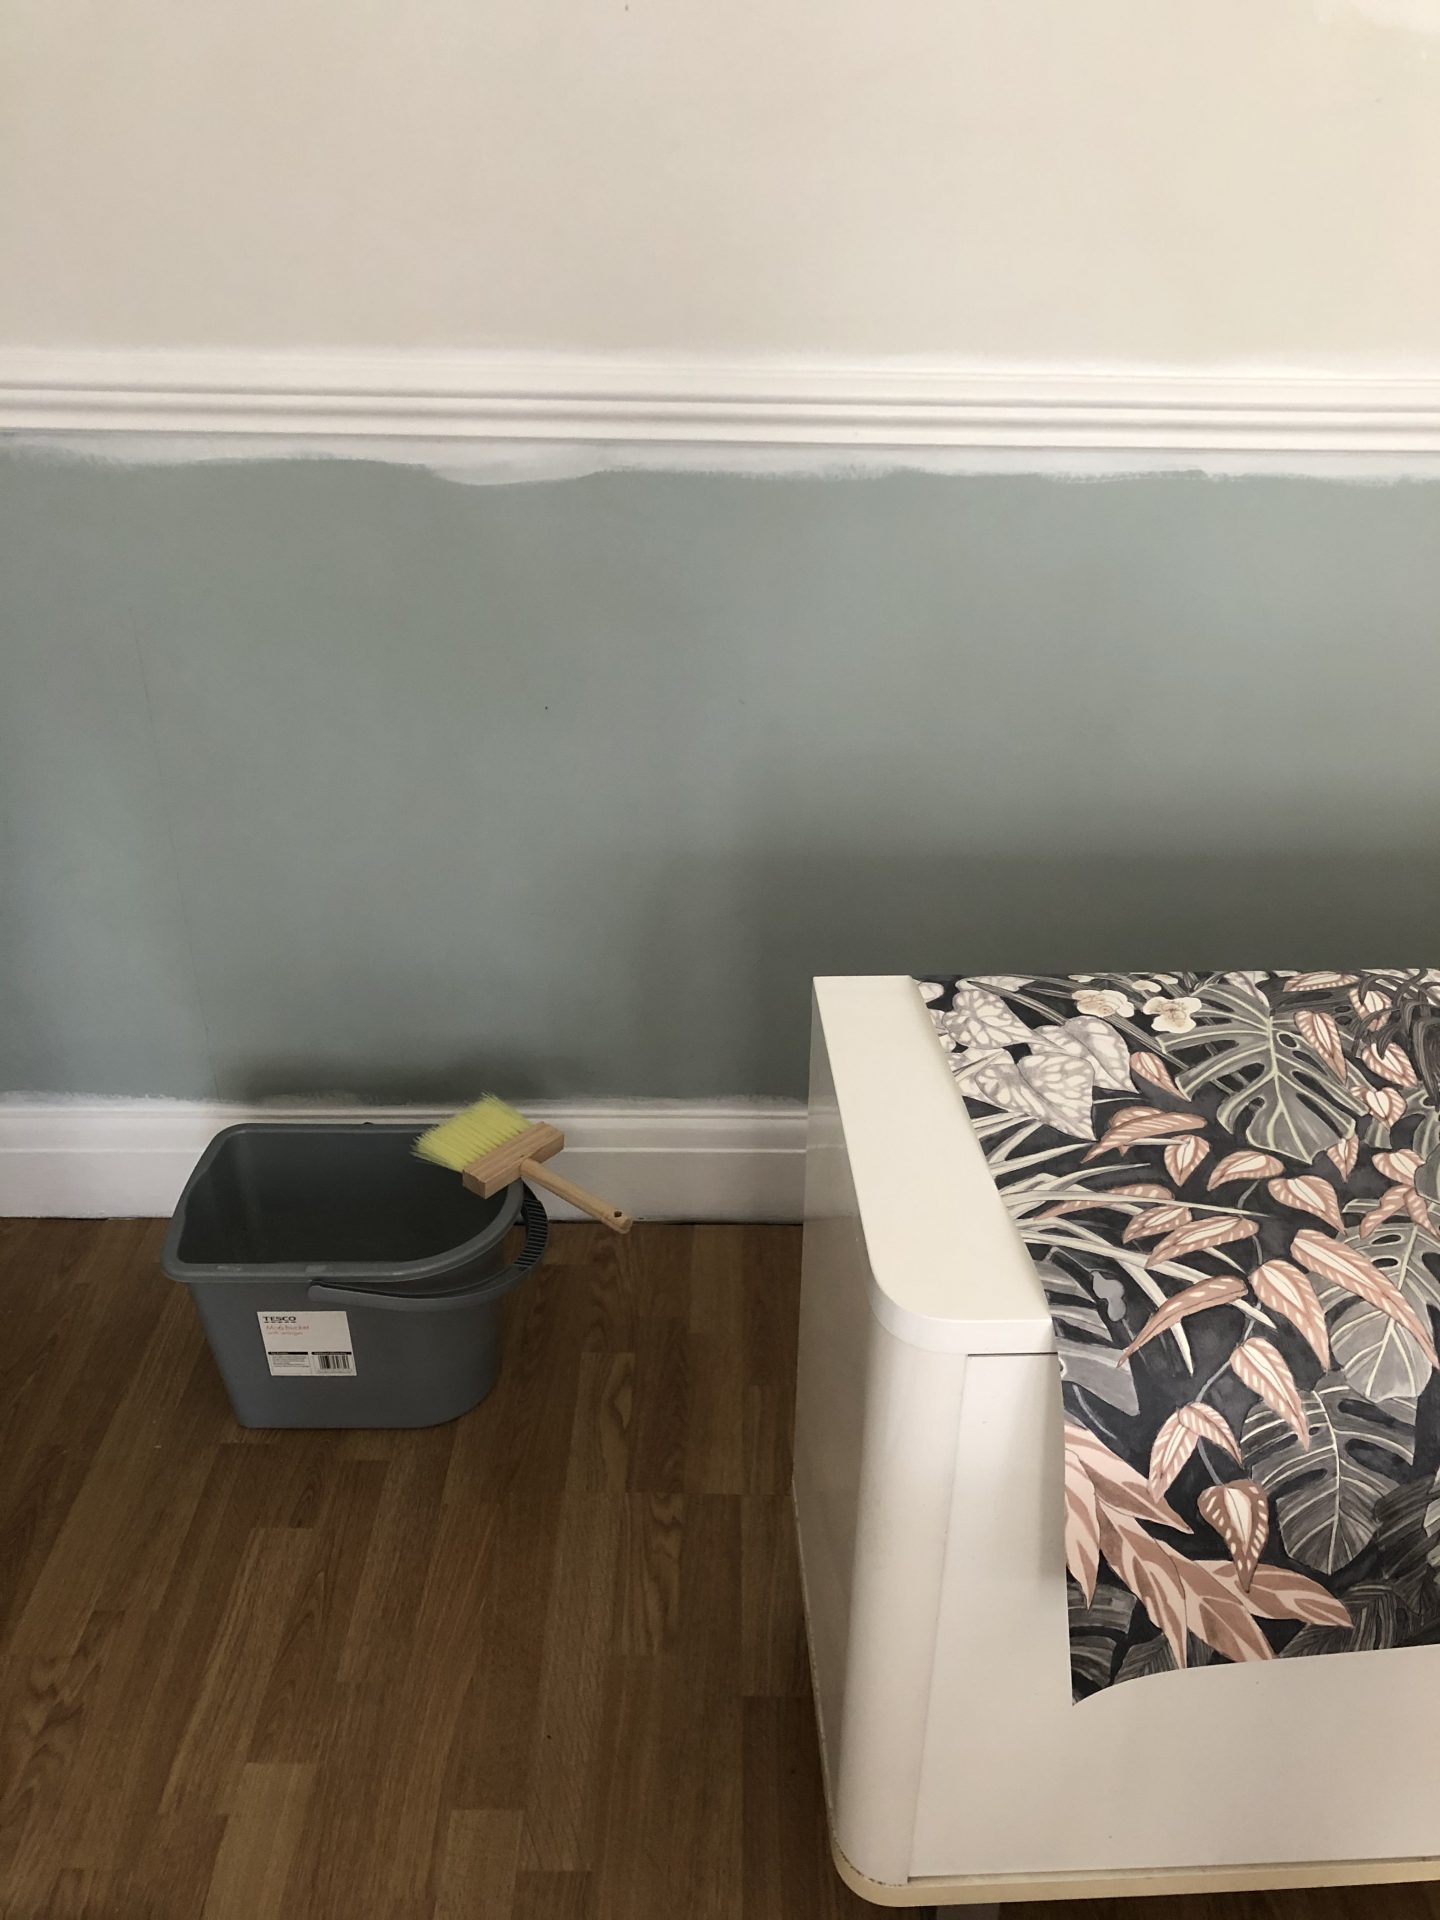
So with my paste mixed, my panels cut, my straight lines measured (a plumb line is recommended but I used my spirit level and thankfully despite so many botch jobs in this house, the dado rail was amazingly straight), it was time to get going. Honestly I was SO NERVOUS, I can’t remember the last time I felt that way.
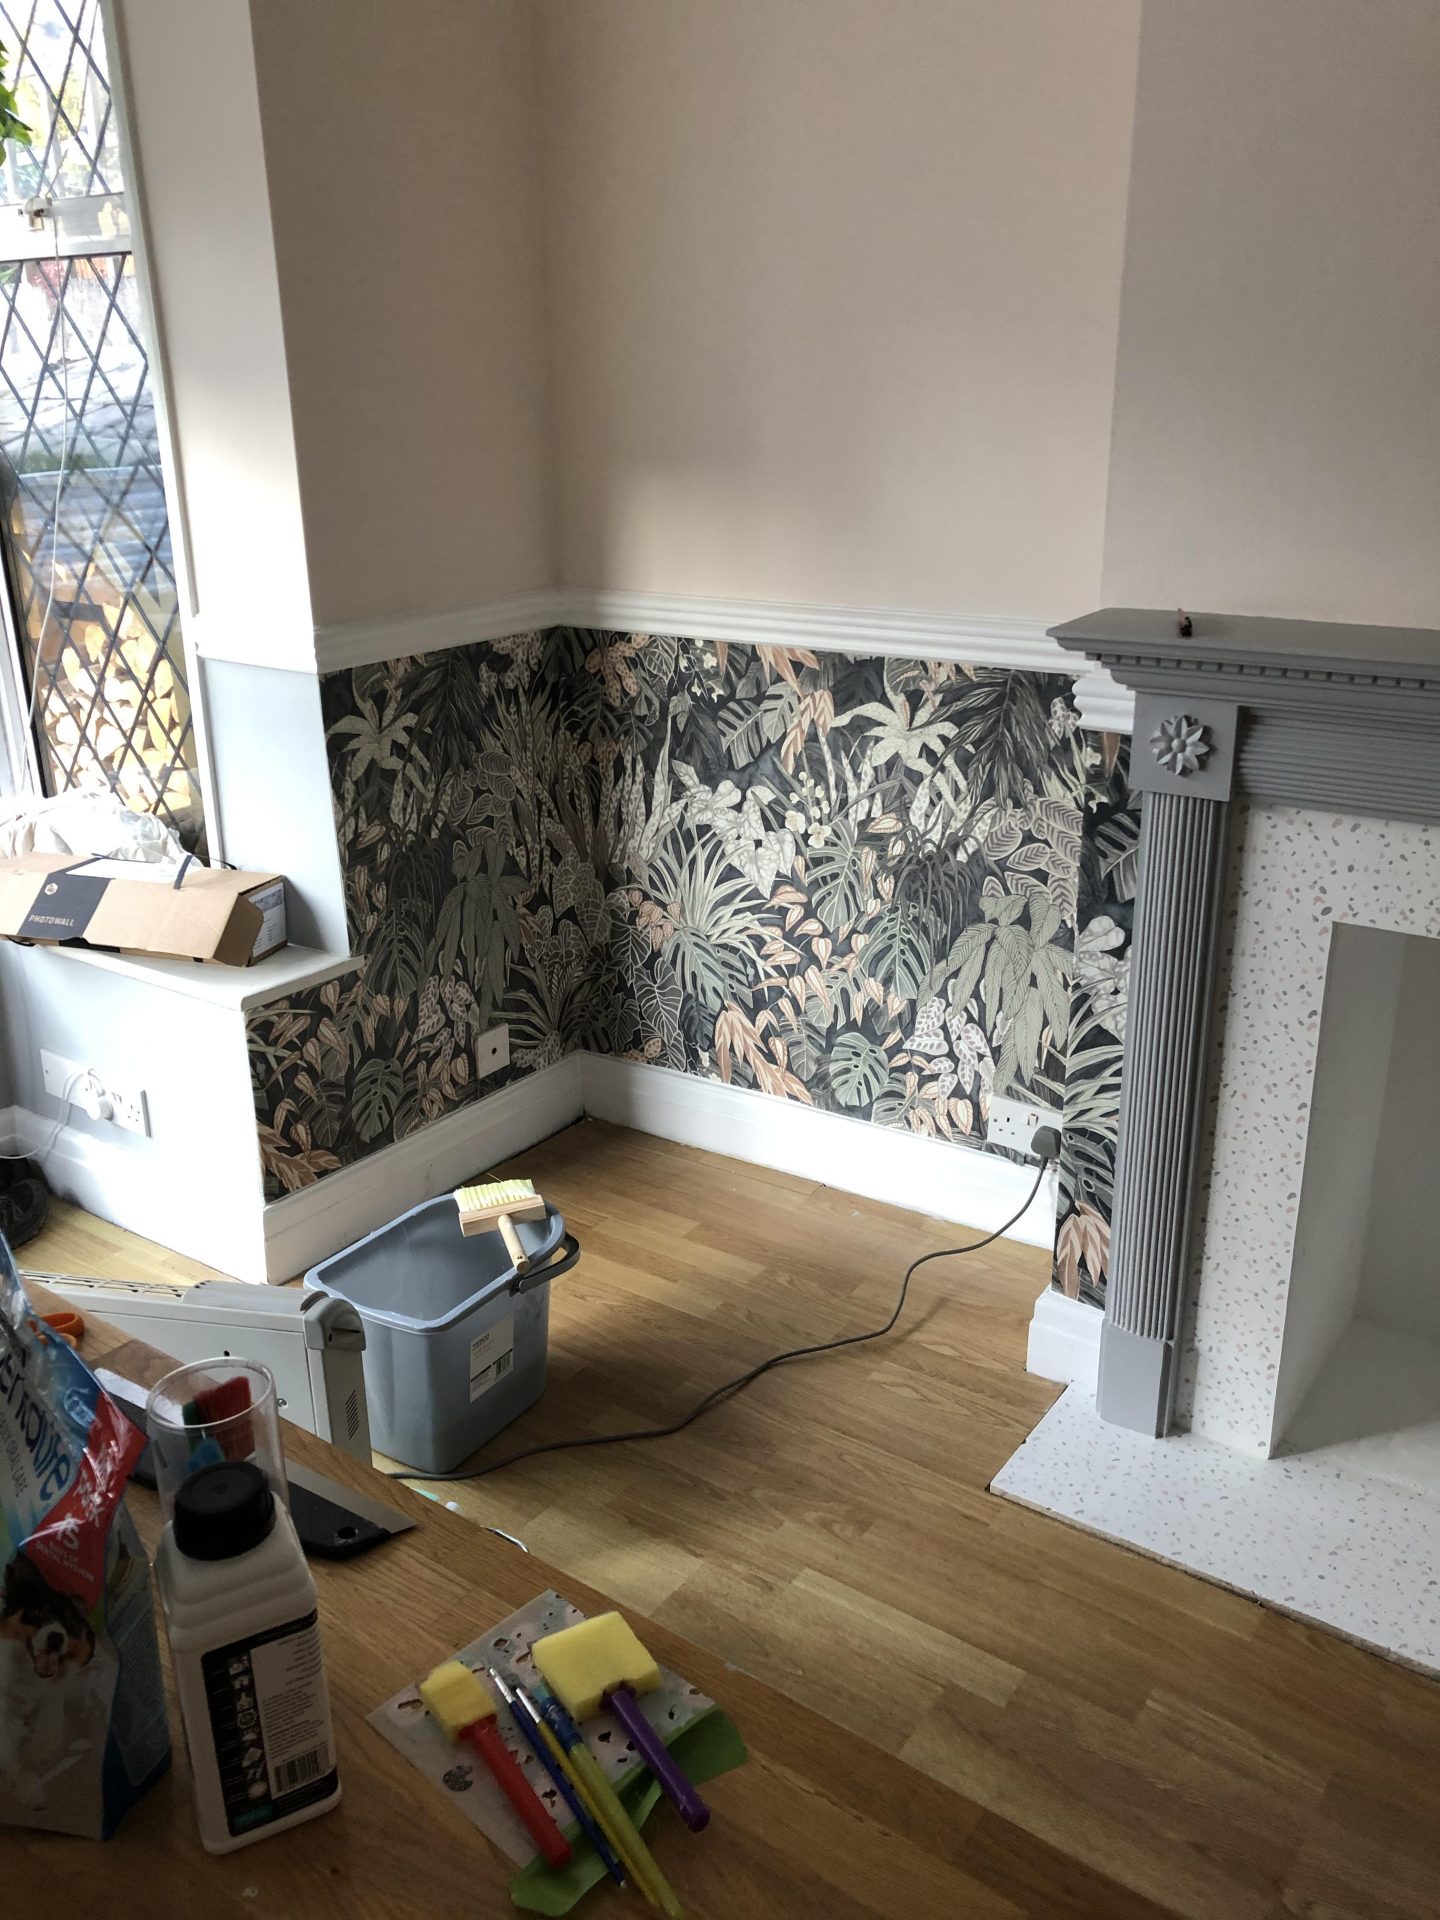
The first section definitely lulled me into a false sense of security, just one longer section of plain wall without any sockets, corners or inconveniences. Then I had to tackle a little bit of an internal corner but just like with everything, there is so much information on line and especially YouTube. Can I say that the bits of work where I know no-one is going to see them are perfect? No. But no-one is going to see them so ya know, it’s good enough for me.
The next wall was all about the radiator but thankfully with it being an older house, the skirting boards are higher than the bottom of the radiator so it was just a matter of cutting a couple of my panels into L-shapes and slotting them around the radiator fitting. Yes, I could have done the good and proper thing and taken the radiator off the wall but learning one new skill was enough, I haven’t yet done my own radiator removal and didn’t fancy starting just for this.

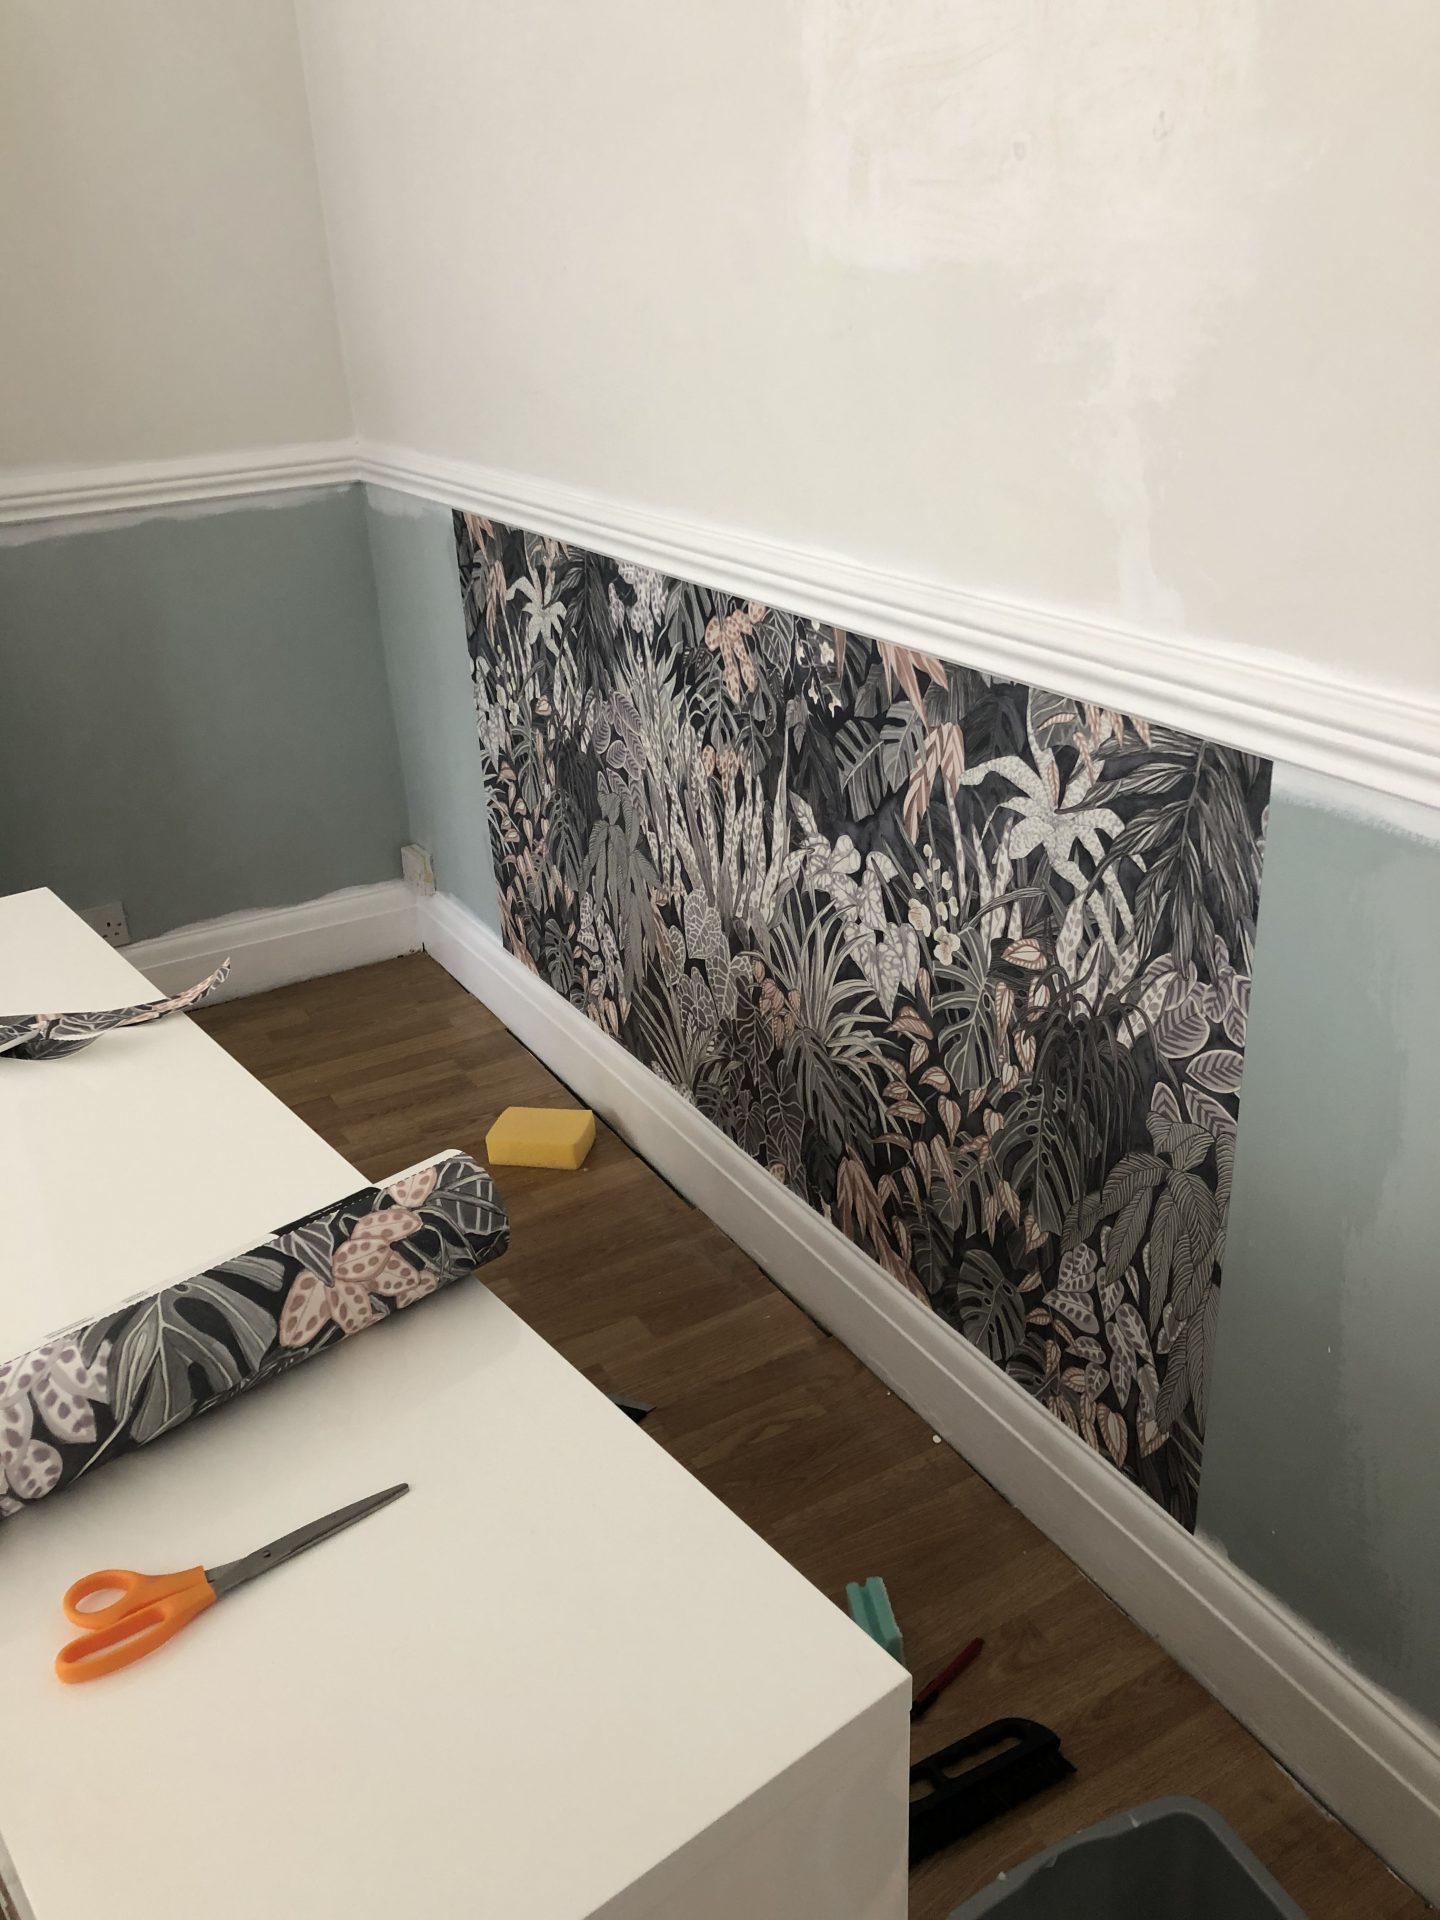
Progress
Before long I was half way round the room and starting to think I had it licked. It’s by no means an easy job, most of our plug sockets are located near the corners, plus there are some awkward shaped angles and alcoves. And yes, I made a mistake and annoyingly whilst I’d calculated enough wallpaper for trimming, I hadn’t ordered enough for really messing up. The moral of the story is, when you start to get tired, stop. You WILL make a mistake.

The Mistake
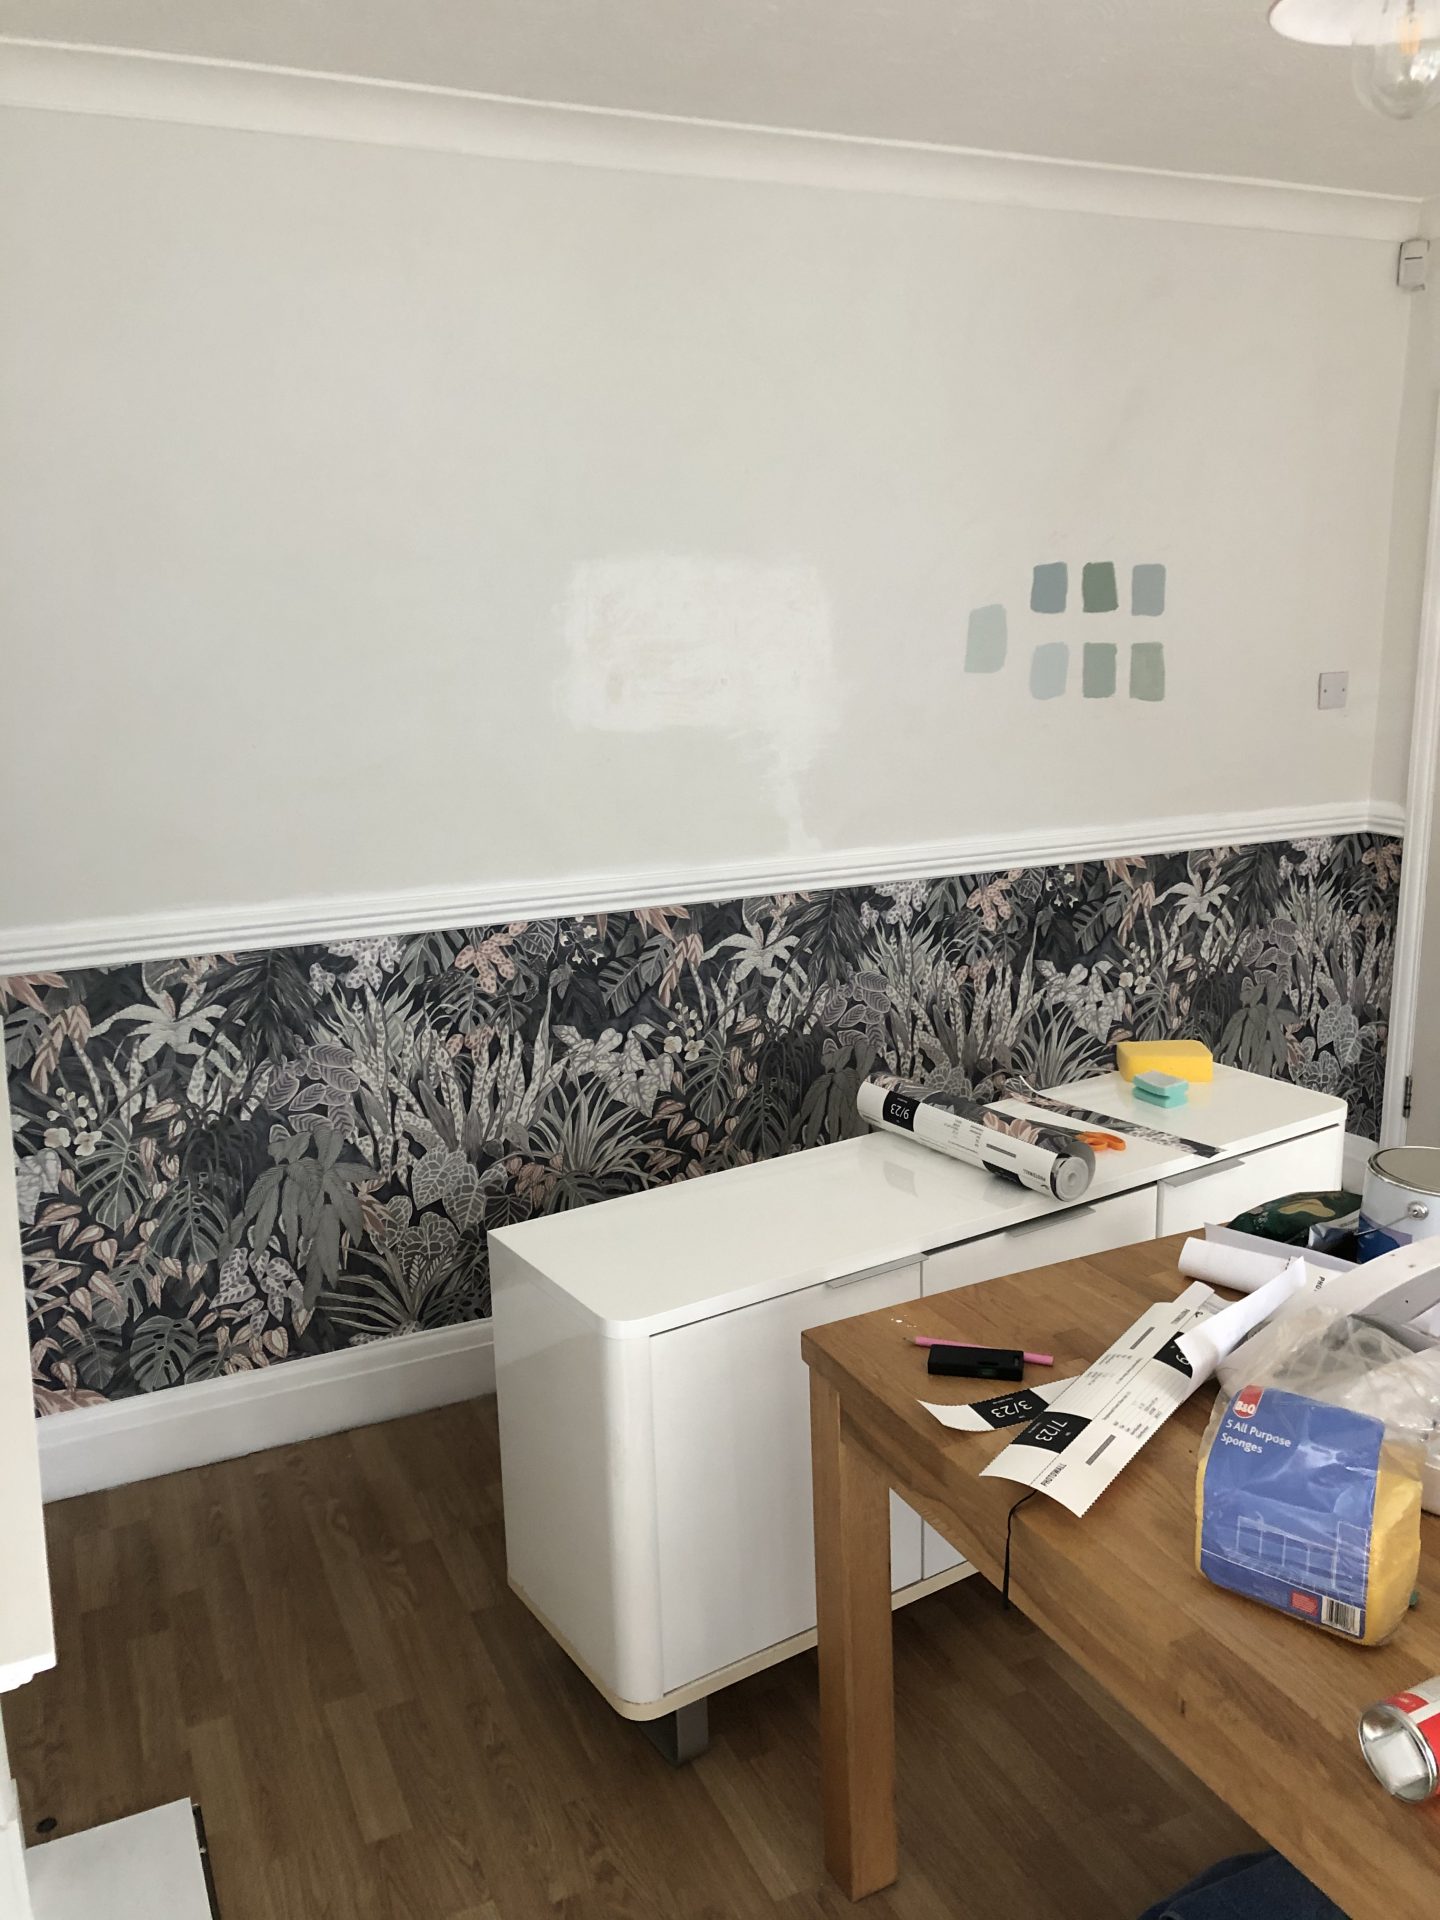
I was trying to do the other side of the dining room bay windows and despite having successfully completed one side of it I decided to attempt a different tack and started cutting the wallpaper panels into different pieces to make it easier. But the more you cut, the more room for error there is and nothing was straight – it basically looked like a patchwork quilt. Learning to wallpaper 101 – don’t cut more than is necessary.
It felt like a frustrating setback especially because I’d made such good progress and really had the bit between my teeth. So I decided to work backwards on the side of the room that I’d started and at least finish as much as I could. It just left me with one alcove to order more paper for and after taking a little break from it just to decompress, I order some more and finished the job (the wallpaper re-order was paid for by me, for complete disclosure).
Top tips
My tips for learning to wallpaper?
- Getting a straight line is key. If you start off wonky, it will get worse and worse
- Be patient
- Use You Tube tutorials to help if needed. I’m quite a visual person
- Follow the instructions on the wallpaper (if they come with any). As an example, Photowall advise pasting the wall, not the paper so I stuck to that and it worked in about 95% of the job. If I needed to add extra paste I did to the paper but didn’t start off pasting both
- Order extra in case you make any mistakes
- Don’t be scared. It’s not that difficult.
I honestly can’t tell you how proud I am that 2019 saw me learning to wallpaper. I’d definitely try it again although I’d be less confident with a full height wall (that said, if it’s a long flat wall with no corners or things to navigate that would definitely be easy!)
Thank you so much to Photowall for collaborating on this project and enabling me to totally transform our dining room at the same time, it really does feel like a dining room I love now rather than just being a dumping ground. As a reminder please use code booandmaddie2019 for 25% off any Photowall product until January 18th.
PIN FOR LATER:

Follow me on Facebook | Instagram | Pinterest | Twitter

