Over the last few months I’ve become a little obsessed with upcycling projects (Escape to the Chateau has a lot to answer for!) and the one I want to share in today’s blog post is one of my favourites and most easy to achieve on the smallest of budgets.
Mirrors are a must-have for any home and can really enhance décor from adding extra light to creating a focal point for a room. My goodness though I had NO idea how expensive they can be until we started looking for one for our living room and dining room both of which sit above the fireplaces.
I’ve long hankered after a Crittall look mirror having seen them splashed across so many fabulous homes on Instagram but simply couldn’t justify the cost. Finally a little lightbulb moment came to me one day – we had a mirror languishing unloved that I decided if I could extricate it from the frame would be PERFECT for me to turn into a Crittall look mirror for a fraction of the cost. I’d seen so many people create a Crittall look on their showers using tape so thought it must be even easier to do a mirror.
And we all know I love a challenge! Since it turned out so very well I thought I’d share my tips for this project.
What You’ll Need:
- A suitable mirror – if you don’t have one to upcycle, try Facebook marketplace for bargains
- A backboard, such as an old picture backing
- Strong glue eg No More Nails
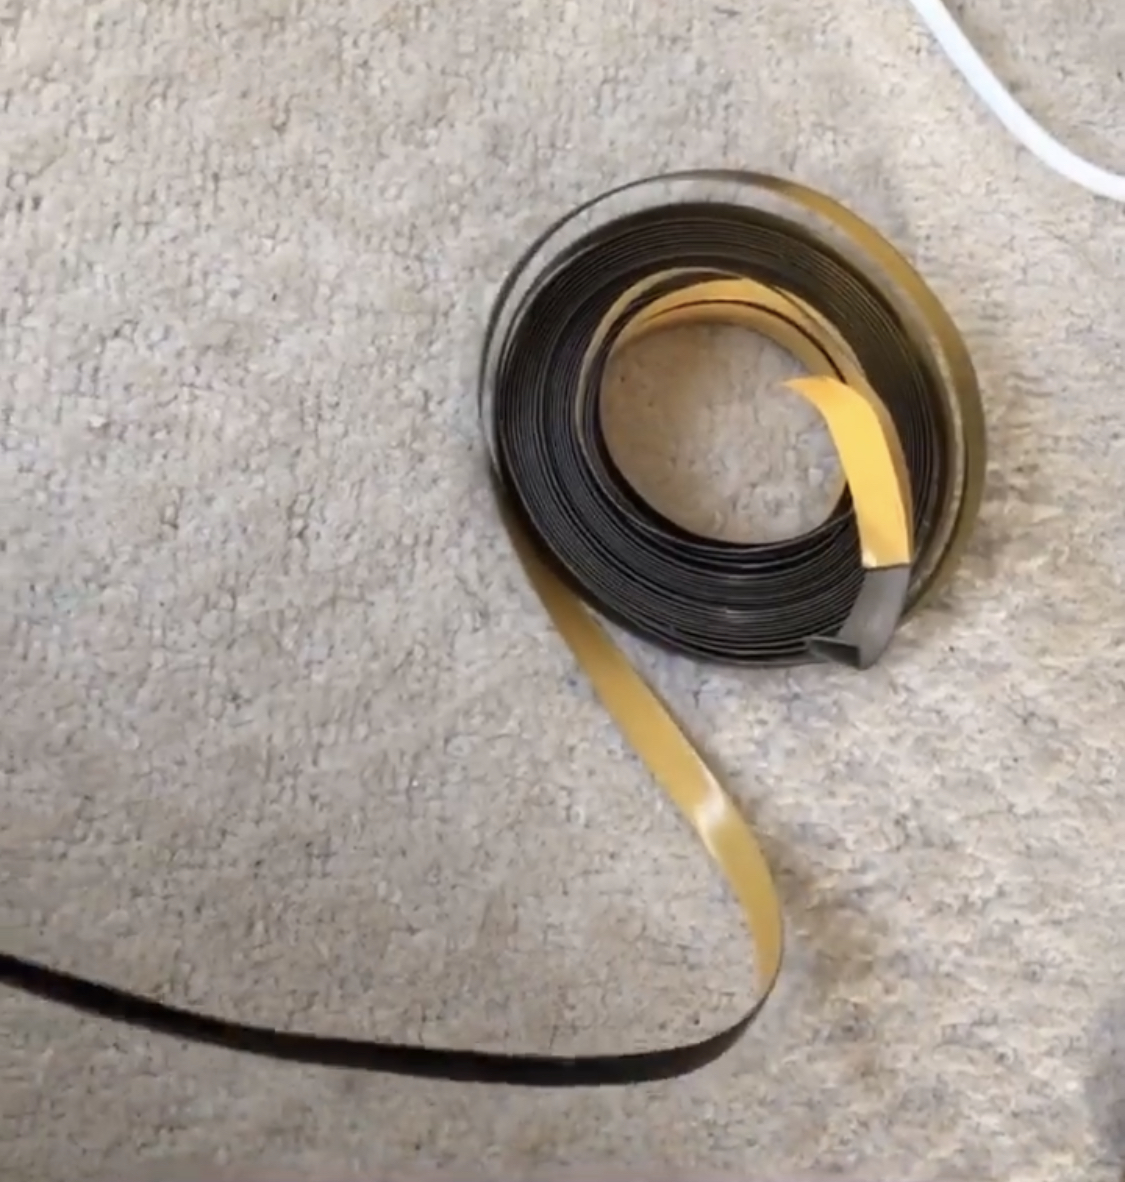
- Lead tape (I bought mine from EBay, colour ‘ebony’, length 5 metres, width 9mm)
- Scissors
- Tape Measure
- Black felt pen eg a Sharpie
Step One:
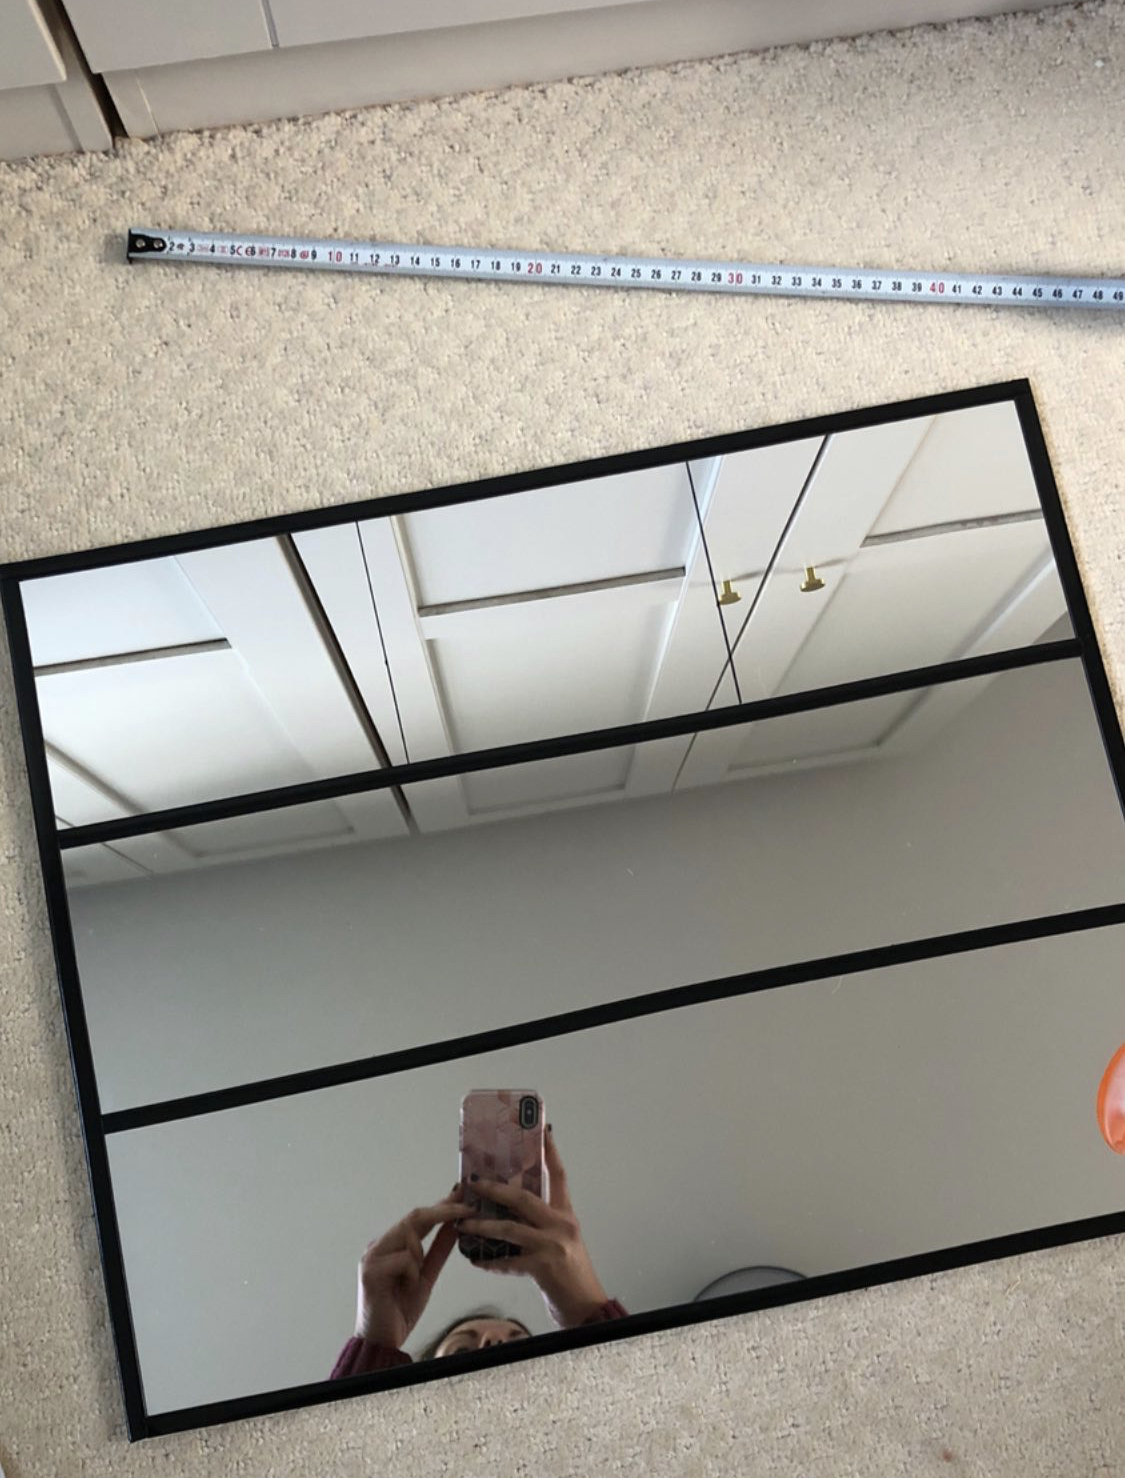
The hardest part of this upcycle may well be getting the mirror out of the frame. I didn’t realise that the mirror sheets themselves are very, very slender and you’ll have to work carefully. Some mirrors may be backed just like a picture is where you can push up the little clips, some may be glued to the backboard and need careful forcing apart using an object like a screwdriver. Please do be careful – too much force means your mirror will be weakened and much more likely to crack.
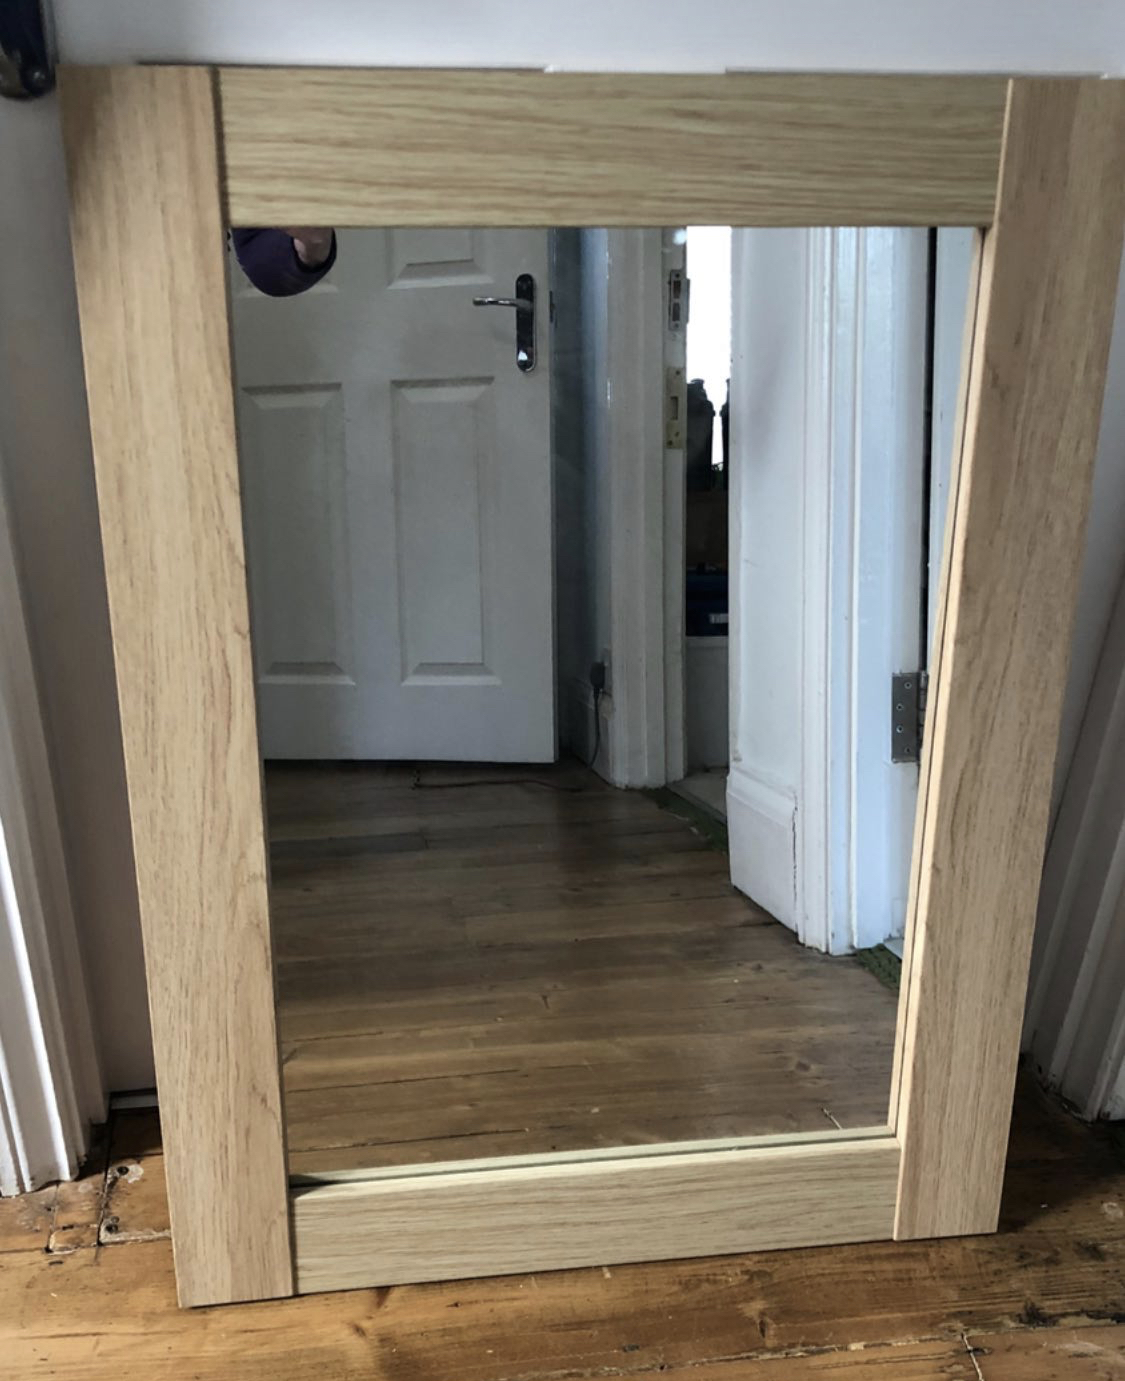
Step Two:
Once the mirror is free of the frame, give it a clean and then stick it to the new backboard using your strong glue. This isn’t essential but as I mentioned, the mirrored sheet itself is so fragile that it’s much better to stick it to a new backboard (or if you’re able to repurpose the existing one) rather than just leave it as it is.
Step Three:
Now the fun part! It’s time to create your design using the lead tape. The lead tape is super easy to work with but it does have sharp edges so just beware of that. It will likely arrive tightly coiled so as you take a piece to work with, you’ll need to straighten it out before removing the adhesive backing. I started off by creating a frame around the edge of my mirror, working down one edge at a time. Next, you’ll need to create your grid segments, either three or four. TO help you decide, try taking a look at some Crittall look mirrors online to get an idea about what you may want. Take your tape measure and measure from inside one frame, to inside the opposite frame, and then divide the section into three or four. You can draw a guideline down the mirror with a black pen so you have a straight line to stick your tape to. Then rotate the mirror and do the same in opposite format (ie, if you have just done portrait setup, now is the time to do landscape, and vice versa). You can run one length of tape over the tape that is already stuck down, rather than cut it into smaller pieces.
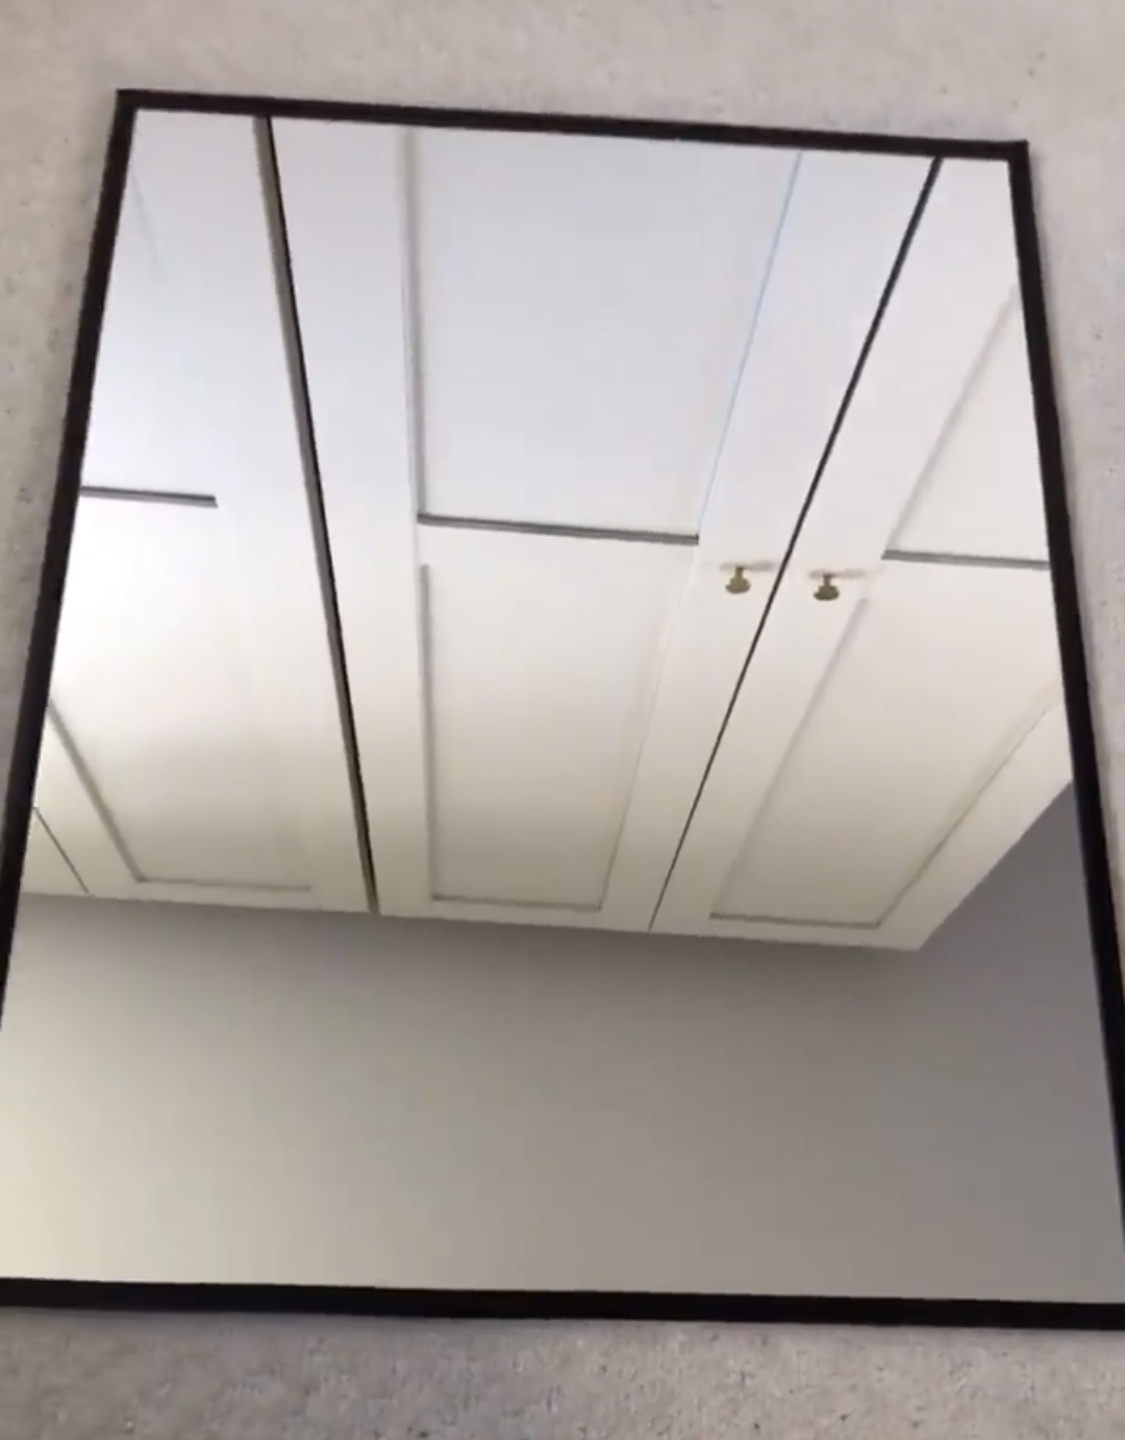
Step Four:
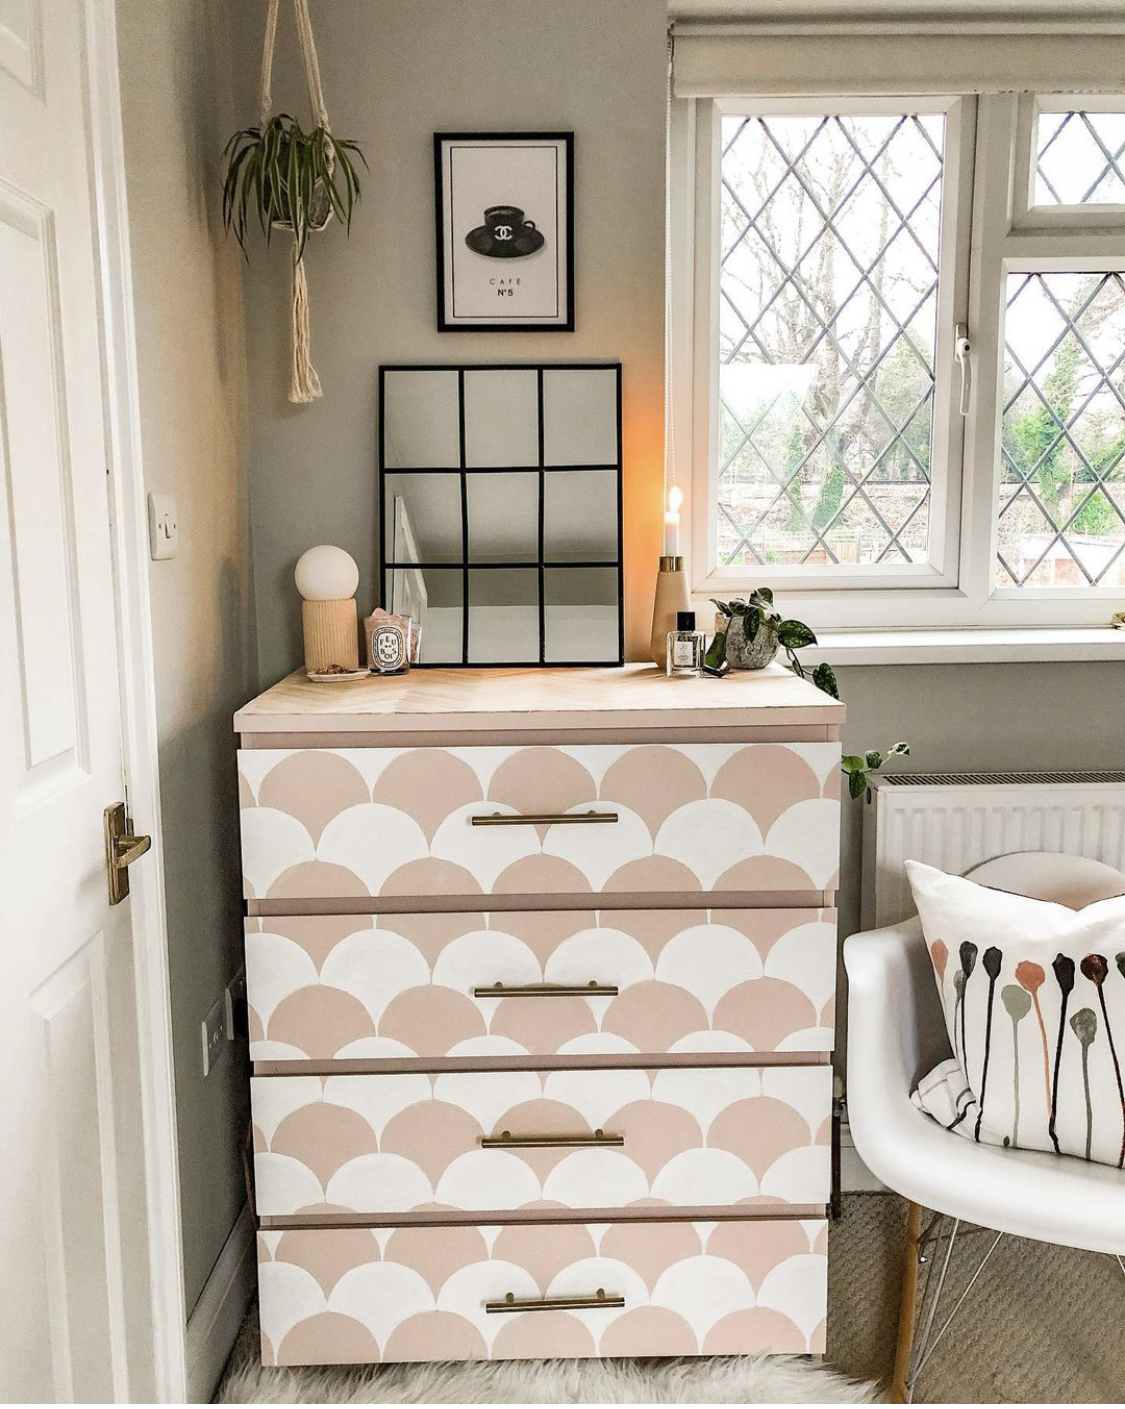
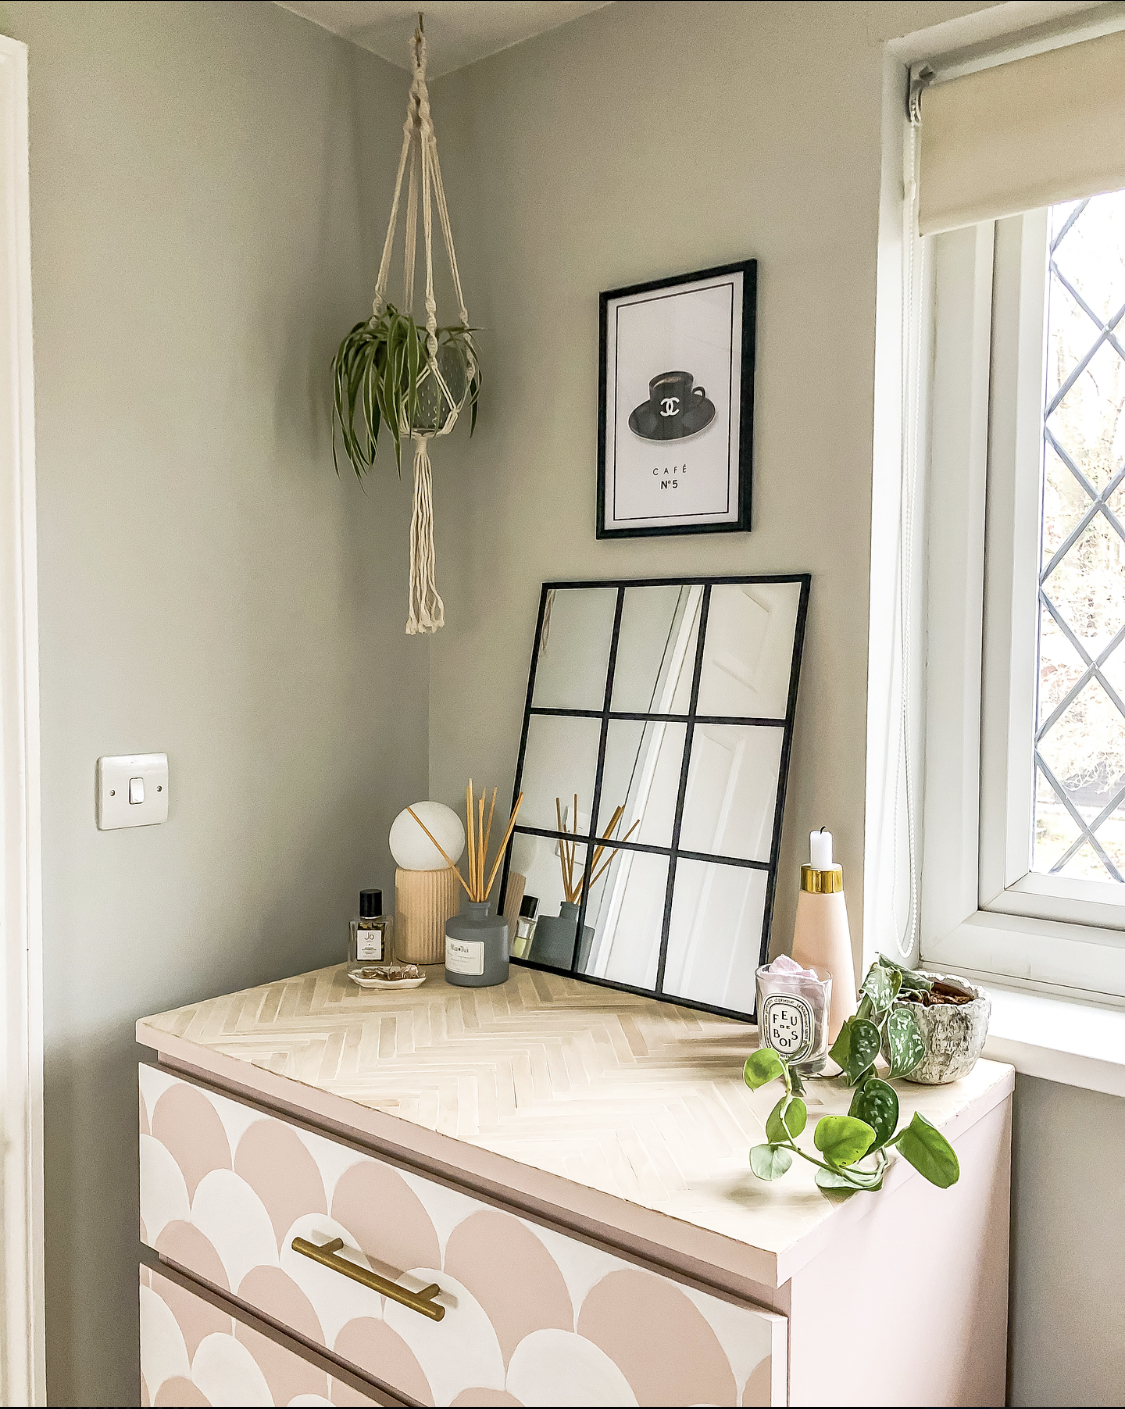
You’re done! Position your mirror and style away. I’ve got ours leaning against a wall on top of my chest of drawers. You may also want to take your marker pen or a small paintbrush and black paint and just paint up the edges of your Crittall look mirror to create a professional finish.
I hope you may give this upcycle project a go, it really is so easy and such a great way to update a mirror instead of throwing it away or buying a new one. If you’d like to see a video guide, click here for my story highlights on Instagram.
Happy upcycling x
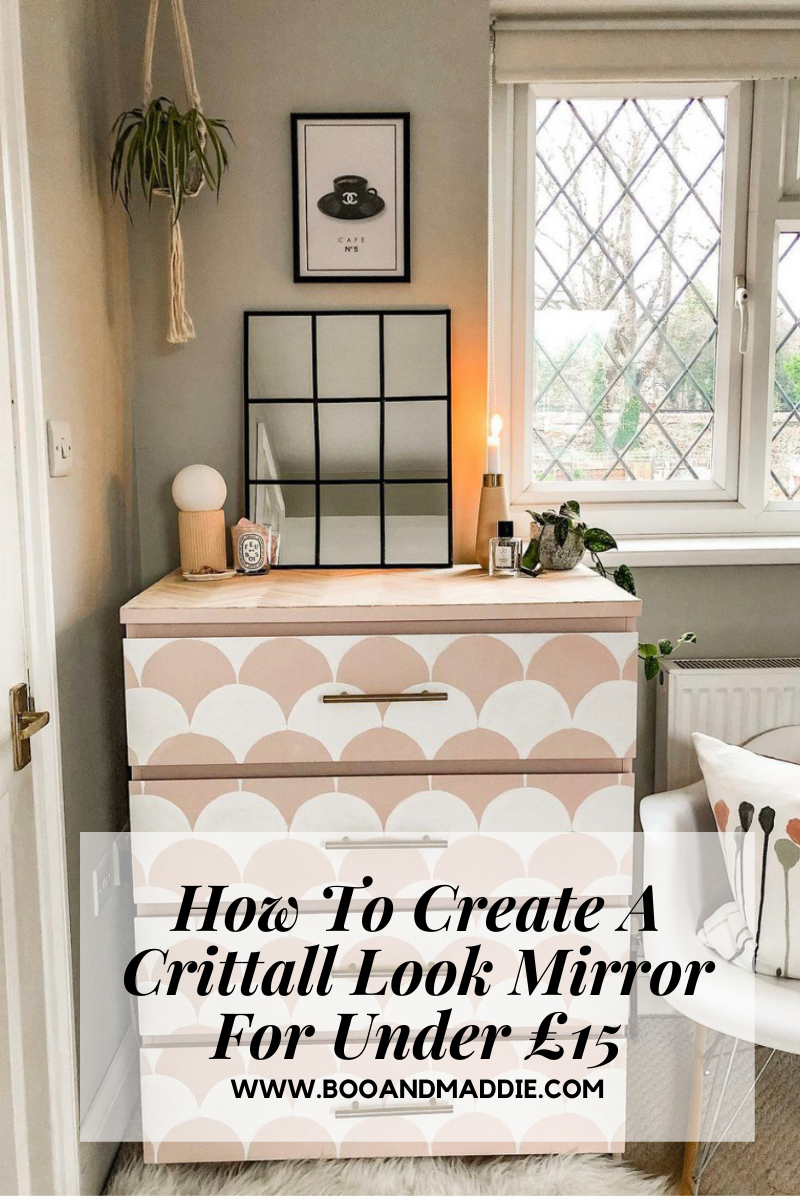
PIN FOR LATER:
Follow me on Facebook | Instagram | Pinterest | Twitter


I love this idea, and it seems simple to do, yet looks effective.
https://www.katescloset.uk/
Author
Thank you Kate, yes so easy to do!!
I’ve just started this project! Managed to take apart a large mirror and waiting on my lead tape from eBay, although I have a feeling I may not have ordered enough! Thanks so much for sharing, can’t wait to get it finished.
Author
Ahh brilliant BEthany, good luck!!
Nice blog! You are sharing great article with helpful and valuable information. I found it very helpful. Keep sharing.
https://habattach.com/
Hi
Do yu have a link for the lead tape please from ebay.
Thank you 🙂
Author
Hi I don’t have a link I’m afraid as it was a long time ago, but if you search “Ebony lead tape” online you should find similar, I think it was around £7-£8 for the roll but may be a little bit more now. Good luck!