I feel like tooting a trumpet (not that I have one mind) because after a SIX YEAR hiatus, our staircase restoration is finally seeing a return to action. To be honest I have no idea what on earth possessed me to start renovating our staircase within a few months of moving in when we had so many more pressing projects to get on with but logic isn’t always my strong point.
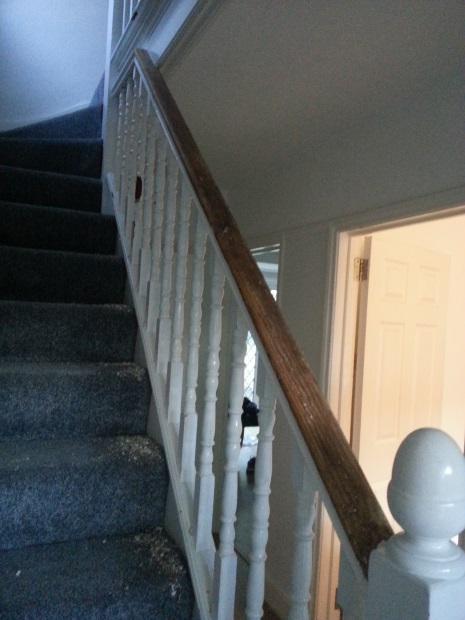
It’s amazing how traumatised you can feel by something when you don’t really know what you’re doing. My DIY skills were very definitely in their infancy back in 2014 and so stripping spindles of almost 100 years of layers of gloss paint nearly finished me off and saw me run screaming from the house. That’s why, not even joking, it’s taken me this long to even consider resuming this part of our home renovation.
I keep thinking to myself “when I look back on this lockdown time will I be happy I made the most of it?” and the answer I think is yes, so long as some of the never-ending house projects get ticked off the list. Feeling a bit out of sorts a couple of weeks ago, I said to Pete “oh my god we have GOT to finish this staircase” and so it began. Again.

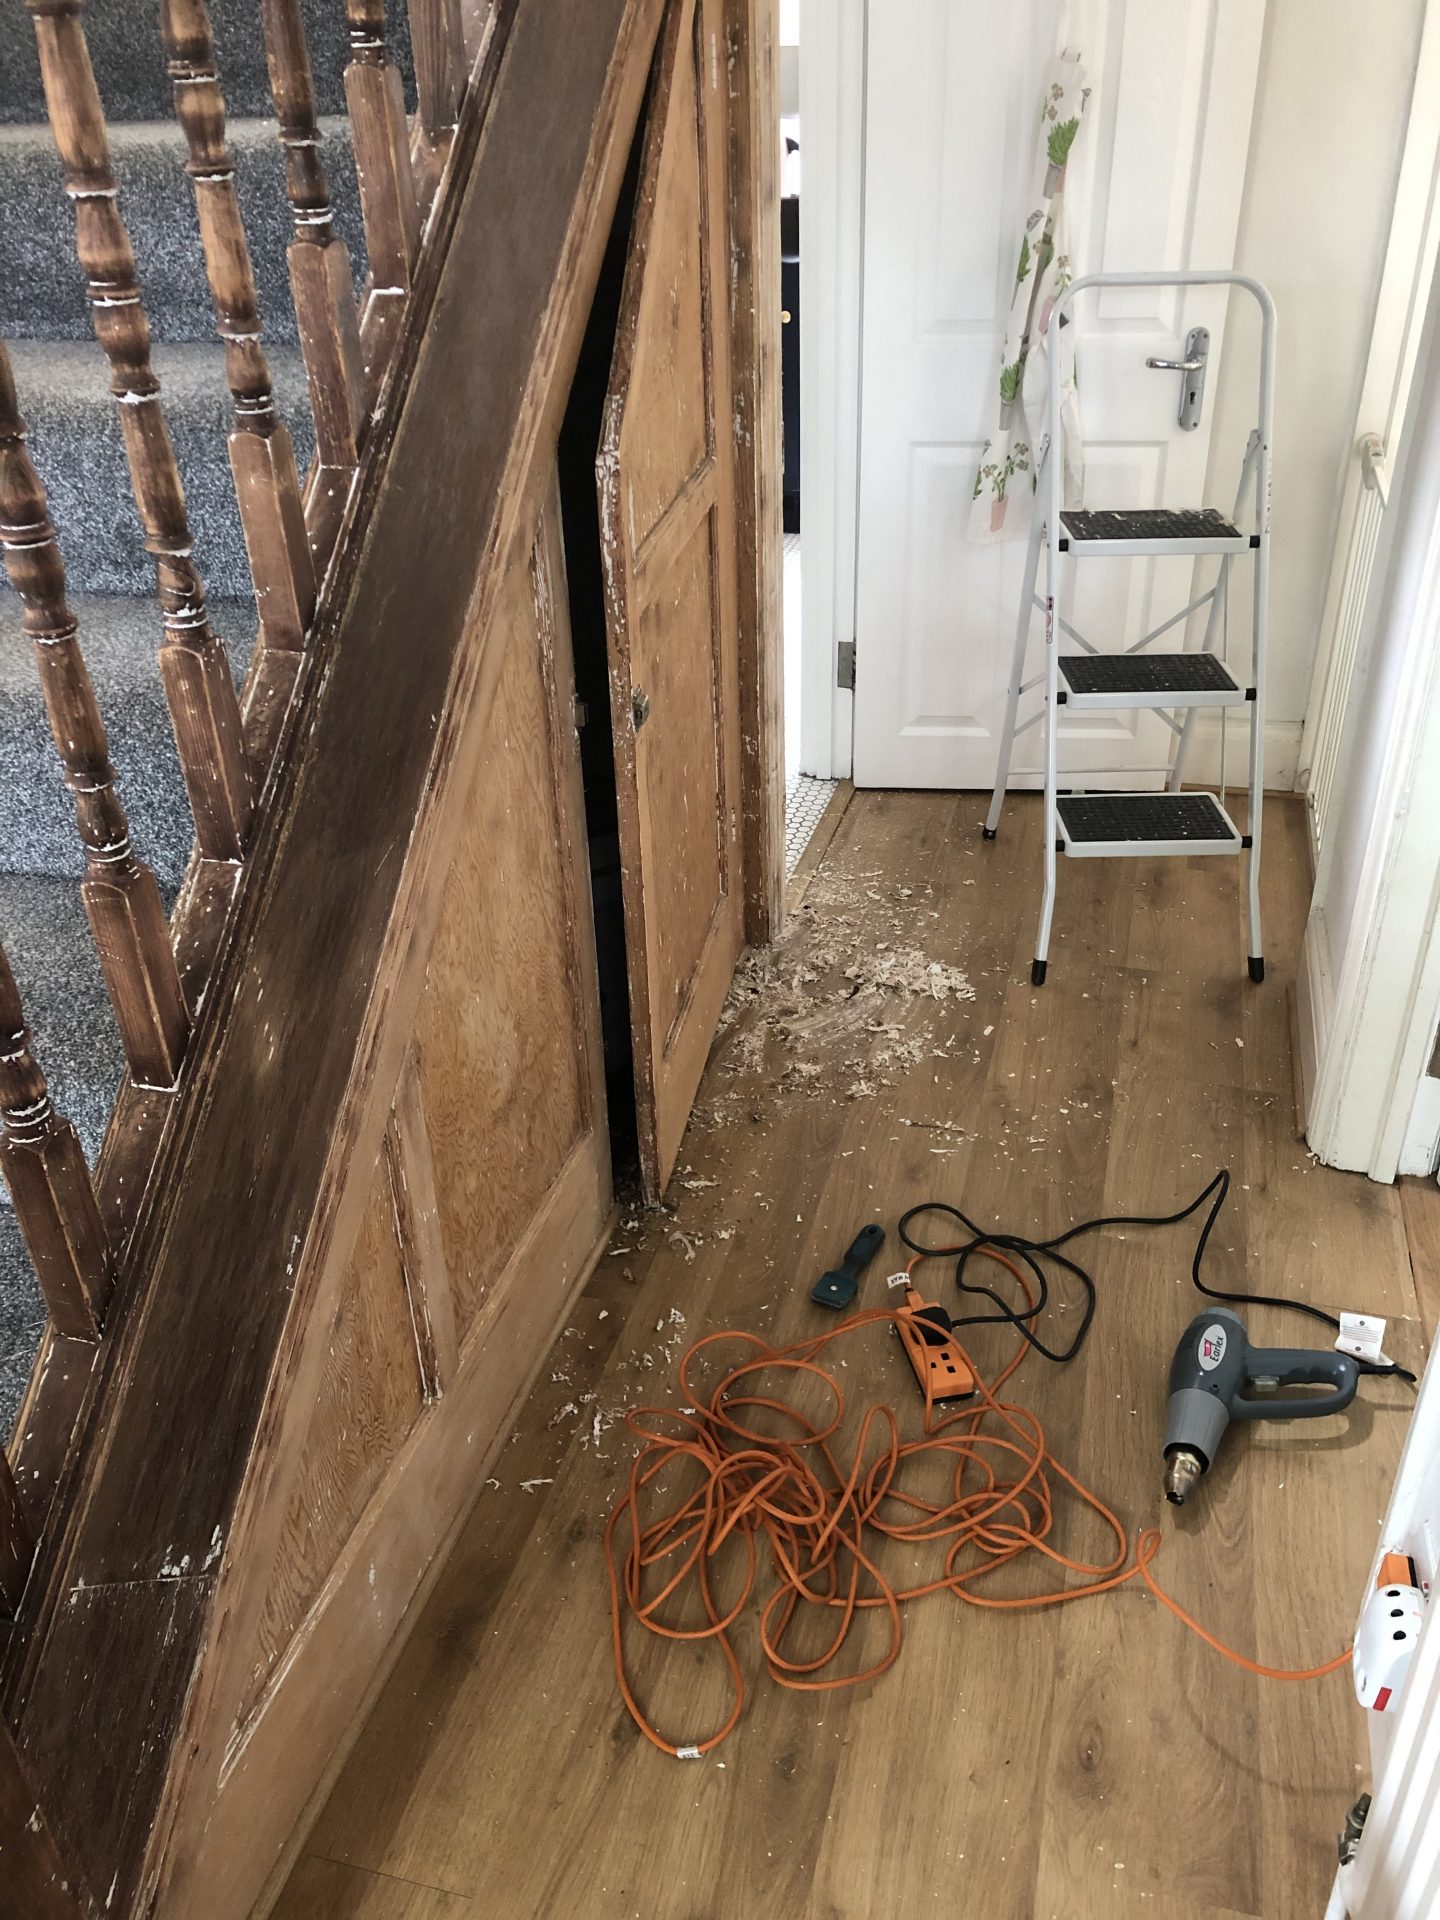
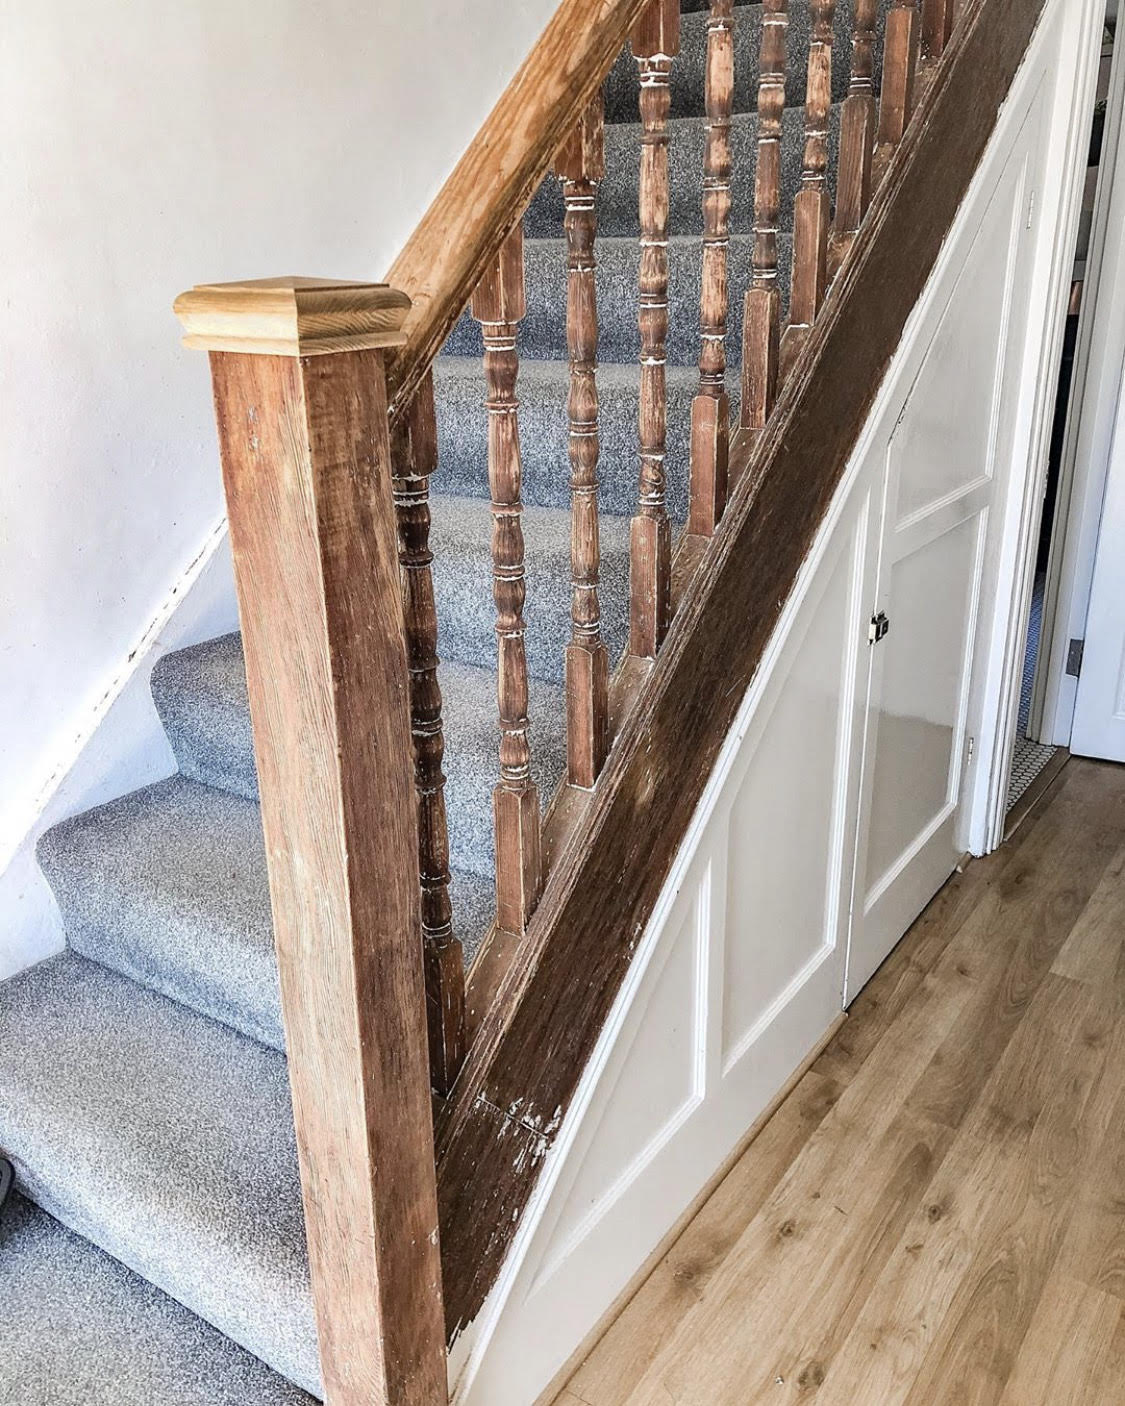
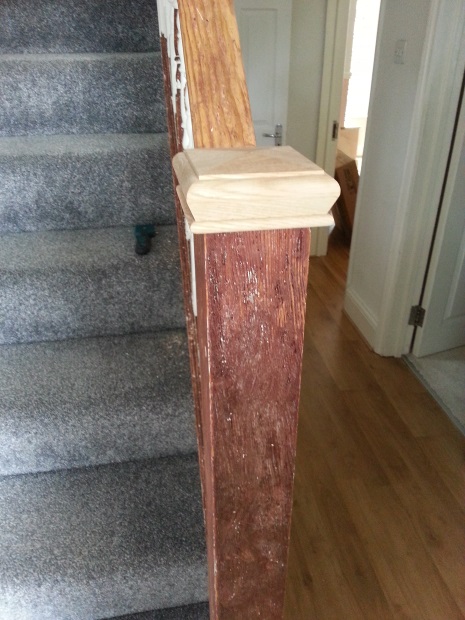
All those years ago we got as far as replacing the newel caps and starting to strip all the paint. I’ve had a few messages on Instagram asking why we’re going to the lengths we are and well, all I can say is that I’m a bit retentive when it comes to the house and most jobs are worth doing properly. The original part of the staircase has had goodness knows how many years of painting and repainting. Gloss finish is notoriously hard to sand back to a level that will let a new paint adhere to it and so it just made sense to strip it all off completely. It’s a not a job for the short of patience, mind.
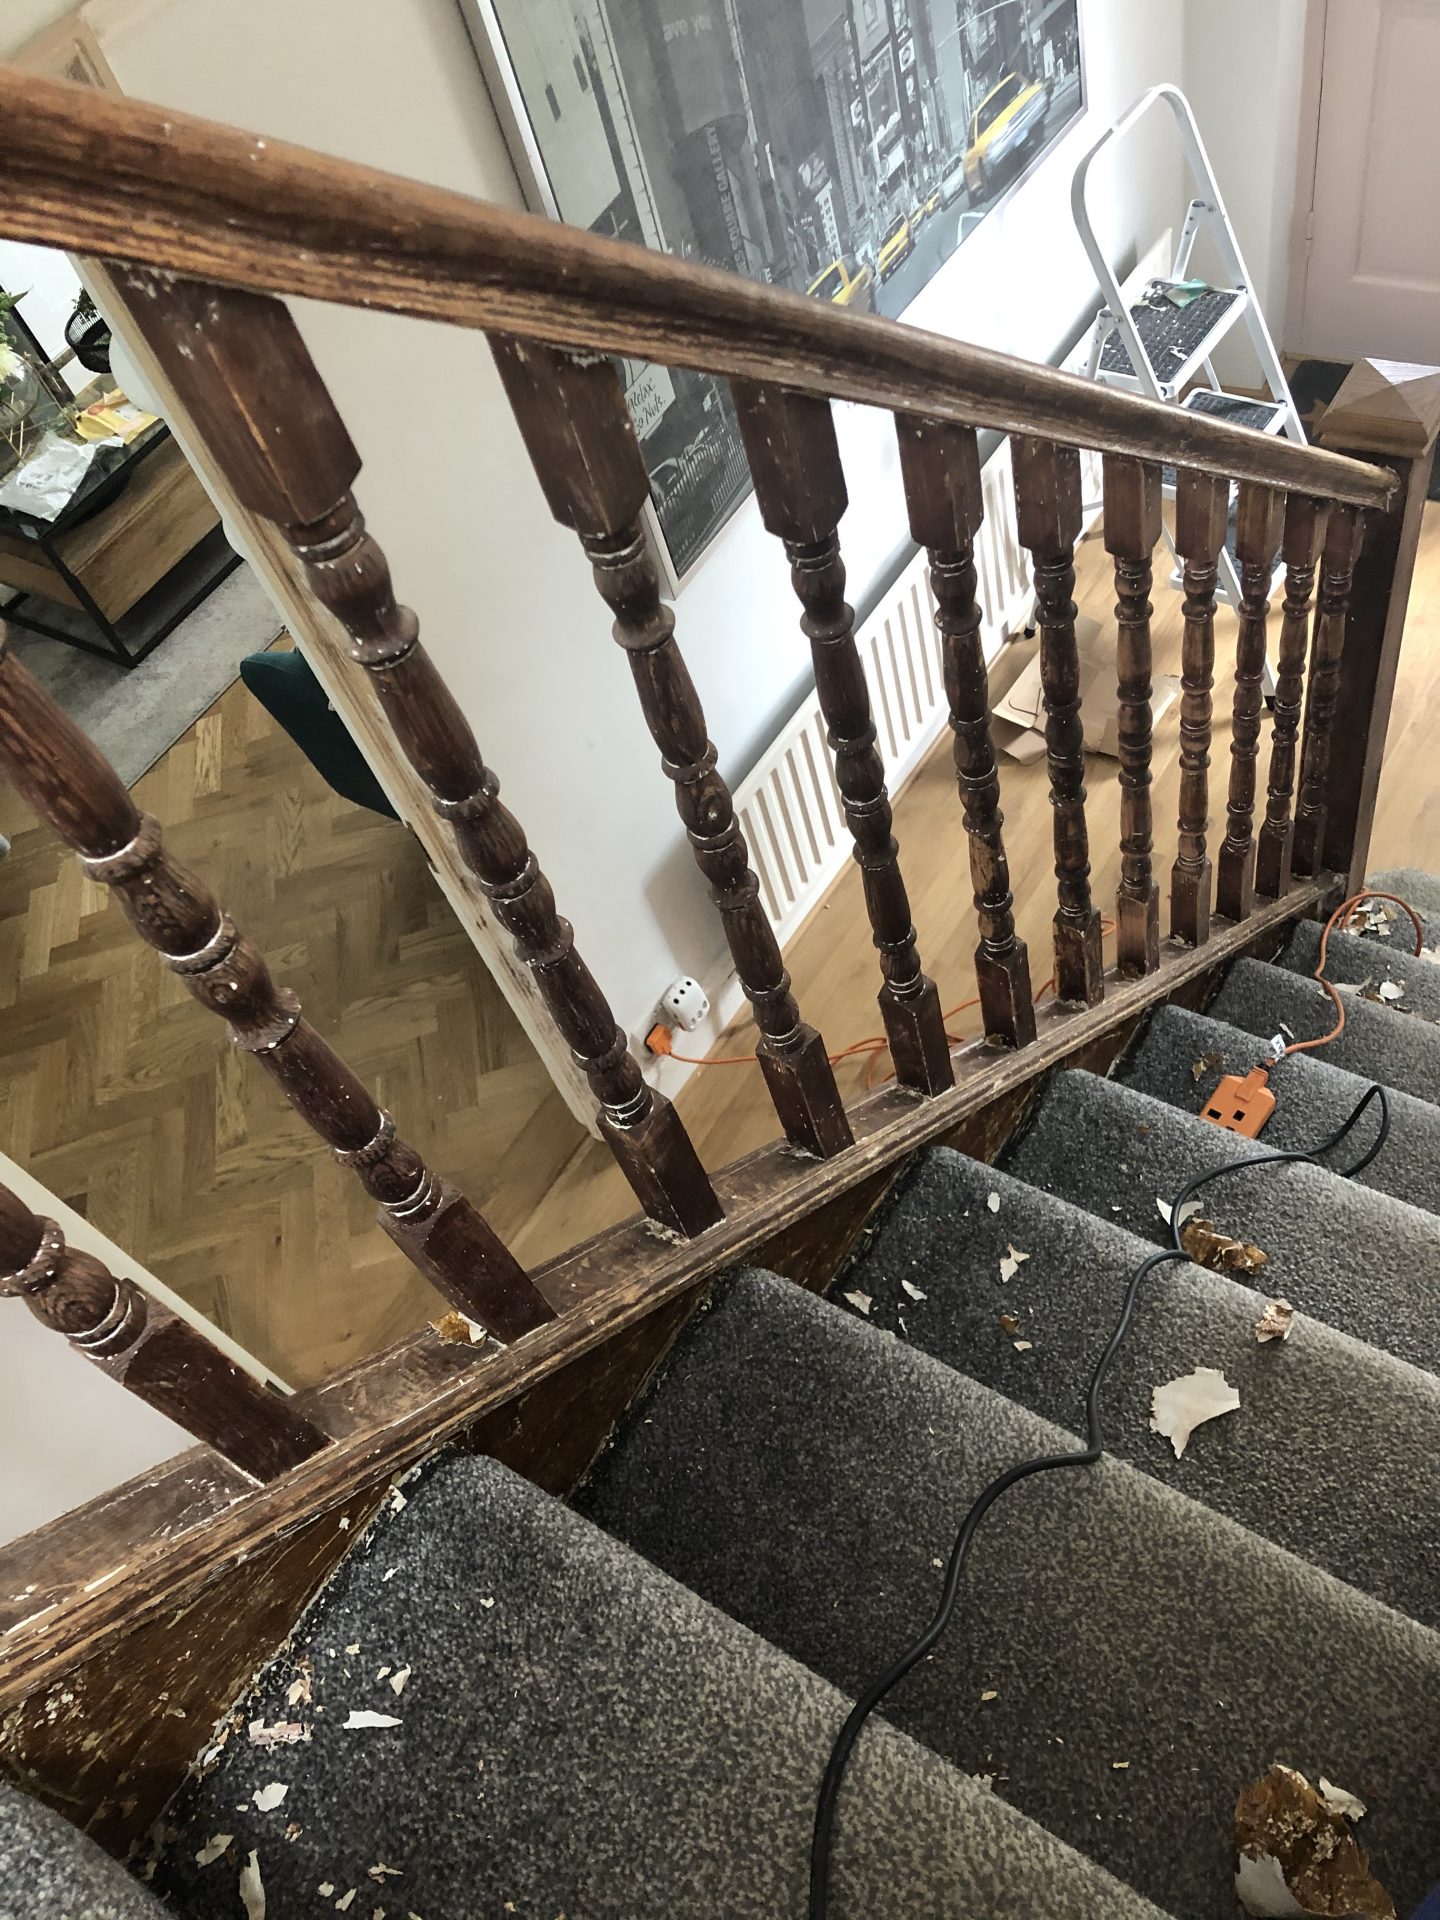
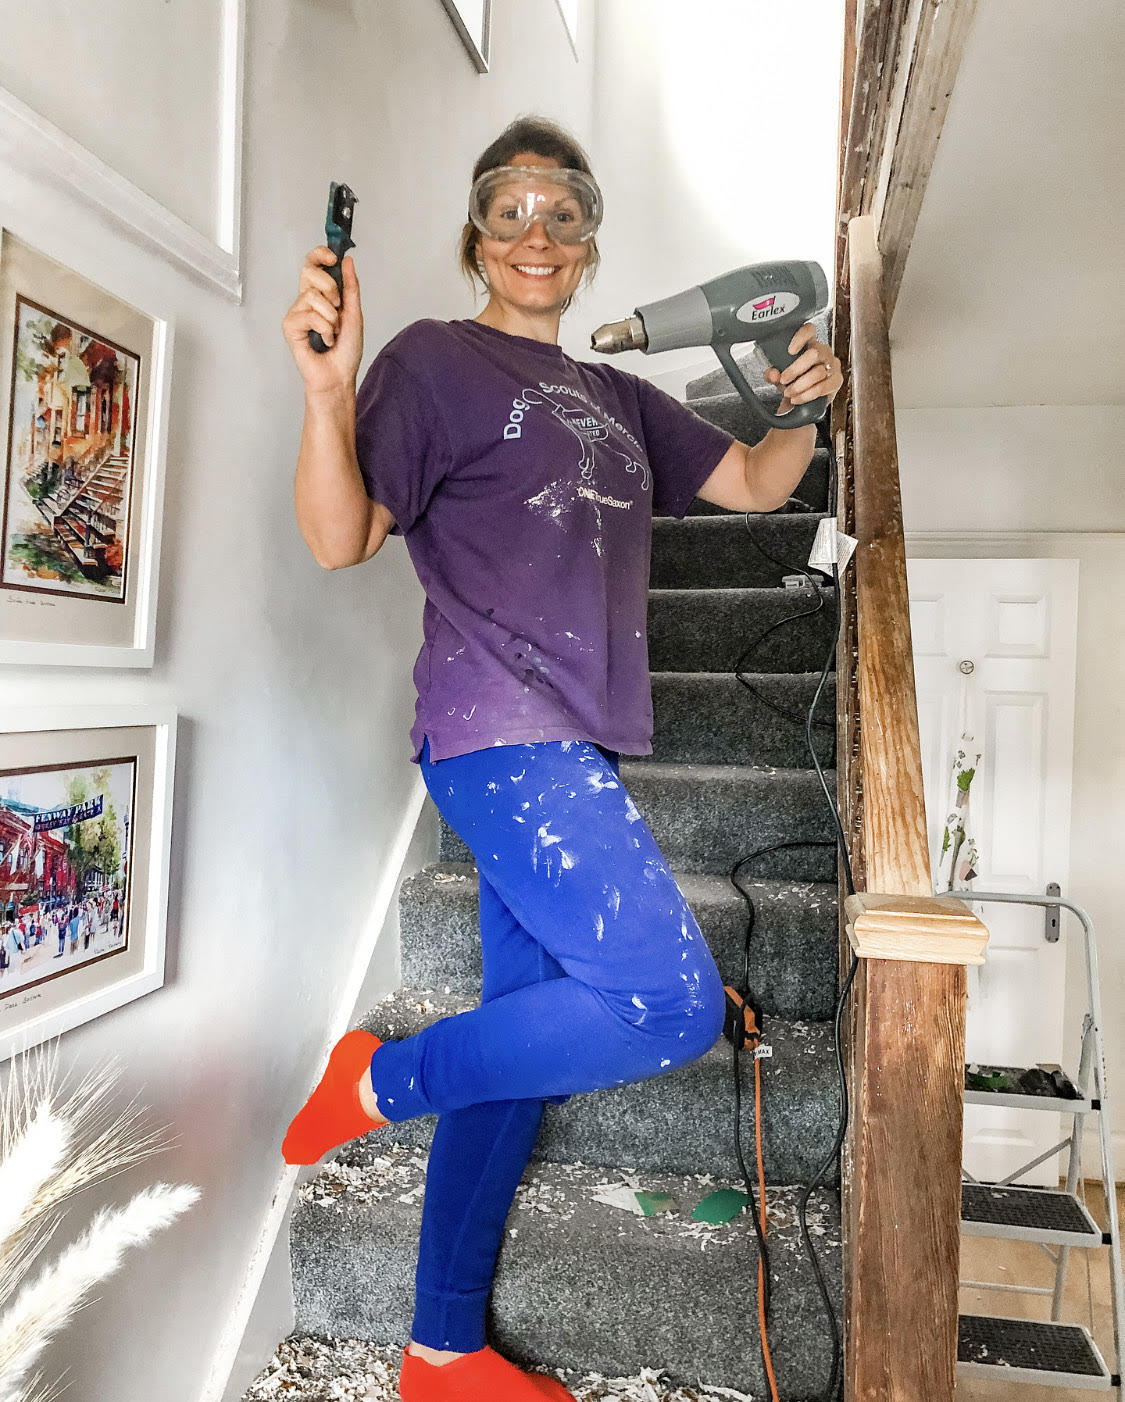
The best way to tackle stripping thick layers of paint is either with a heat gun or with a chemical liquid that you coat the area with and then leave. This is a great idea for really intricate work like detailed plaster or fireplaces. I’m sure it would brilliantly on spindles too but since we’d already started stripping with a heat gun, it made sense to continue.
Heat guns are amazing but they’re fierce. You’ll burn everything from surrounding carpet to the area you’re trying to strip to yourself. The best approach is to be at an angle to the surface you’re trying to strip and if you can, hold the heat gun with one hand and your scraping tool in the other. If you try to strip paint directly head on all you’ll be doing is digging into the wood and won’t get anywhere fast.
On flat surfaces it’s really straight forward and providing the wood doesn’t have any kinks in it you’ll be able to move quite quickly though. Stripping spindles or coving where there is a curve is another matter. Have some different styles and sizes of tools – I even found a knife was a great help in some cases and we’ve invested in a Dremel which is a bit like an electric toothbrush that you can attach different small heads to.
We’re now at the stage of being ready for sanding – you CAN try using an electric sander to remove the paint in the first place, but whereas stripping it will remove big chunks that are easy to get rid of, sanding will just grind all that nasty old paint into dust which isn’t good for you or your home. I’m not looking forward to sanding alllll the spindles but I know it will be worth it. I’ve discovered that a 120 grit paper seems to do the job I’m after.
Once the sanding is done, all the spindles and woodwork will be painted in a white satin finish that I’ve used around the rest of the house. I know I know it’s not exciting or full of colour but in time we’ll be replacing the carpet with a runner and tiling the hallway floor and I’m quite certain that those two items will be the stand out feature. I have decided on picking a slightly offset white for the understairs cupboard though having seen some gorgeous inspiration courtesy of Becca at Malmo & Moss. It’s just subtle enough to be noticeable but not too OTT.

The bannister and newel caps will be staying a natural wood and I’ve already done a little bit of sanding of the bannister to see what potential it has. It all feels a really long way off but I’m determined that we’re not going to let another six years go by without finishing, this time.
Follow me on Facebook | Instagram | Pinterest | Twitter

