
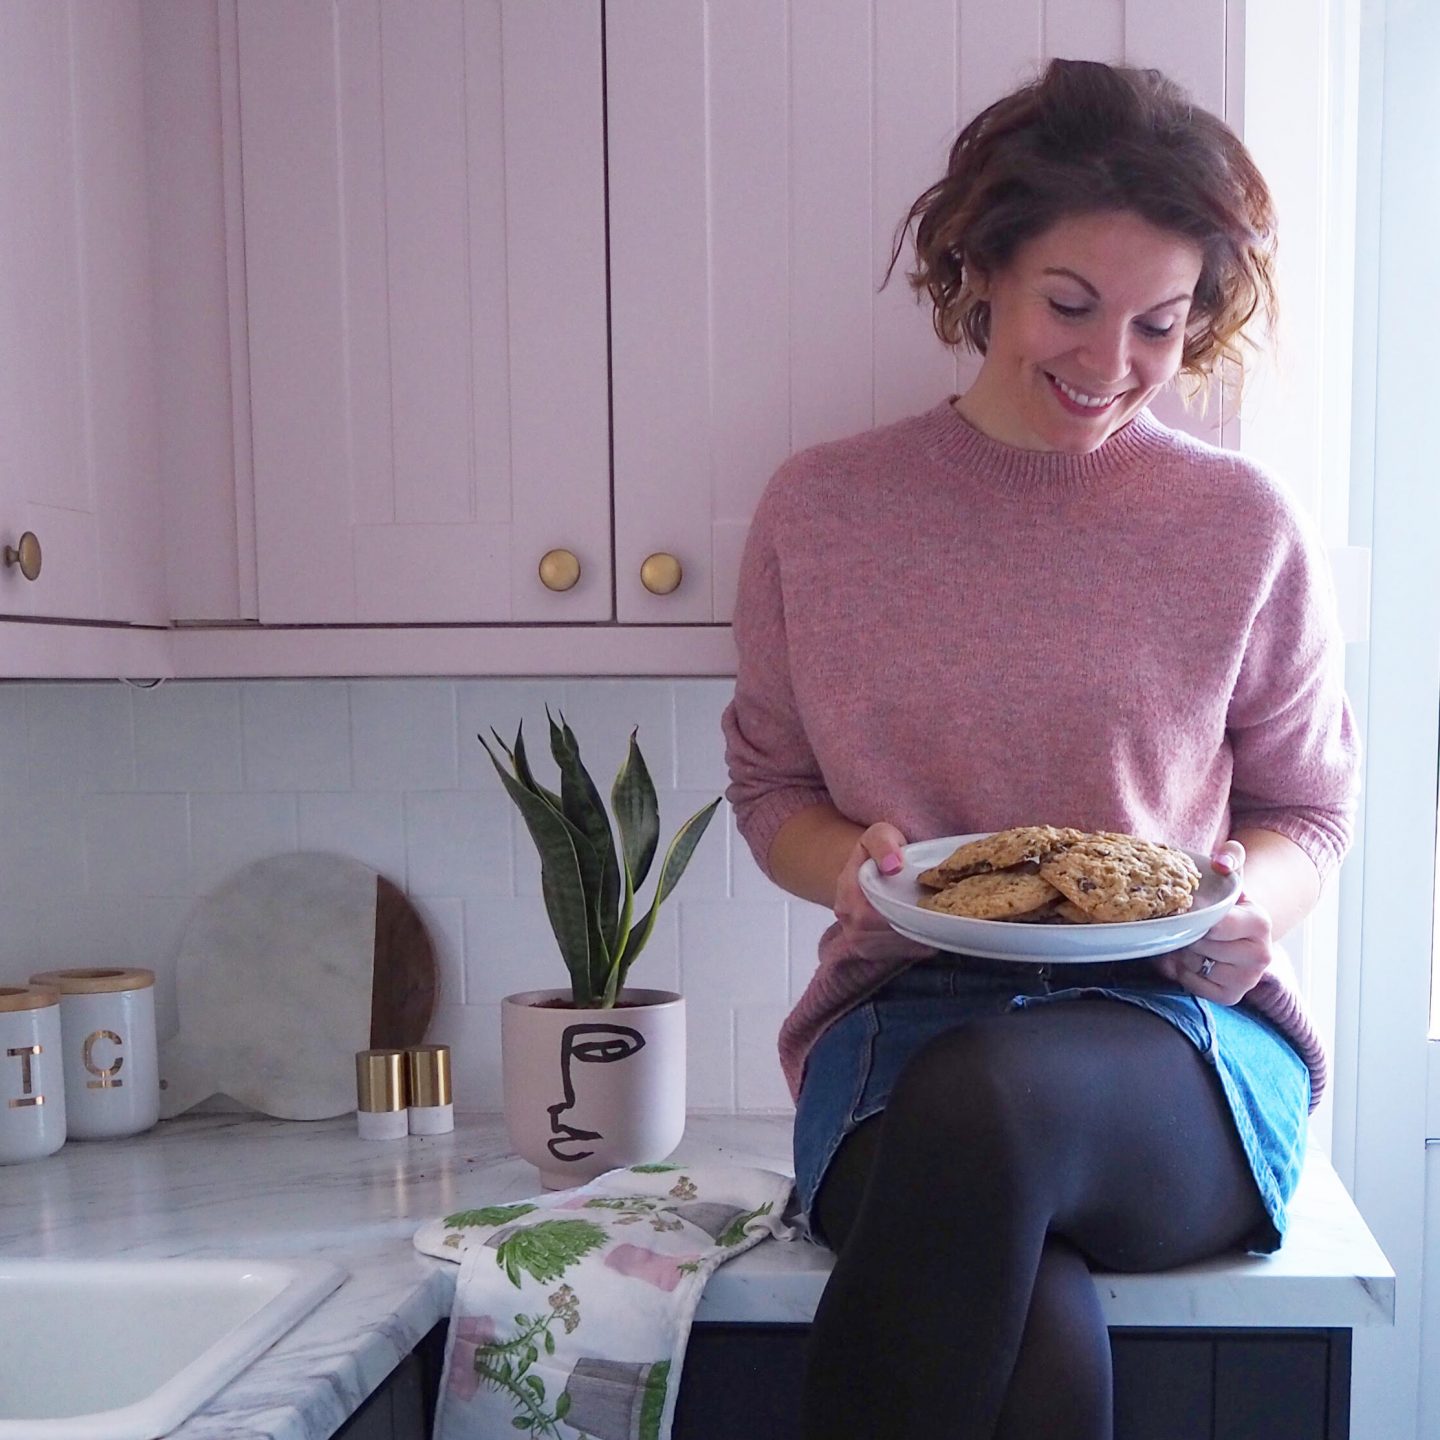
One year since I completed our DIY budget kitchen makeover – wow! So much of it still feels like yesterday especially since people still message me about it a few times a week. It was certainly one of my most audacious decisions to overhaul our little kitchen in less than a week when my husband was away on business but it turned out to be one of the best things I’ve done.
So a year on – how is it holding up and do I have any regrets? A week is a pretty tight timescale when everything from replacing work surfaces, taps and sinks to relaying a floor and painting all the cabinets is happening. I would definitely have preferred a bit more time but then I don’t think it would have had quite the wow impact it did.
Let’s take a look at it step by step.
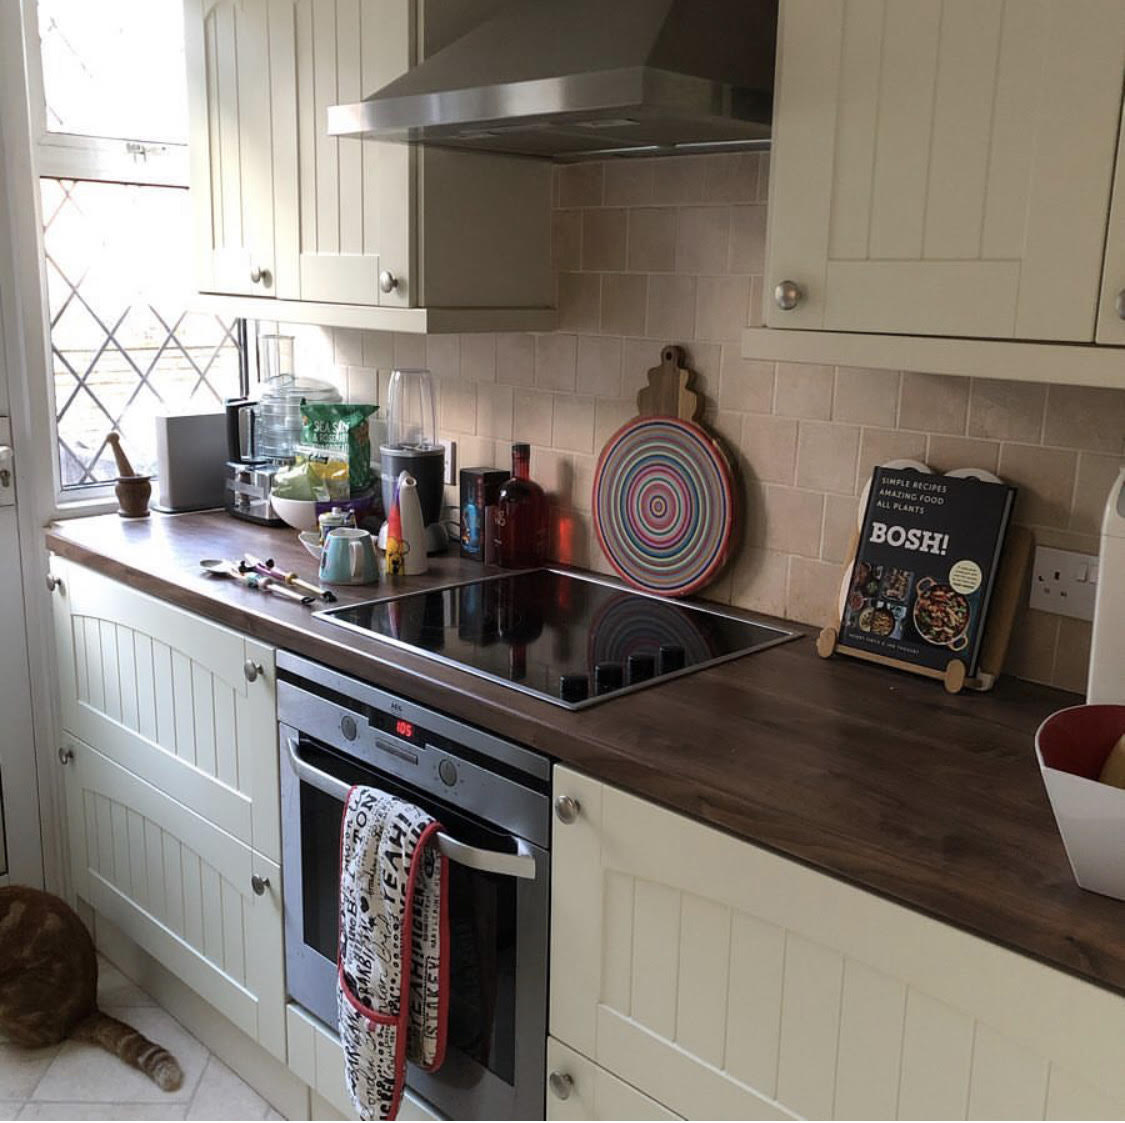
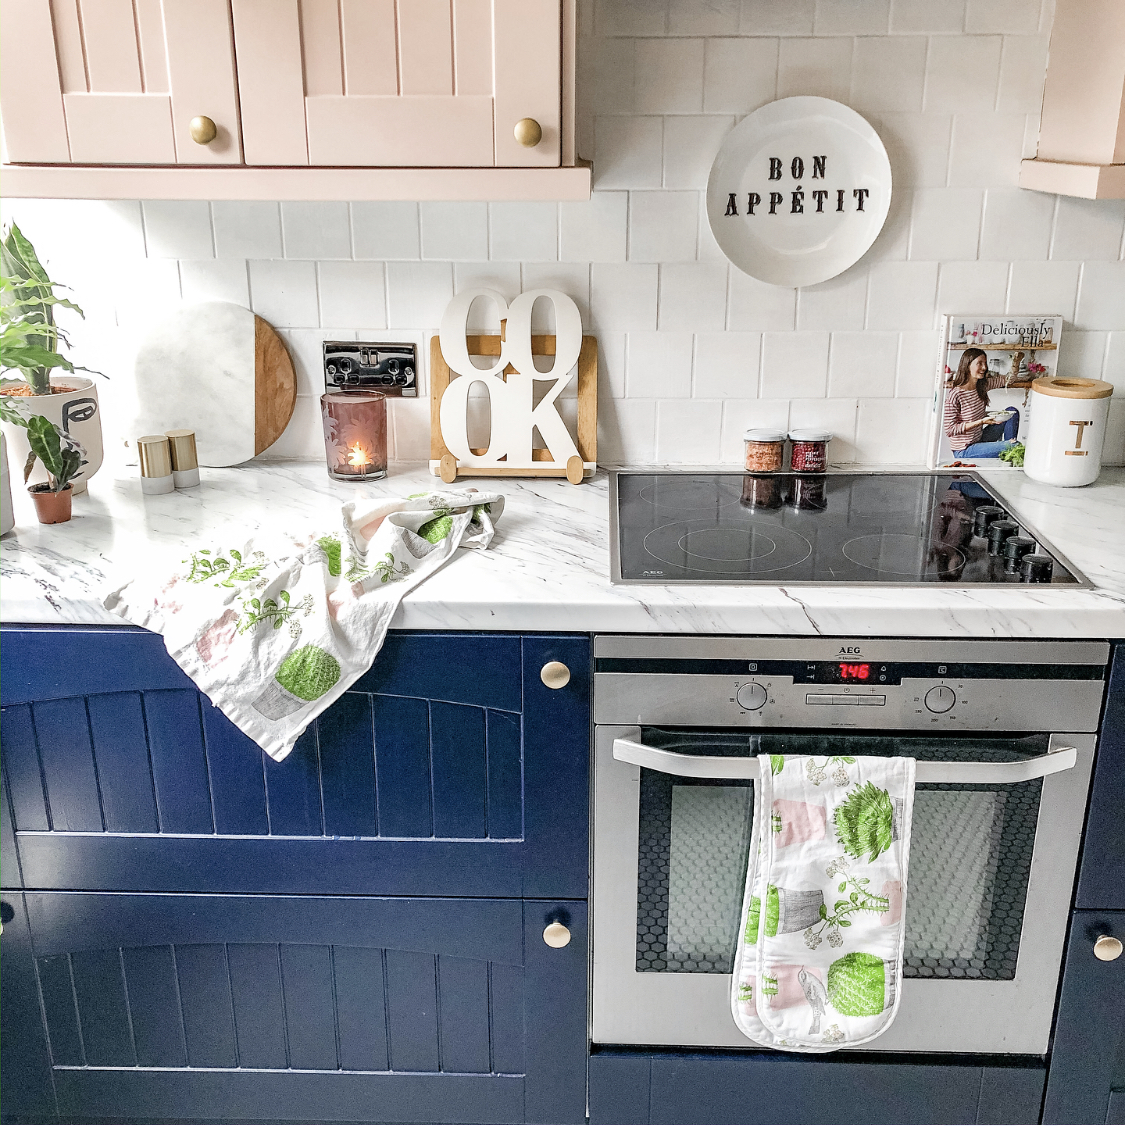
The Worksurface
I’ll start here since it was an approach from Worktop Express at the start of 2019 which made me think I could actually carry this budget kitchen makeover off in the first place. They offered me work surfaces of my choice and I chose the Marble Calcutta laminate work surface. Yes, of course real marble or real granite is what everyone lusts after but this wasn’t going to be our forever kitchen and I decided that the same effect at a super reasonable cost was worth it.
I’ve got nothing but praise for Worktop Express and not because I collaborated with them on this project. From placing my order on the website to delivery, everything was seamless. I worry about dimensions and terminology in projects I’m unsure of but it couldn’t have been easier and the delivery men brought the work surface down the side of the house and into the garden.
One year on, the surfaces still look as good as new. I’ve spilt everything from curry sauce made using loads of turmeric to red wine, and left hot pots on it by mistake but nothing has marked it and it cleans up beautifully.
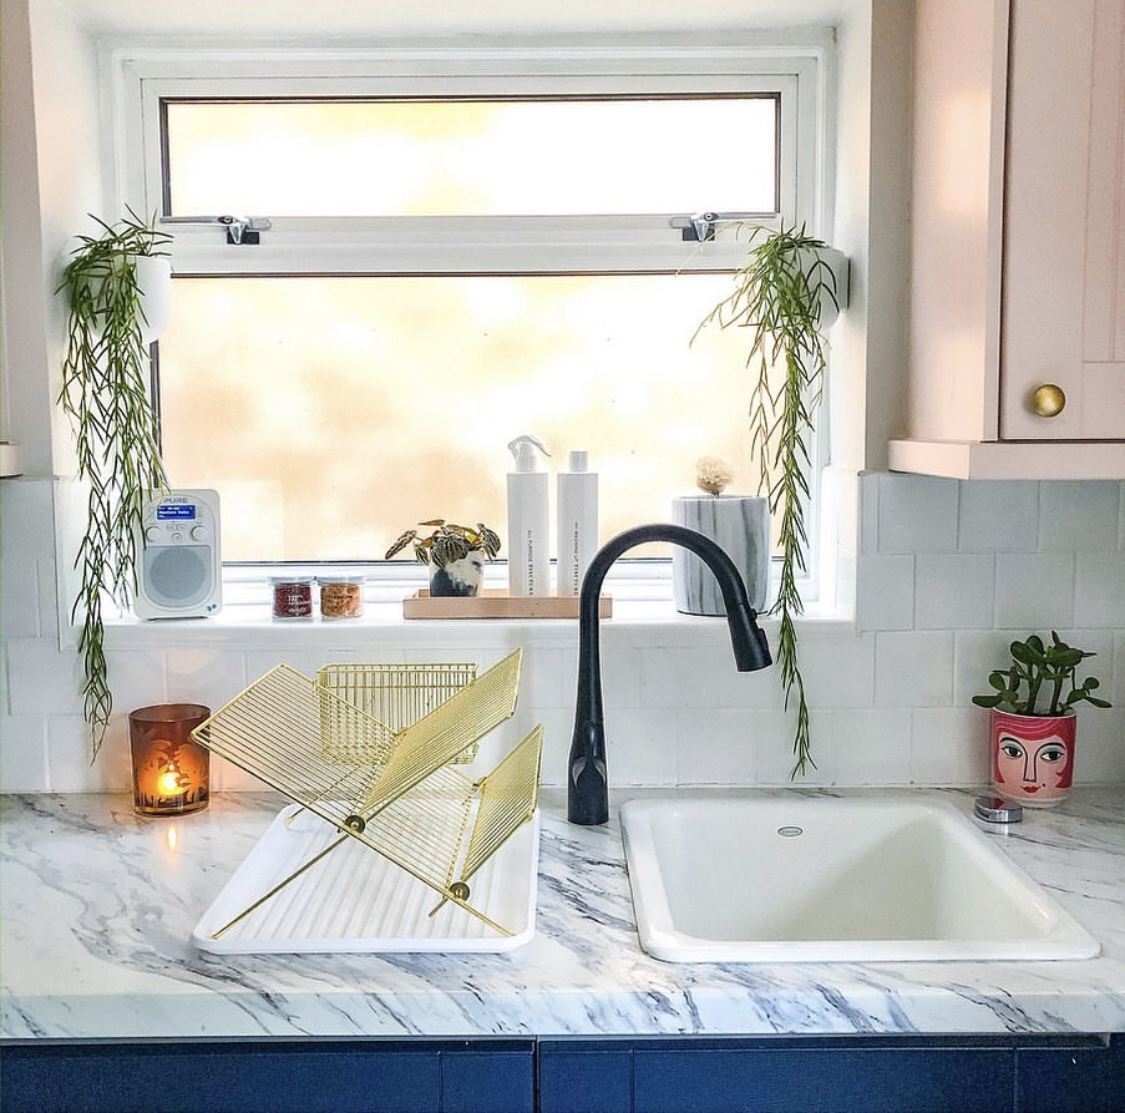
The Sink & Tap
“NOOOOOOO” people told me when they saw I was installing a black tap. “The hard water will destroy it and it will look awful very quickly” Well. Unlike people of the internet, I’m not afraid to step out of my front door each day. The tap and sink, both from a collaboration with Kohler, both still look amazing and the tap needs nothing other than a wipe down once a week.
I still can’t believe our sink is cast iron and not porcelain, I’ll never quite get my head around it because you’d never know from looking at it. It works perfectly with the marble effect of the work surface and the compact size is so much more efficient for our needs than the massive sink we inherited. The only thing we need to be a bit mindful of is making sure we clean around the plughole regularly – too much green tea from me can result in it being a bit discoloured.
Painting The Cupboards
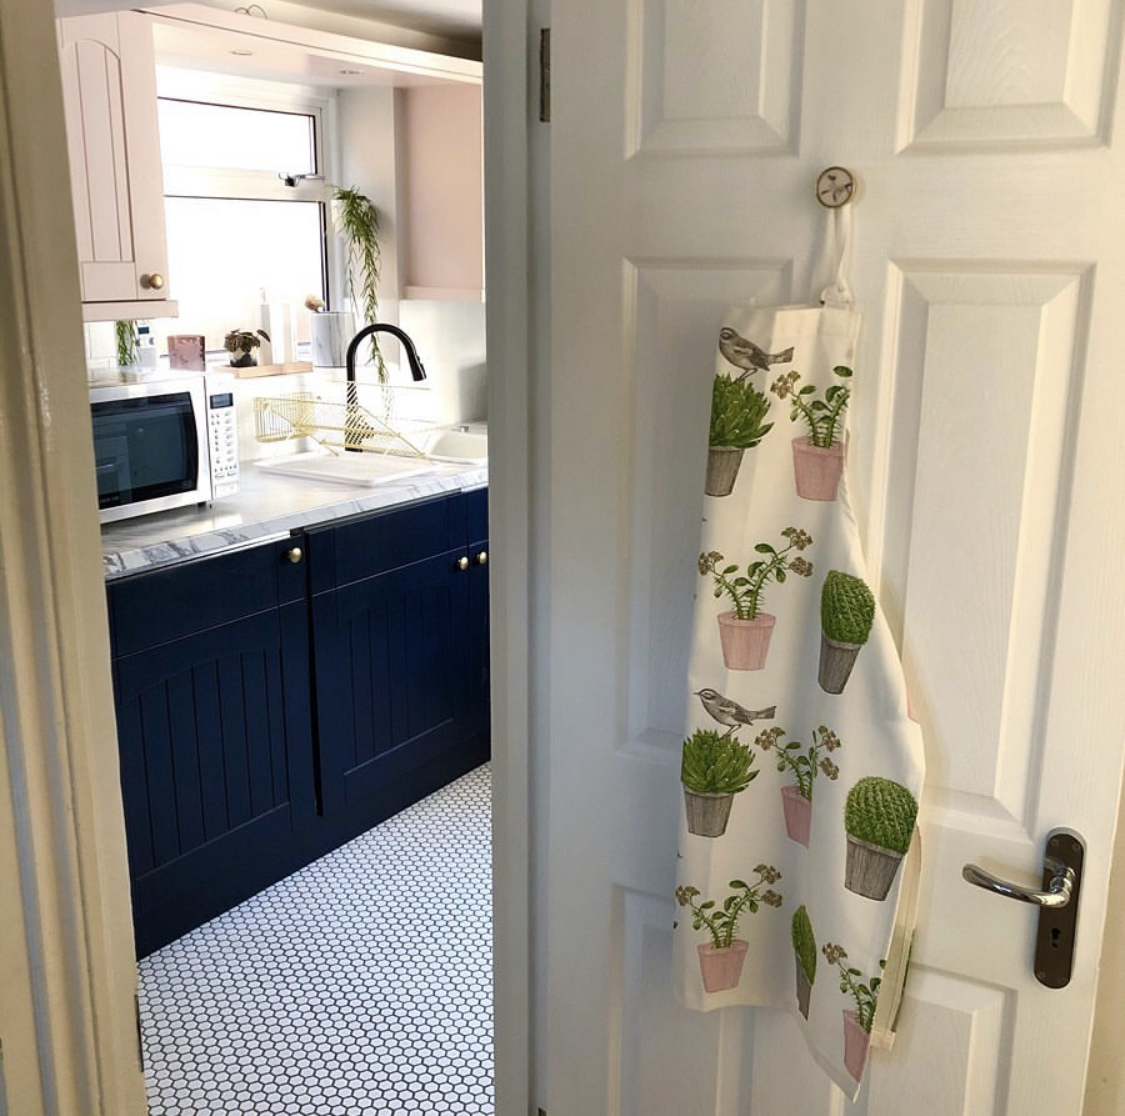
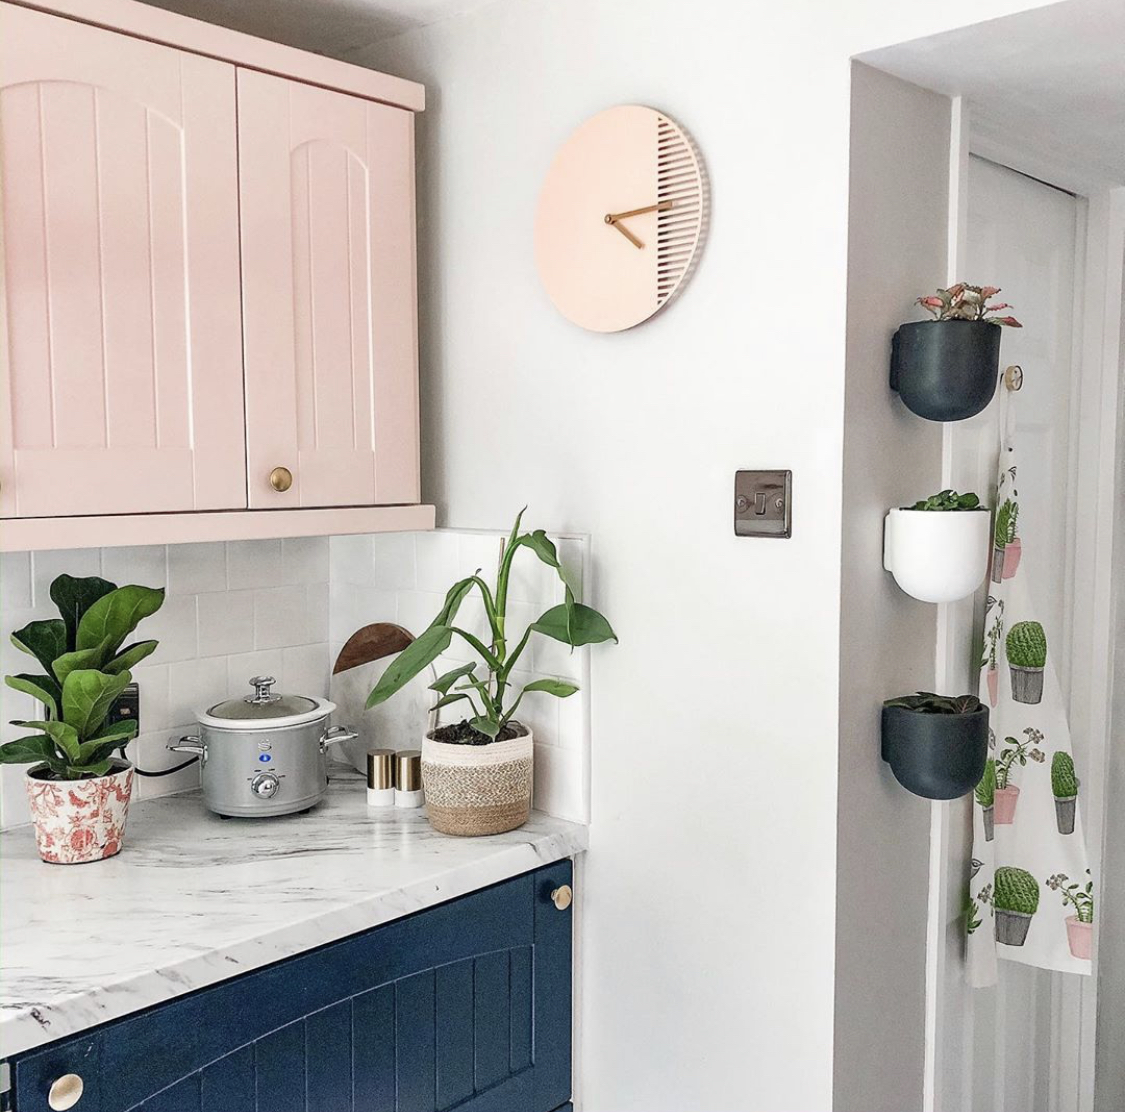
Although I wouldn’t recommend doing so much painting in such a short space of time (precariously perching on the kitchen work surfaces at 2am trying not to tread on the new, wet floor), the kitchen wouldn’t be the same without my beloved pink and blue combination. To think I was going to do the entire lot dark blue until I changed my mind at midnight the night before I started and opted for pink top cupboards and navy bottom cupboards. Genius!
Don’t be scared about painting kitchen cupboards. So long as you prep and use the correct finish of paint it’s honestly so, so worth it and it’s one of the most cost-effective elements of a budget kitchen makeover. They just need a wipe down every so often but haven’t chipped, marked or needed any kind of touch ups since I did them. Although I hated painting, especially the dark blue which needed 3 good coats, it’s been worth it ever since.
The Floor
Oh. My. Goodness. That kitchen floor. I thought it was going to destroy the whole experience when we discovered the leak with less than 48 hours to go before the big reveal was meant to happen. But someone somewhere was looking down on me. Whilst the initial vinyl that Mr D and I paid good money for in our early days of home renovating was a HUGE mistake, ripping it up and having the beautiful hexagonal tiles laid was THE BEST DECISION EVER.
Again, a few naysayers asked why I was bothering to lay a light floor when we have a cat flap in the kitchen and also have a dog but hey, it’s my kitchen floor, no-one else’s. It’s incredibly easy to clean, I just whizz the vacuum over it and then a quick mop with our steam mop and it’s good as new every single time. I’ve also heard people say that the dark floors they end up laying show up every bit of dirt and marks, so really, there’s no difference in having a white floor.
The service from Walls and Floors who I used to order from the tiles from was spectacular, I had to call them to ask a couple of questions about the tiles and they were so helpful. Plus my order was placed on the Monday afternoon and the tiles were delivered on Tuesday morning. What’s not to love about that? I’ve even told Pete that when we eventually do our ground floor reconfigure and turn the kitchen into a utility room, I want to lay the same floor again (we’re planning underfloor heating so it would need to come up initially).
Painting The Tiles
There are SO many ways now to overhaul the look of tiles that leaving them as they are shouldn’t even be a consideration if you don’t like them. From changing the grout colour to tile stickers to painting them, a proper facelift is so easy and really cost effective. The old tiles were a really dated cream colour and I knew that just giving them a lick of white paint would be the best solution to tie in with the marble effect worktop and the pale pink top kitchen cupboards.
They still look so fresh, apart from a little bit around the bottom along the wall by the sink where the sealant is starting to disclour slightly but to be honest I don’t think anyone would notice apart from me. They really lift the room and make it feel so much brighter.
The Rest
I was originally going to replace all the knobs on the cupboards and drawers until I realised I could spray them gold. They looked great but it soon started wearing off especially on the cupboards we used regularly. So I took them off, gave them a fresh coat of gold spray and then a clear lacquer over the top and the lacquer has made all the difference. I haven’t needed to touch them up since.
When the worktop was installed, people quickly picked up on the fact that I hadn’t left space for a draining board. The truth is that in such a small kitchen a draining board felt like an unnecessary use of space especially when there are only two of us. Yes, I do a lot of handwashing of everything that can’t go in the dishwasher like all our glasses, some mugs and Tupperware but having a mobile draining board that can be stored when we don’t need it has worked out perfectly and means if I need the extra space it’s there.
Lastly, the back door. It was one of the things that I wanted to update but didn’t get around to in the actual week of the budget kitchen makeover because it just wasn’t a priority compared to the rest. I’d seen a lot of people painting their upvc doors with a range of paint from Frenchic but I think both Pete and I were a little sceptical as to whether this would actually work. I chose a grey that most closely matched the Ammonite I’d painted on the walls and went for it. Honestly? Best decision ever. It’s SO easy with minimal prep and still looks immaculate one year on.
I think that’s covered in and in short, I have absolutely no regrets and wouldn’t have done anything differently at all. Of course ages I wrote this kitchen snagging list about all the things I still have to do and well, that list still hasn’t been actioned but it’s fine – I’ll get there one day.
I hope this has been helpful to anyone thinking of taking on a budget kitchen makeover, or even part of it such as painting kitchen cupboards. It’s really, really so worth it and has taken my kitchen from a space I could barely stand being in to one I love every single day.
Follow me on Facebook | Instagram | Pinterest | Twitter


Thank you for this interesting article. I’m reading your blog long time and a lot of very usefull infromation. When you will post new article? Can’t wait 🙂 Thanks
Thank you. Amazing article. I will save it in my bookmarks just in case because my renovation is sooner than later.