There are lots of things you learn – very quickly – when you first buy a house. Mostly revolving around how expensive everything is, and that you’ll probably regret any decisions made quickly and/or get bored and change your mind. Those are my excuses as to why I tend to take my time with renovating anyway… #slowcoach
One of the first home projects we looked to tackle in our second year living here (the first year was literally treading water trying to scrape some pennies back, I have no idea how people can afford to start renovating as soon as they buy a house?!) was replacing the windows. They were double-glazing but quite dated and letting in a lot of cold. We were so naïve when it came to cost though and decided to work round the house bit by bit.
Some years on and now we’re nearly done with replacing windows, the only ones left are in rooms where we’re planning other renovation works so we’ve left them as they are until the time comes to get stuck in. But there are little things you can do to in the meantime to spruce up your windows to make them look less offensive for very little budget, and one of those is change window handles.
Now, before you all go out and buy new handles (because obviously you’re all going to change window handles now), you will need to research your own handles and make sure you pick the right replacements. That said, most are quite standard so here are hopefully some helpful tips.
- Source new handles. We use these from Screwfix since the window handles on the windows we’ve actually replaced are brushed chrome and so these are the closest match. They’re £15.99 each which may seem pricey but it’s a lot cheaper than new windows. Make sure to check whether your handle is a right or left hand opener.
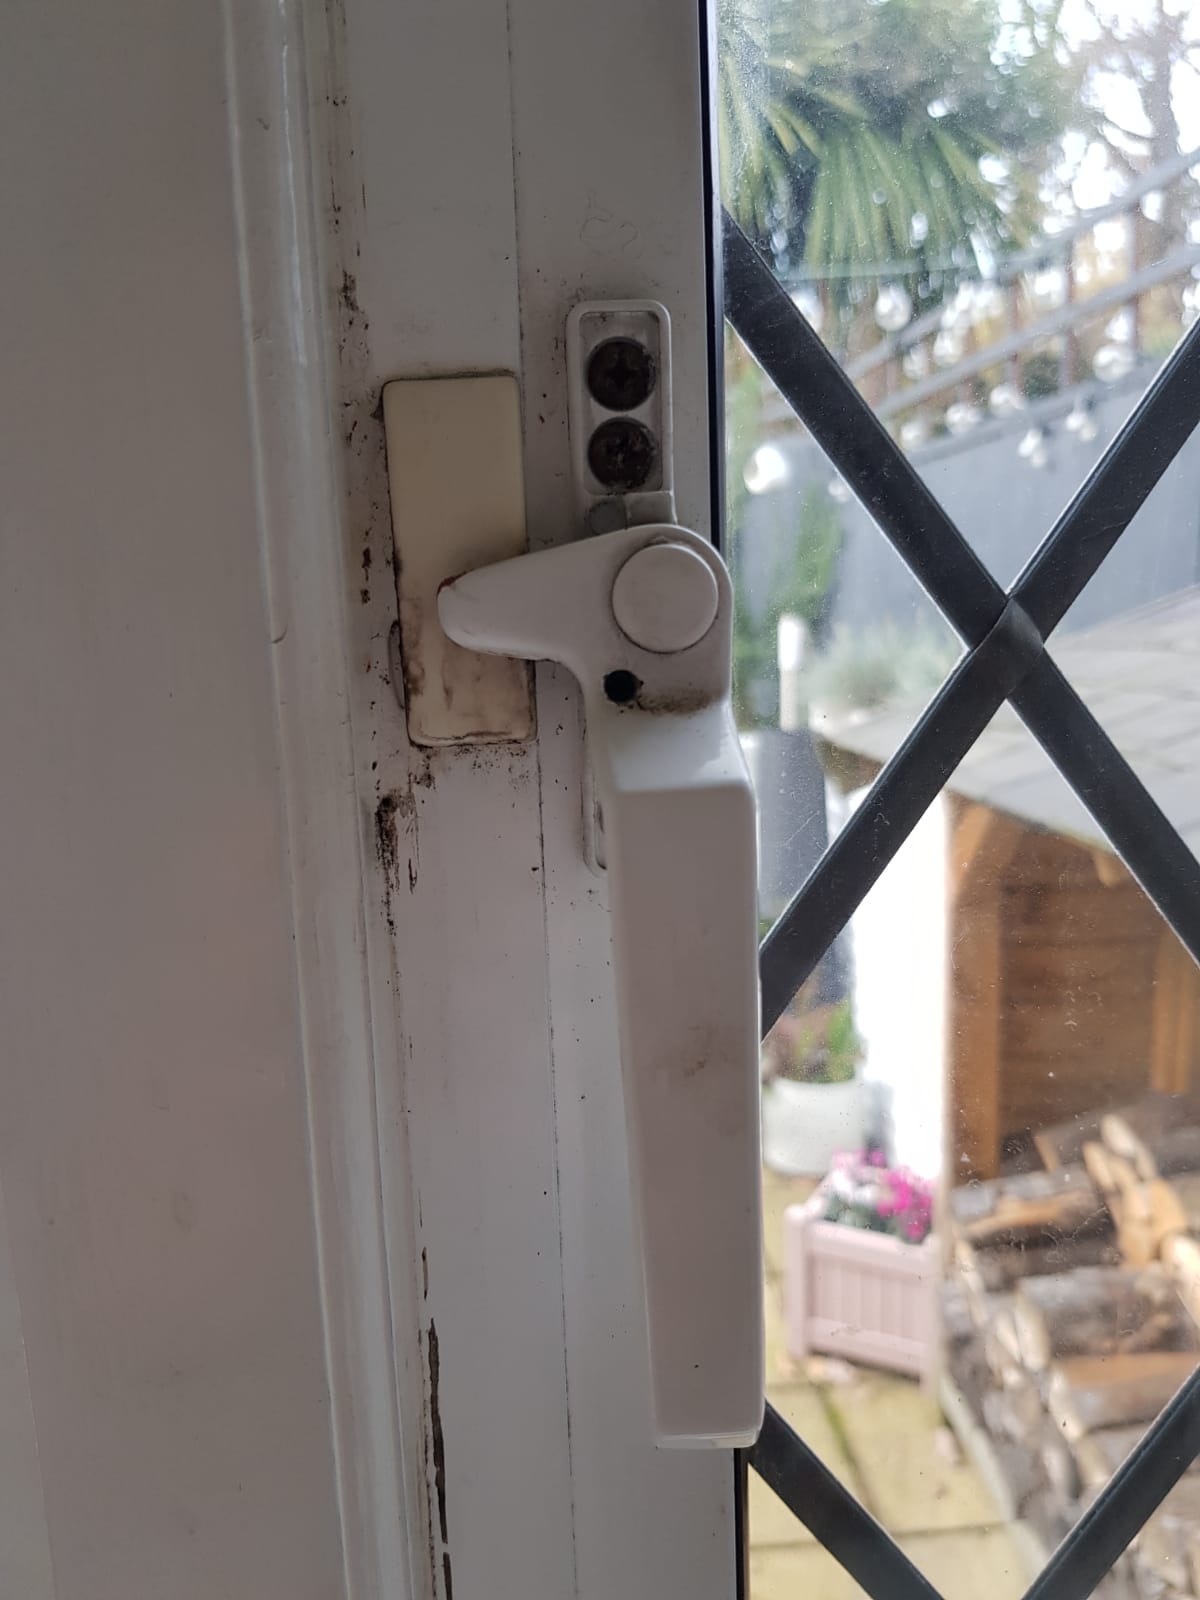
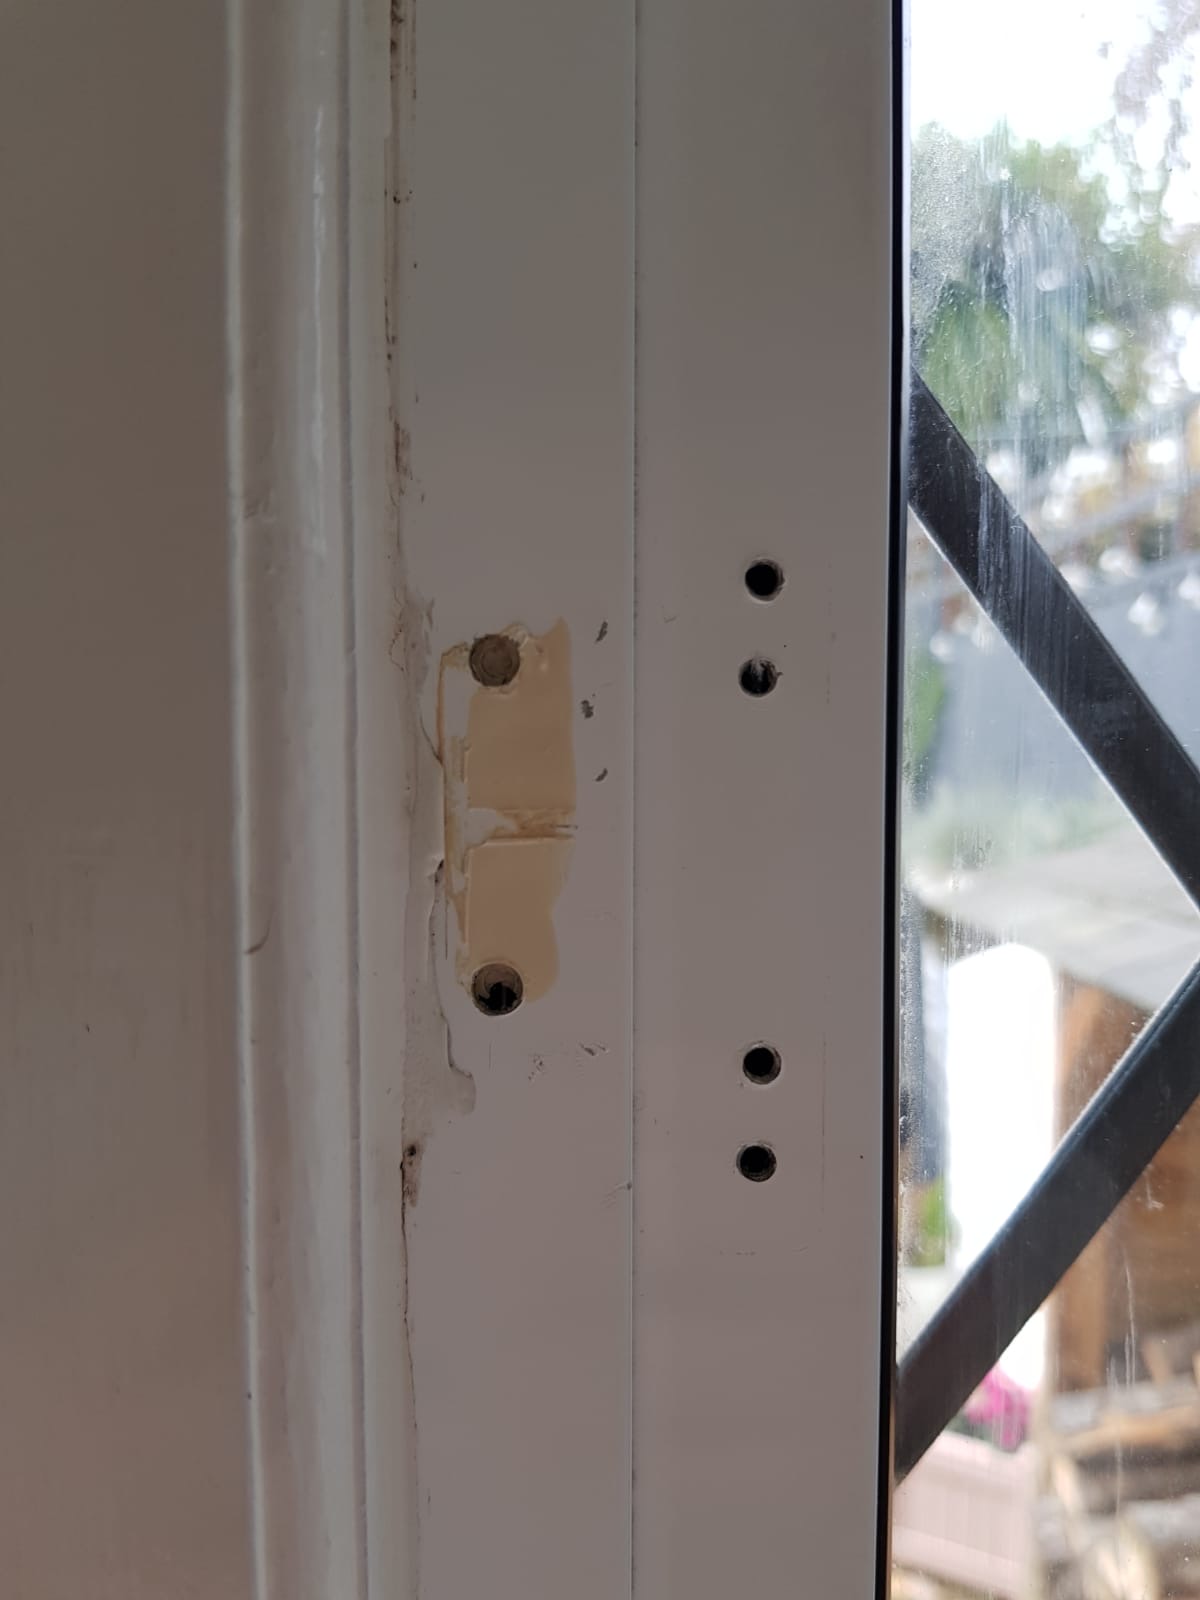
- Remove old handle. You’ll need a screwdriver for this and may find it easier with an electric screwdriver than a manual one. Your handle will most likely have 4 small screws which you’ll be able to see when the handle is turned 90 degrees against the window. Sometimes there will be a little sticker or caps which you may need to prise off.
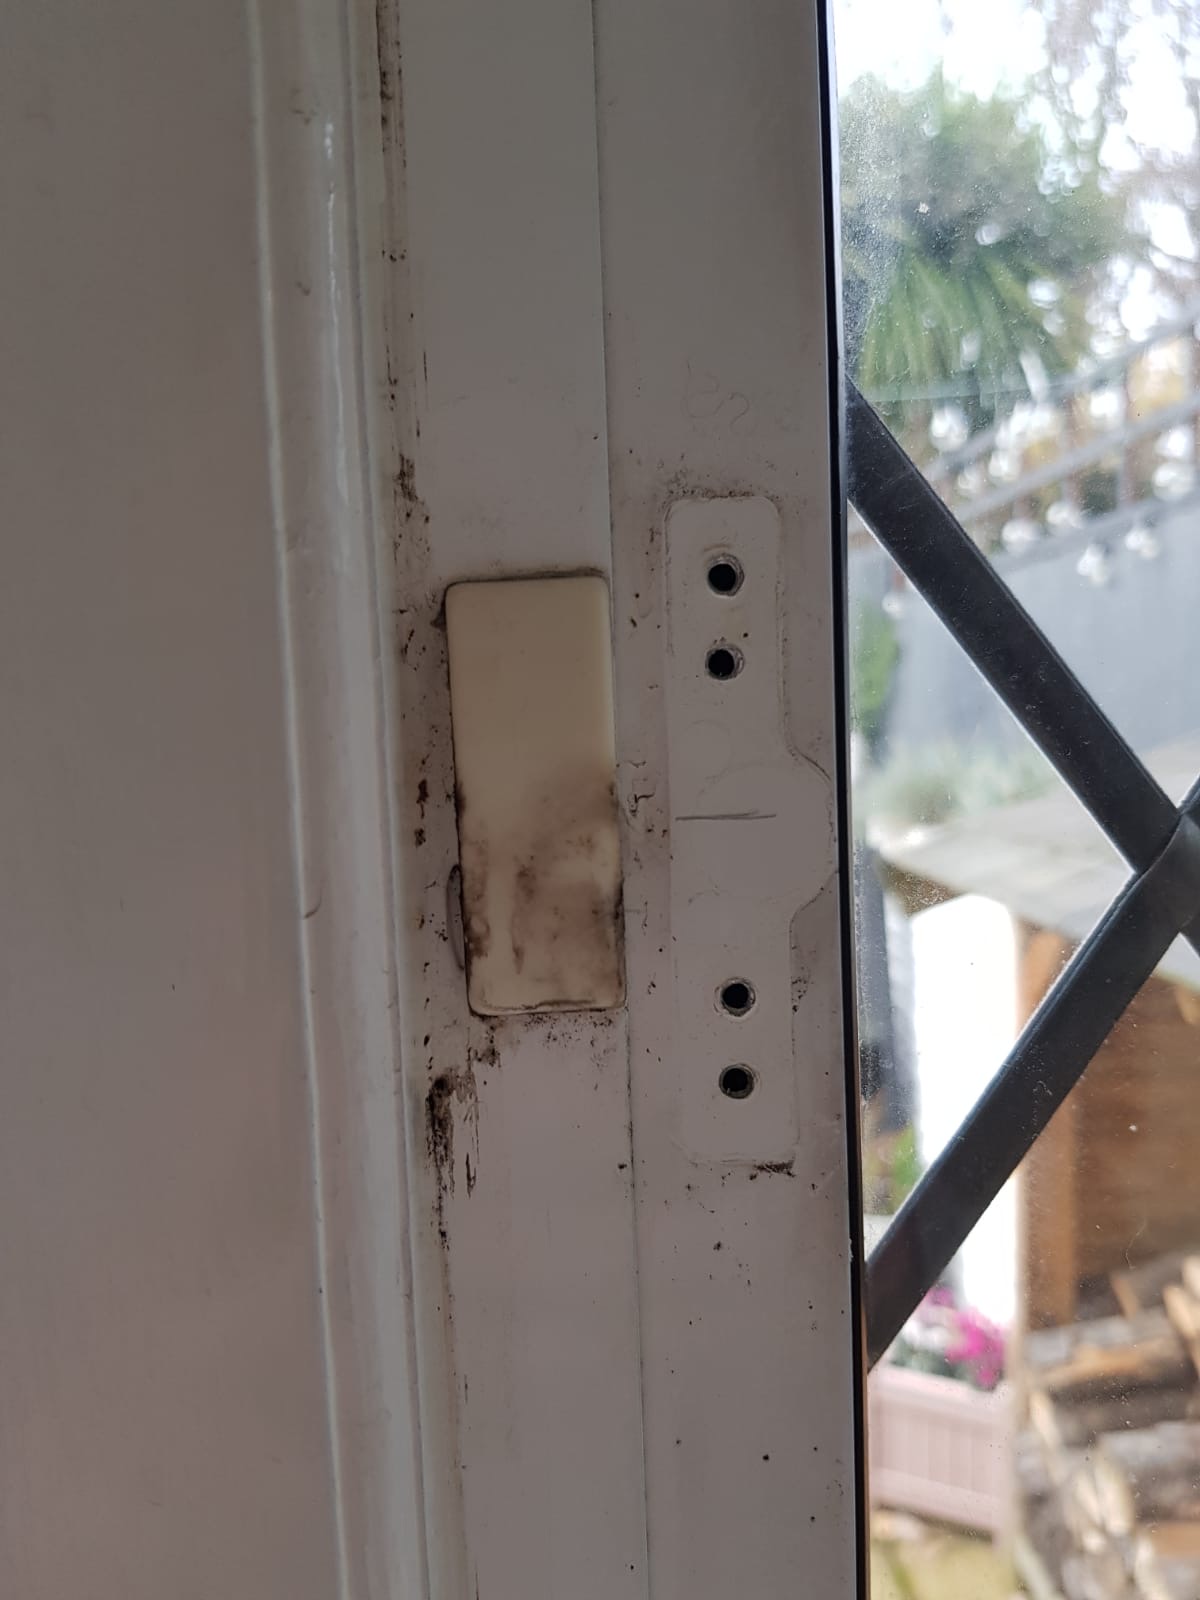
- Remove the old wedge that the handle would catch on to. This isn’t normally screwed in but just pushed in so you can just use a flat head screwdriver to prise it off
- Clean the area, hopefully not as mouldy as our windows…! There is a special uPVC cleaner that really does well if you have triple glazing uPVC windows
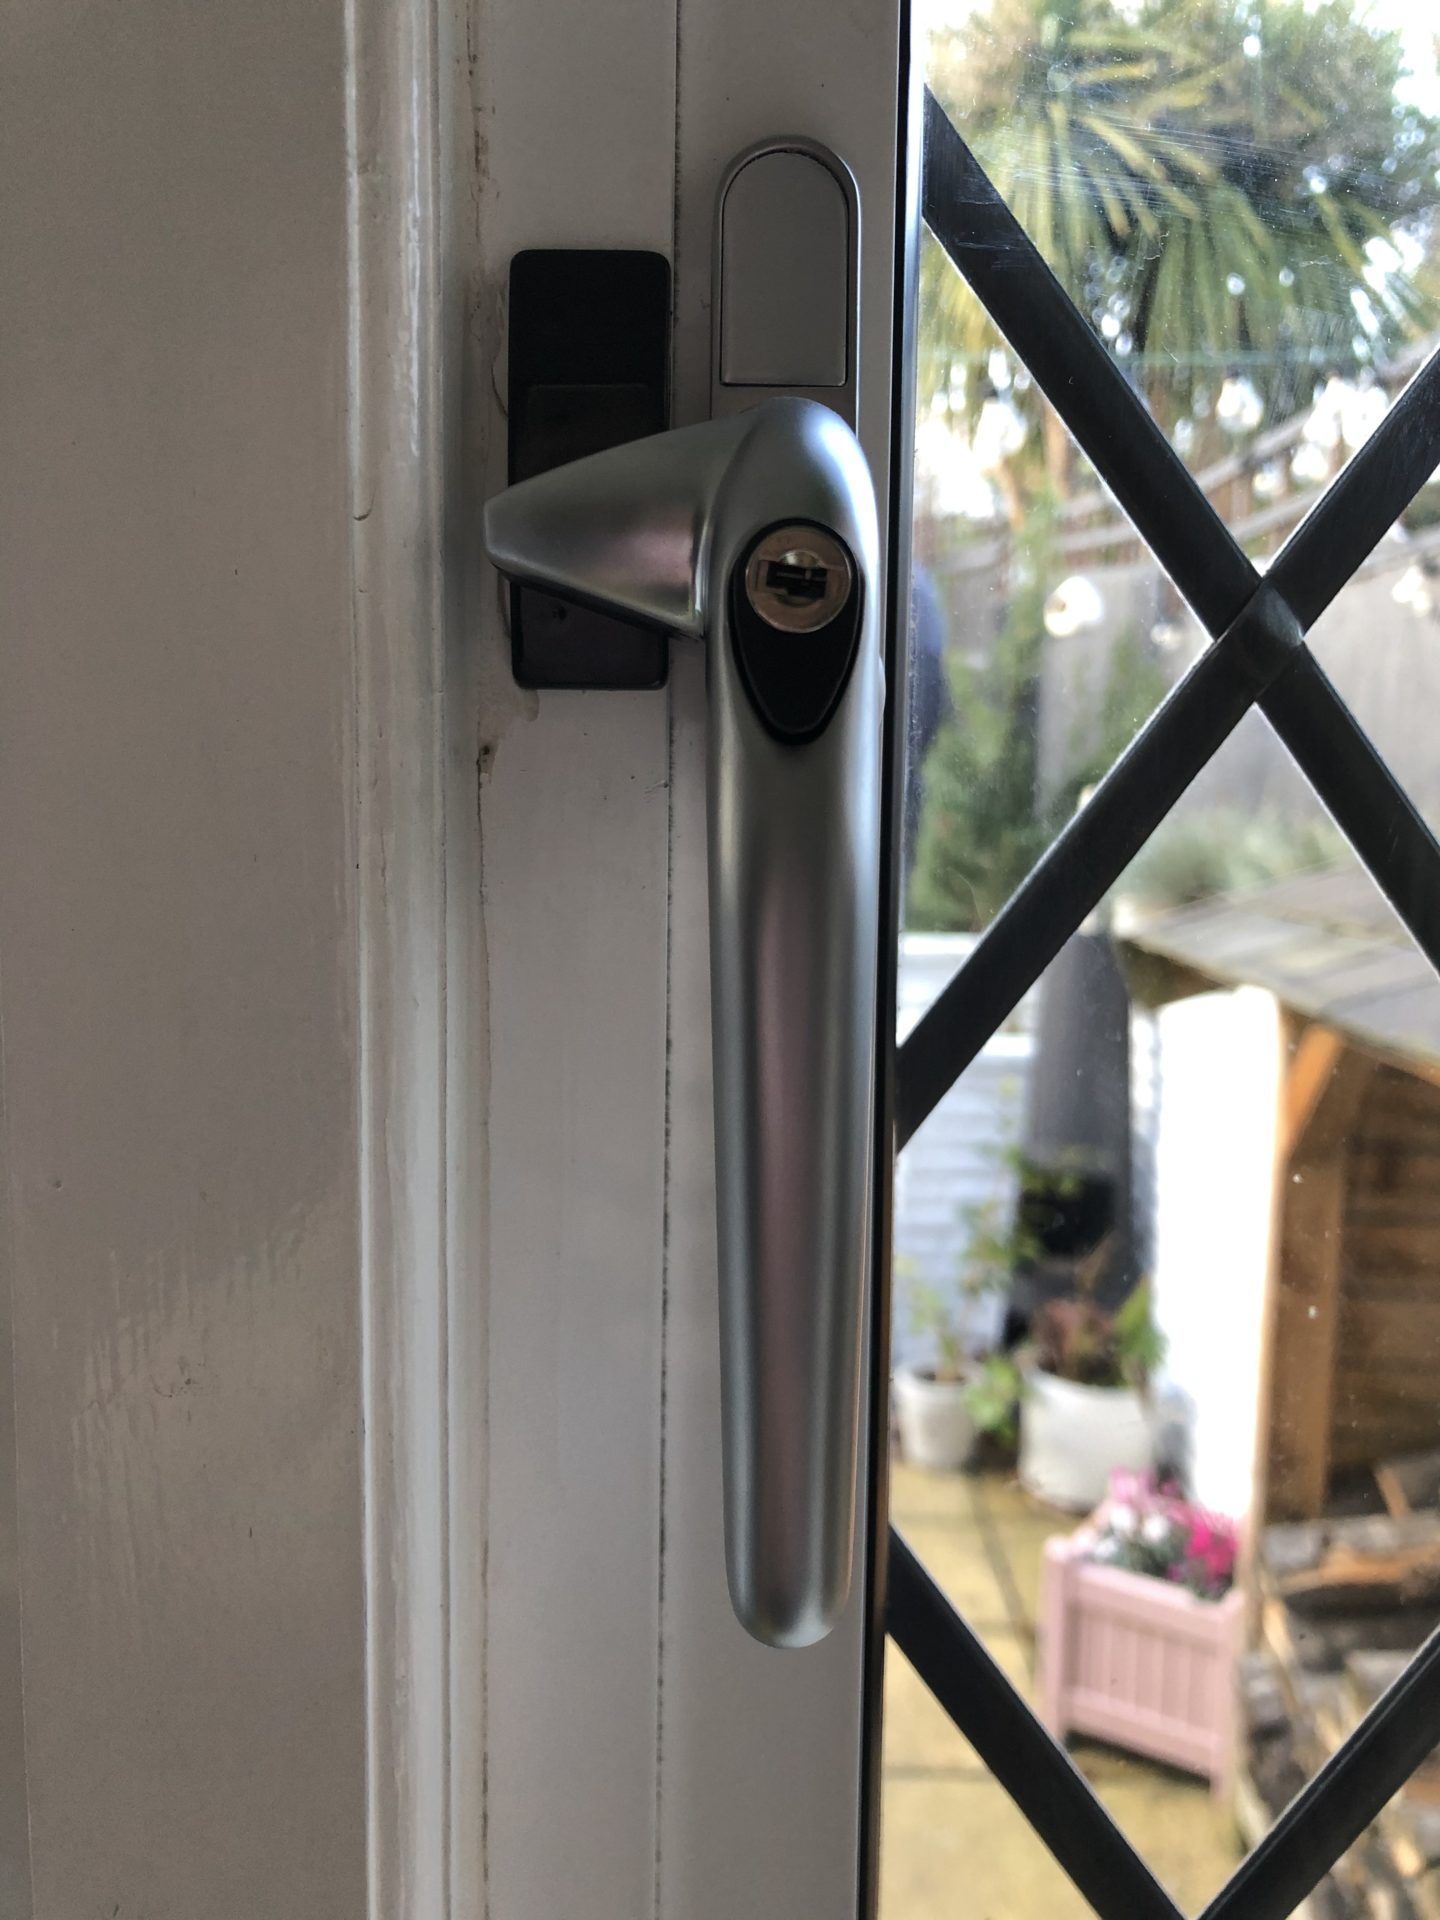
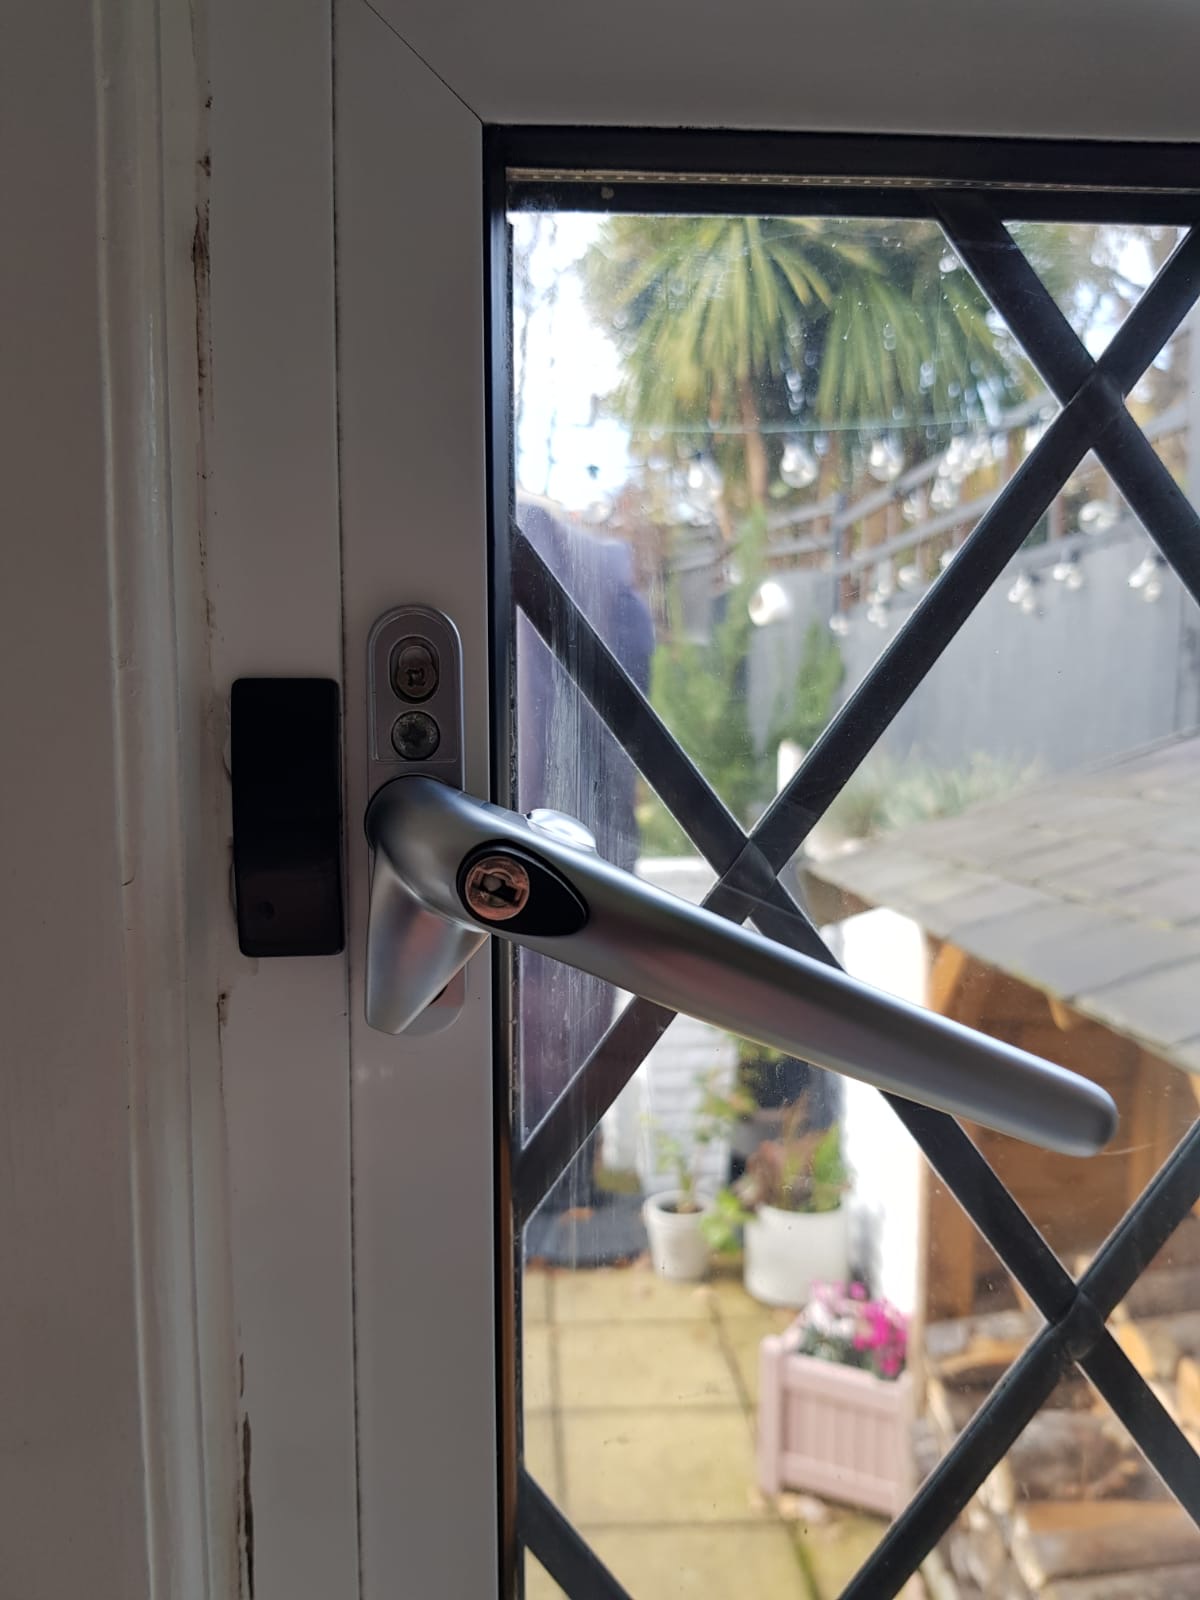
- Pop the new wedge back on. The brushed chrome ones we use come with black parts which look super smart but obviously you can go with whichever colour you want to. There should be a choice of these in 3 different lengths, since the holes are already in the window frame you need to use the right size to match the distance between the holes
- Now before you put the new handle on, you’ll have to fit the little triangular wedge to the back of the handle. This is the part that “clicks” into place once you close the handle. Again, there should be a choice of these in your pack and you can pick the one that fits
- Screw the new window handle into place, the 4 screws you’ll need should be provided.
- Finally, there should be a little silver (or other colour) sticker to place over the top two screws which are on display when the window handle is fixed down. Go ahead and pop this in place and you’re DONE!
It may sound like a lot of steps but I’ve tried to explain as clearly as possible and hope you’ll try to change window handles. We’ve changed our bathroom window handles, the kitchen ones and now the dining room ones and it really does make such a great budget difference if you can’t afford to replace your whole windows. Let me know if you give it a try!
Follow me on Facebook | Instagram | Pinterest | Twitter

