If there’s one thing I love when it comes to renovating, it’s the detail. I’ve gone from swooning over Wolverine to swooning over radiator valves and to be honest, I kinda like it. One of my latest home renovation projects has been to give our living room door a facelift and with just a couple of simple steps it looks SO GOOD! So I thought I’d share my tips on how to refurbish internal doors like a pro and everything I’ve used. This will hopefully come in helpful especially if you’re not looking to replace doors and hoping to stick to a budget.
It quickly became apparent when we moved in that we didn’t have any original 1930s doors left. At some point the doors have also been rehung, to open into a room rather than against the wall. It’s actually one of the very few changes that I actually like (I’m generally forever wingeing about the cowboy jobs we’re having to repair but this one isn’t one of them).
I don’t mind our current doors, they’re more the style that you might find in a Victorian or Edwardian home so whilst not original and not of the right period, they are at least suited to an older home. I always had it in my mind to have them dipped and stripped to take them back to the natural wood but had my heart broken slightly when I realised that because we’ve had a loft conversion done, all the internal doors are in fact fire doors, which means you can’t strip them because they have a layer of fire retardant material that looks a bit like cardboard over the wood.
I’ll be honest – I was pretty disappointed. Yes, of course we could replace them but it really wasn’t on our list of priorities and they are solid, good quality doors so it would seem a shame to replace them just because. So ever the resourceful DIYer, I’ve decided that they would still look loads better with a fresh coat of paint and knobs instead of handles. It’s worked out SO much better than I imagined that I’ve created a step by step guide on how to refurbish internal doors like a pro. Hope you find it helpful or if you’d prefer, why not bring in a professional for door servicing & maintenance.
Step One
Gather your materials! I’ve tried to include here a list of everything that I think you may need, based roughly on what I used and I’ll explain the different steps as I go. The products I’ve used are linked, any marked with * are affiliate links which means I receive a small commission on purchases:
–Sugar soap – ideal for cleaning your doors*
–Sand paper – 120 grit, for any rough edges, and “keying” your surface if you’re not going to be using primer*
-Brushes and small gloss roller and tray*
–Primer (this is optional, I’ll explain more)*
Step Two
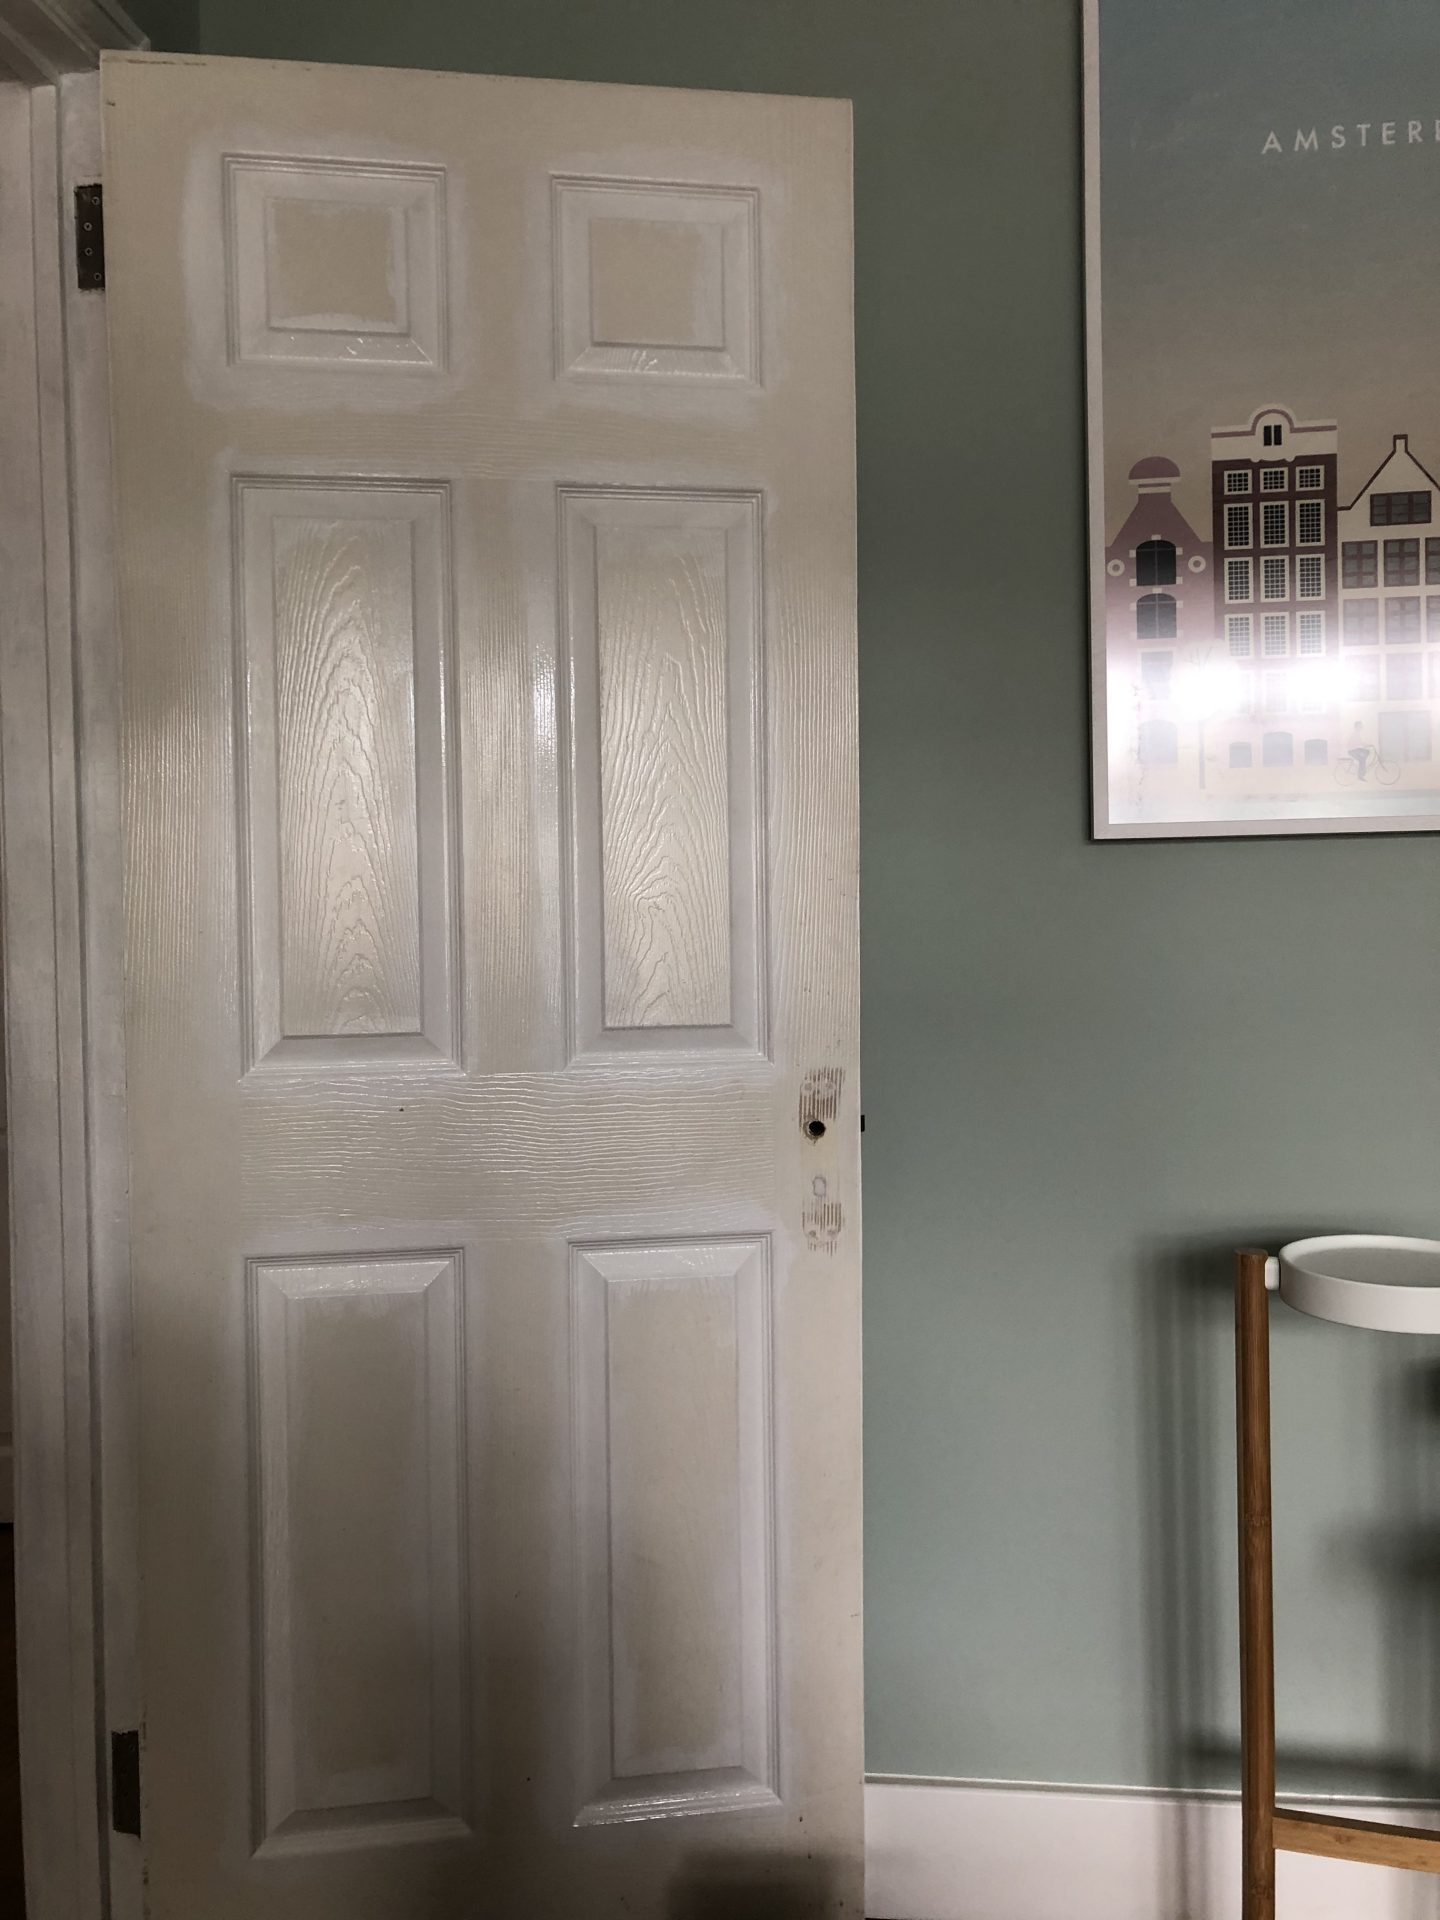
Let’s go! Preparation time – even if you’re not replacing your handles/knobs, remove the existing handles using an electric screwdriver. It’s much easier to paint when they’re off the door rather than trying to paint around them and you’ll get a much more professional finish.
Clean the door with sugar soap and a sponge/cloth. This helps to remove any inbuilt dirt which you’ll definitely have if you live in an older home.
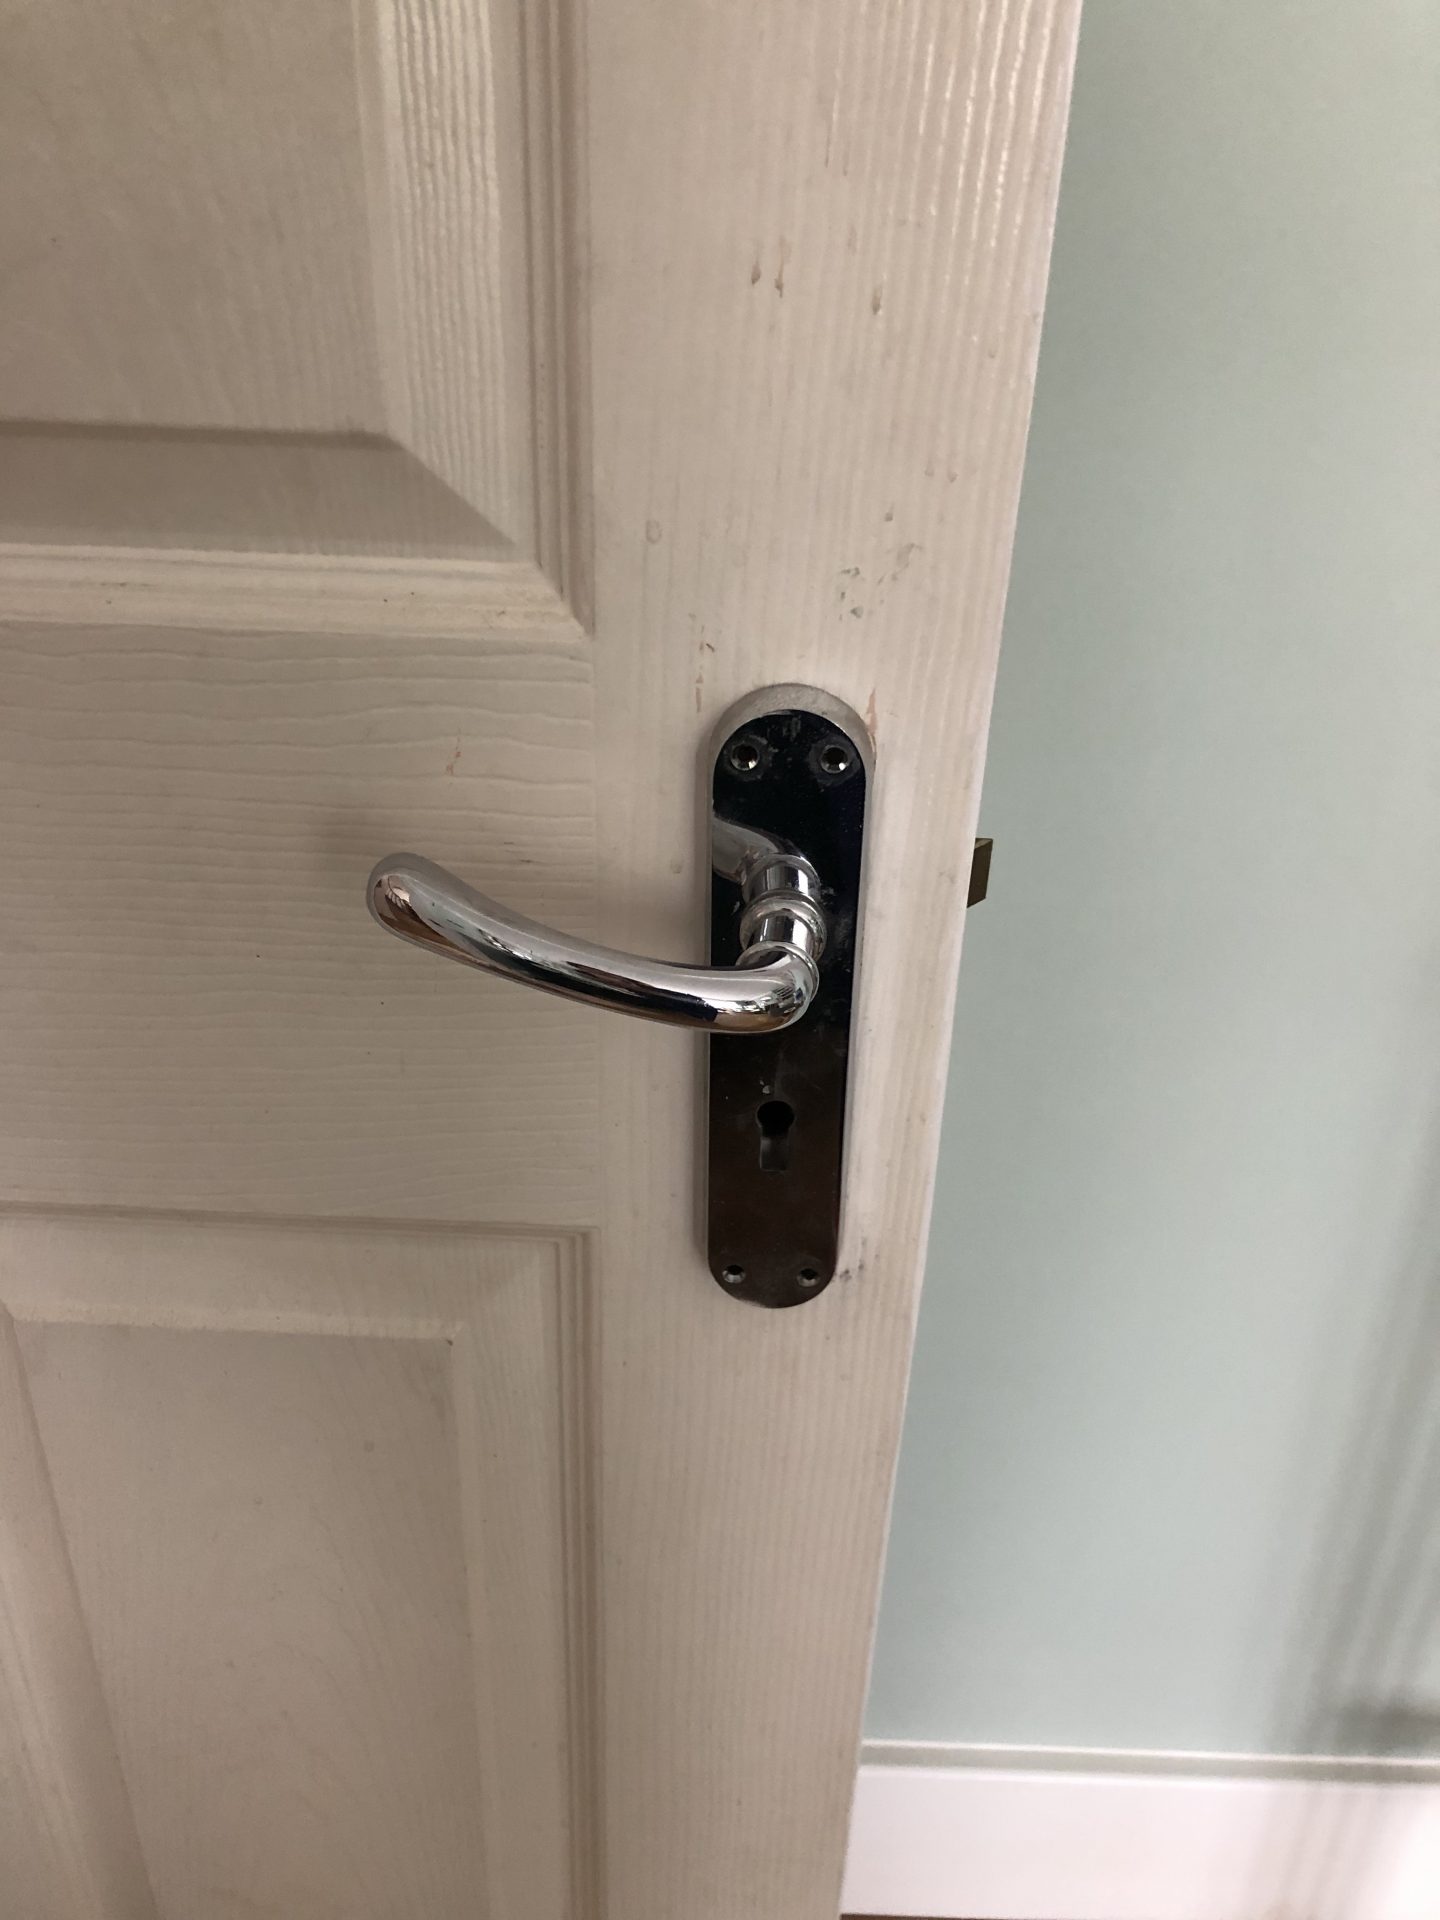
IF you’re replacing the handles with something different, you may have a little bit of filling to do. As an example, we’ve replaced handles with a lock with knobs. I had to fill the hole where the lock would have gone as well as the original screw holes since the knobs will sit in a different place.
Step Three
Sand and/or prime – If you are changing a wooden finish or dark painted door to white, you will need to prime it first. This will save you a lot of effort and paint in the long run as it will help prevent the darker colour coming through.
If you’re just smartening up a discoloured white/light door, you just need to use some sand paper to sand your surface back a bit so that the new paint can better adhere.
Step Four
Painting! Of course, there are many different styles of door but if you want to know how to refurbish internal doors like a pro, listen up. First of all, use your brush to cut in around the edges, around any glass you may have, or any panelling. In my doors for example, I used a brush to paint around each of the grooved/panelled edges first.
Then, use a gloss roller (thank you SO MUCH to my lovely online friend Lydia who blogs about renovations at House of Spolland for sharing this gem) to paint the main panels, then the middle section, then the horizontals, then the outer verticals. Honestly, this has been such a game-changer and really helped me to achieve that professional finish. Even if you’re just painting discoloured white/lighter colours to white, like me, I would definitely recommend two coats.
Step Five
Finally, once your paint has had a few days to cure you can fit the new handle if you’re taking that step (ideally, paint it one weekend, and fit the new handle the following weekend, that gives the paint enough time). You may to do some very small touch ups once the handle is on.
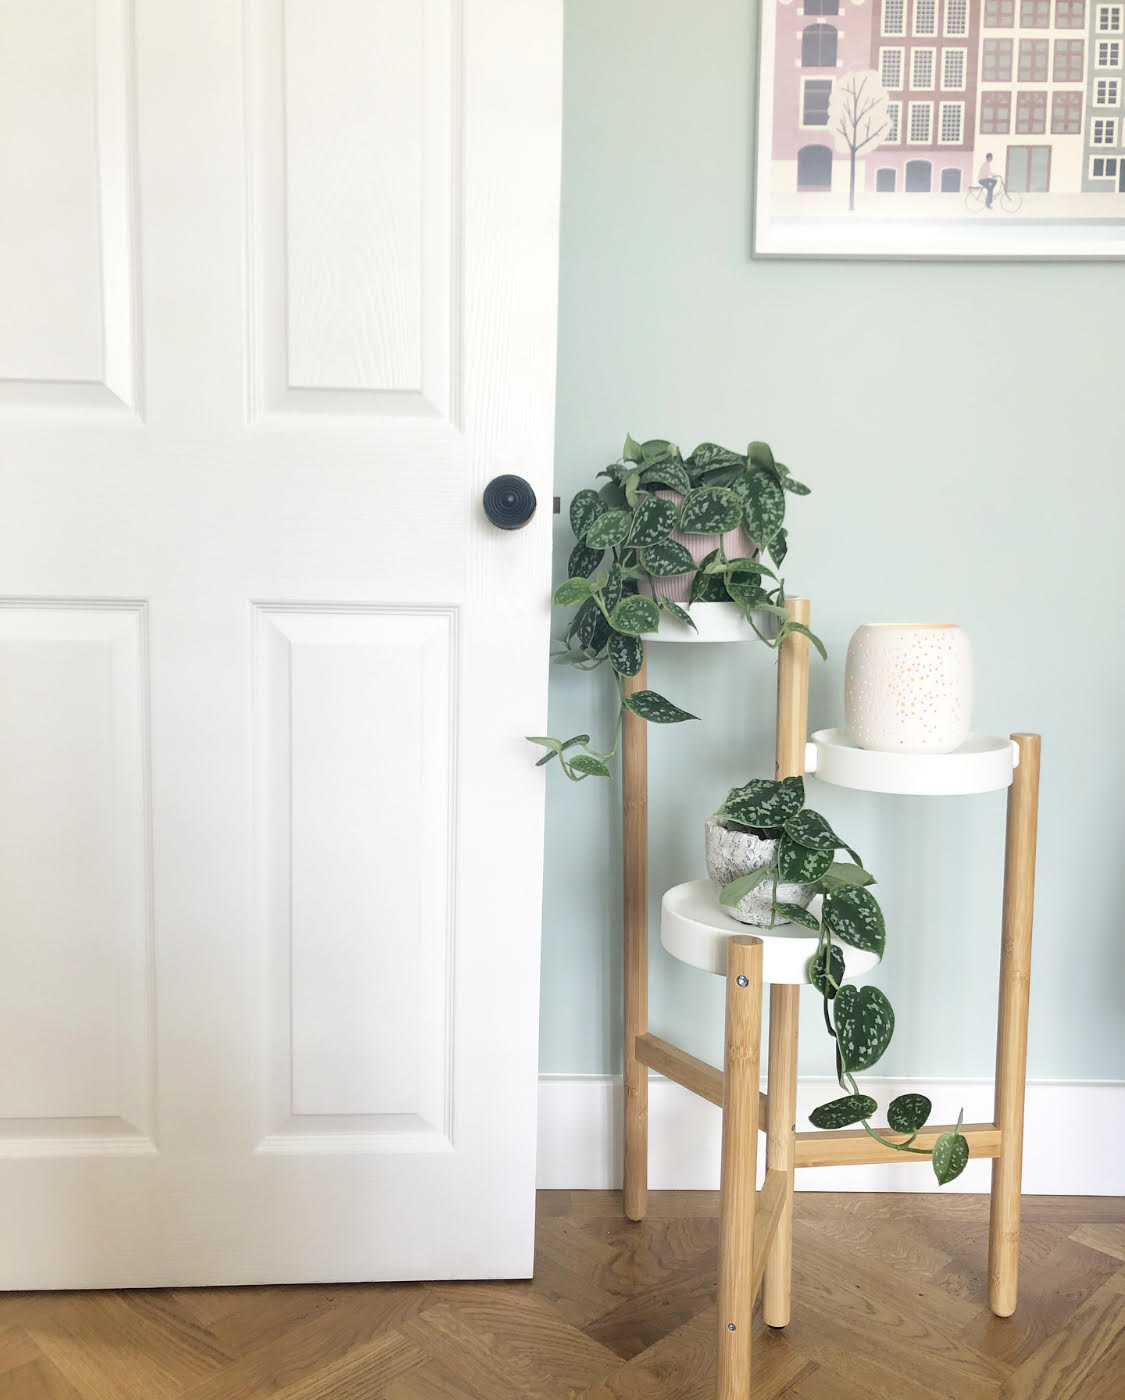
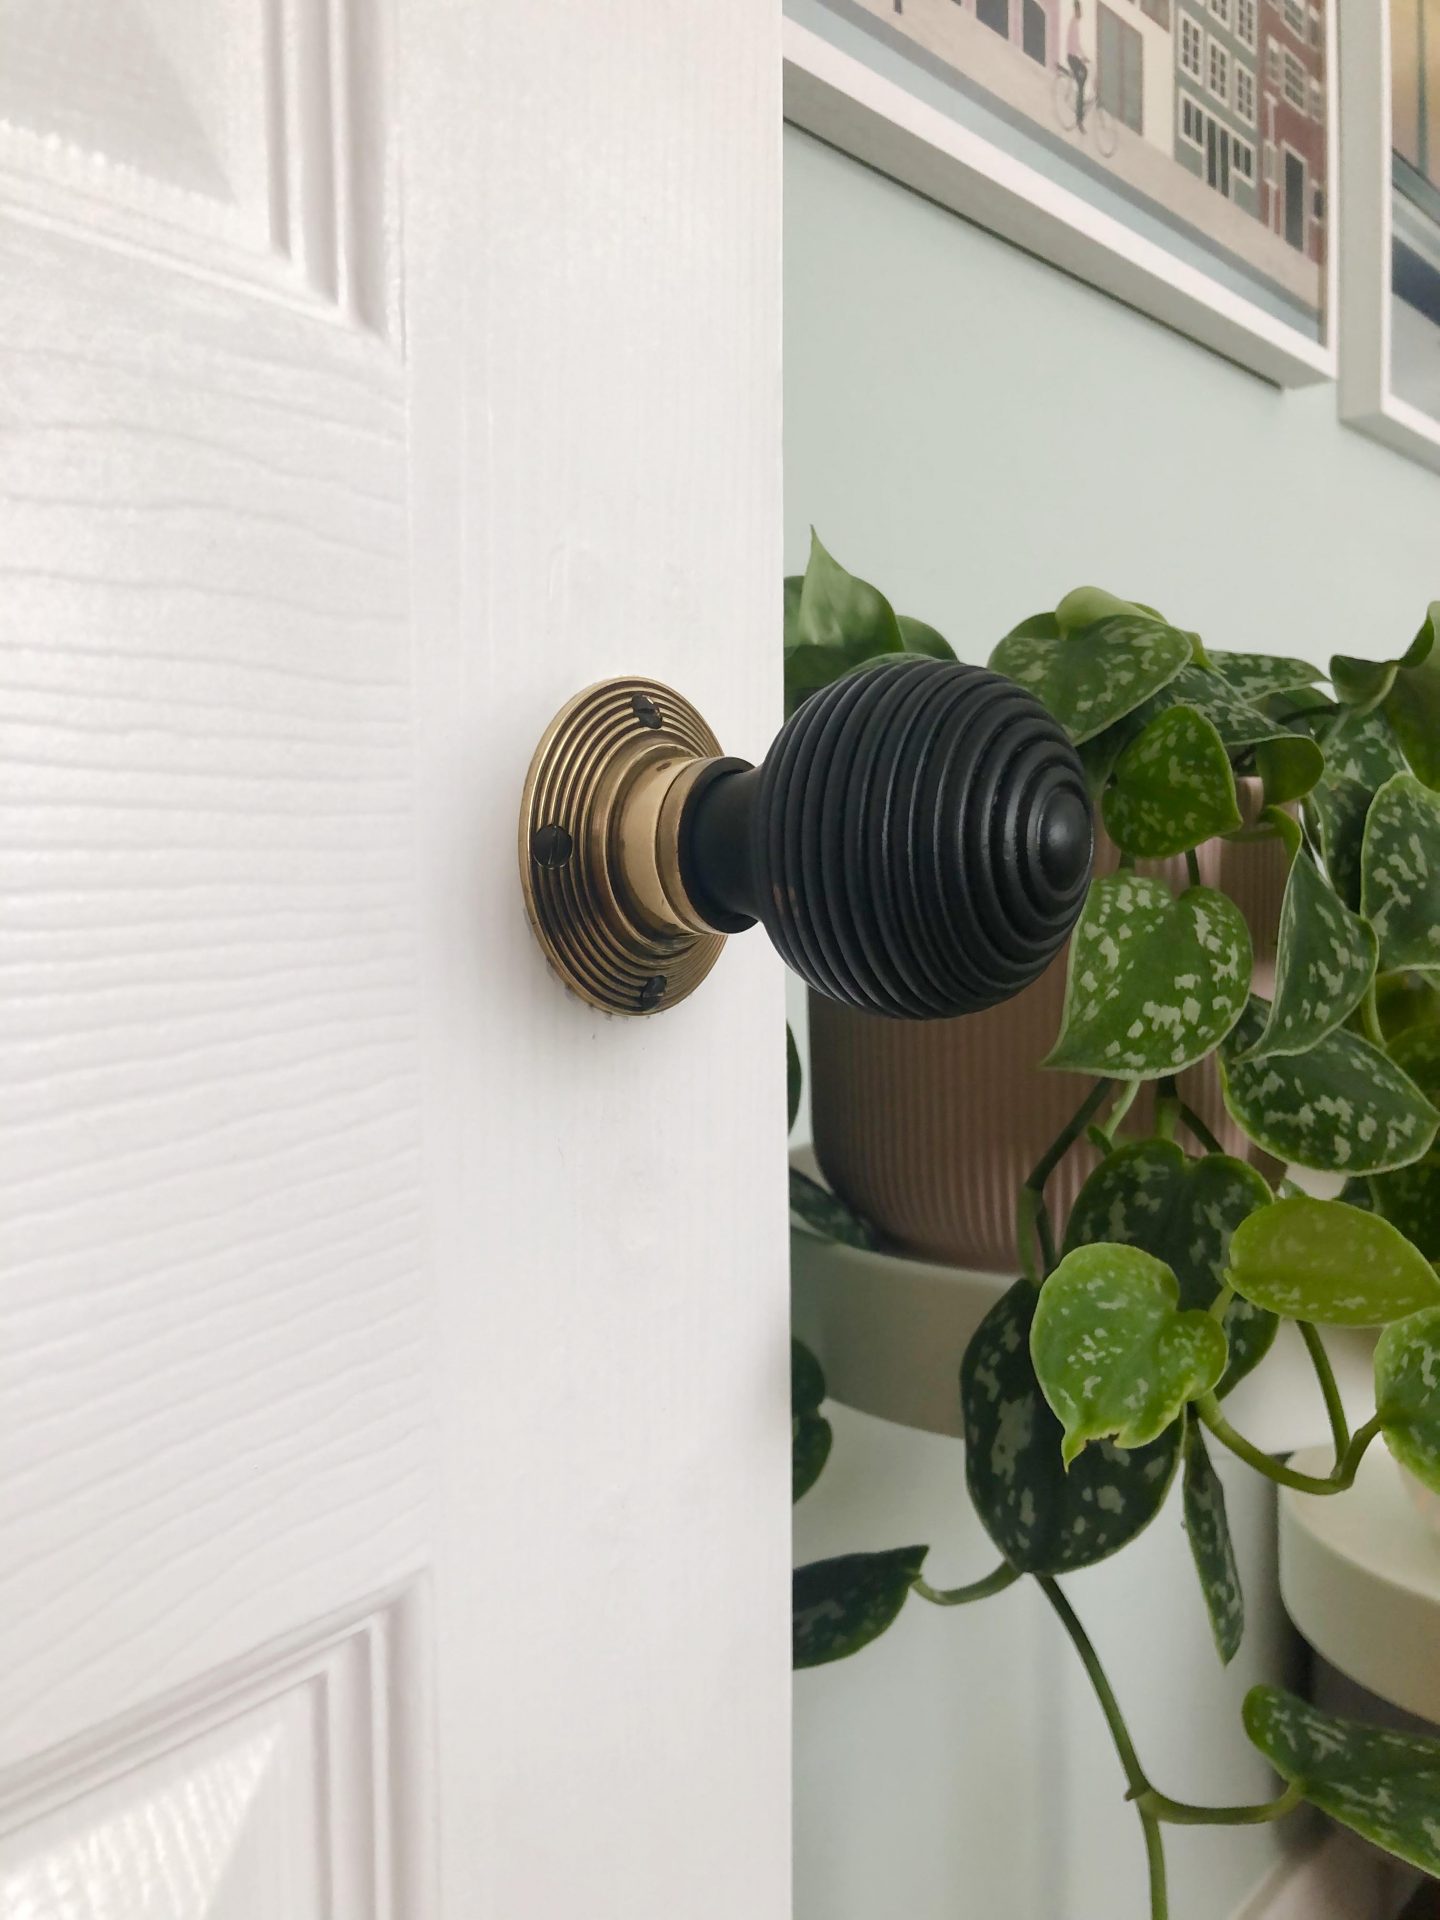
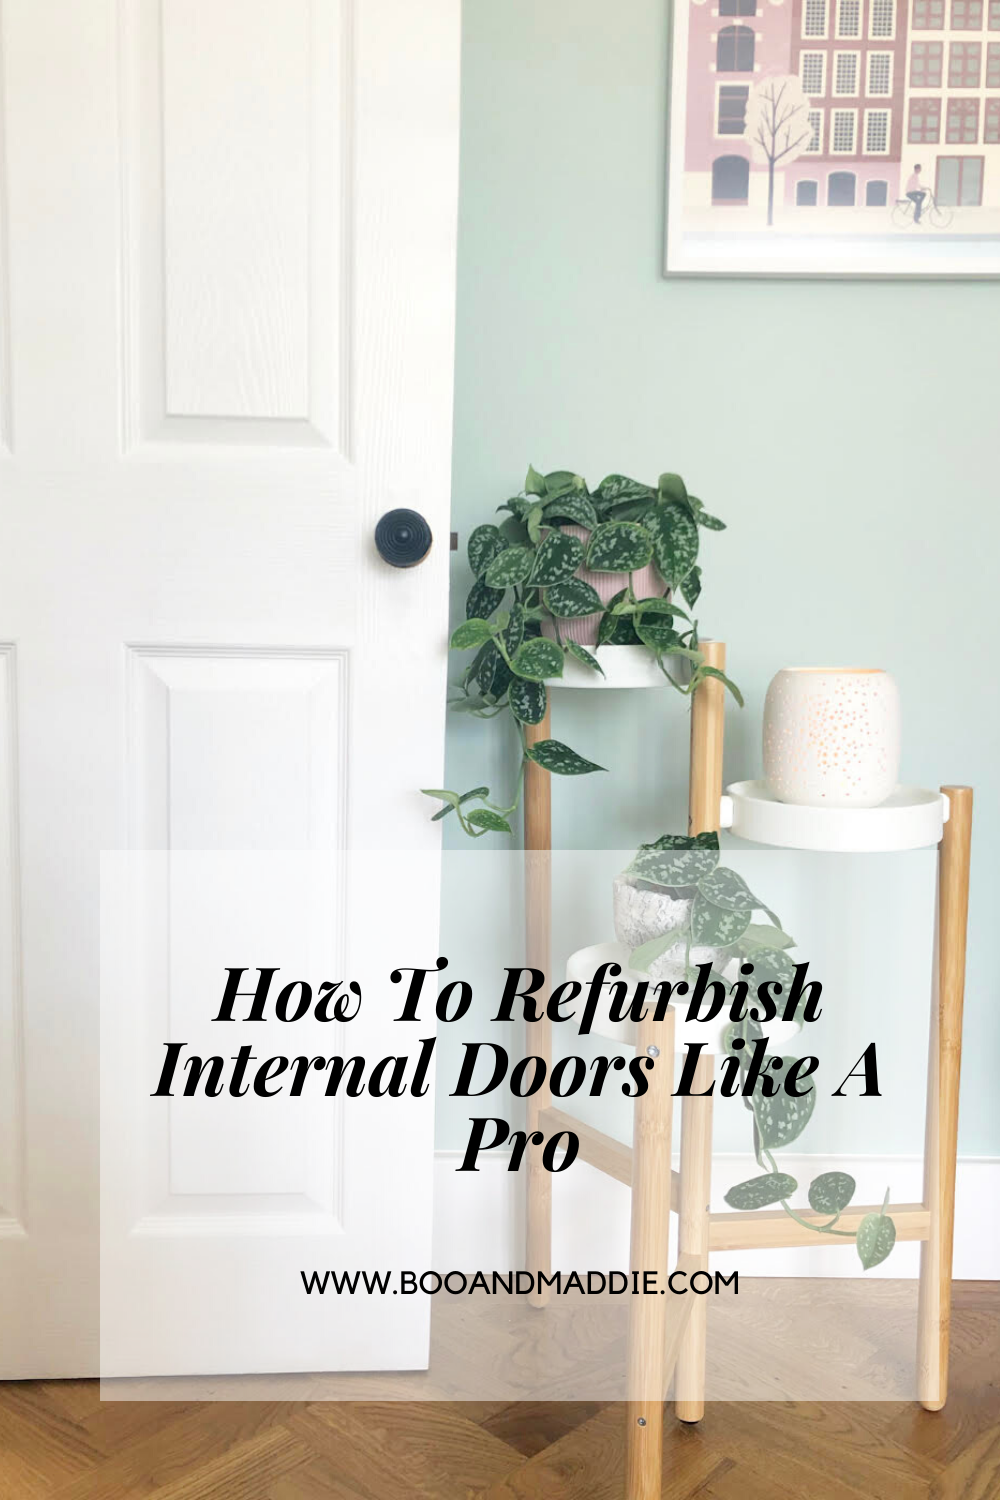
I’ve chosen ebonised beehive knobs which give a more period feel to our 1930s home and honestly the before and after blows my mind. It wasn’t quite as straightforward as just replacing like for like, but there are some really helpful videos online which explain what you need to do and it was a job I left up to Mr D, he did a grand job. I think you’ll agree they look sooo much better than they did before and all it’s cost me is just over £20 for the new knobs, as I had everything else already in stock.
This is definitely a job you can do yourselves, I’m not sure if I’d paid someone they would have done a better job. And there you have it, that’s how to refurbish internal doors like a pro. It really is as straightforward as it sounds! Any questions at all you can always leave a comment or drop me a DM on Instagram and I’ll be happy to help.
PIN FOR LATER:
Follow me on Facebook | Instagram | Pinterest | Twitter


Thanks for sharing the blog with an informative content. Keep sharing more content. Keep sharing more ideas related home interior designs, I like it because we are having same type of services.
Your door looks great, I love those door knobs instead of handles, you’ve made me rethink what we are going to use in our home x
https://www.katescloset.uk/
Author
Thank you so much Kate, it’s amazing how much a difference the right handle/knob can make X
Do you remember what paint founded Kate and 9 months on did it stand the test of time?
Do you remember what paint you used Kate and 9 months on did it stand the test of time?
I’m sorry I’ve messed up my question twice so far…third time lucky
Do you remember what paint you used for your internal doors and almost a year on did it stand the test of time?
Author
Hi Lizzie, so sorry for the late reply! Yes all details of all products and steps used including paint are actually detailed within the blog post itself. Still happy with it a year on 🙂