*This post contains affiliate links marked with a * at the end of each product*
Rainy days are surely a good time for a painted patio makeover project, no? As I look out of the window over yet another grey, rainy May day here in London I thought it was as good a time as any to do the first painted patio makeover blog post. I say first because I’d like to do another one once it’s all prettified and the memories of allllll the work are far behind me, hopefully we have some outrageously hot weather and I can rest, feet up, Pimms in hand, safe in the knowledge that it’s all done.
I also think it’s helpful to write all of this down whilst it’s still fresh in my head and I don’t forget anything. For visual representation, I have saved the whole process in my Instagram highlights under “Patio makeover” so do check that out if it would be helpful.
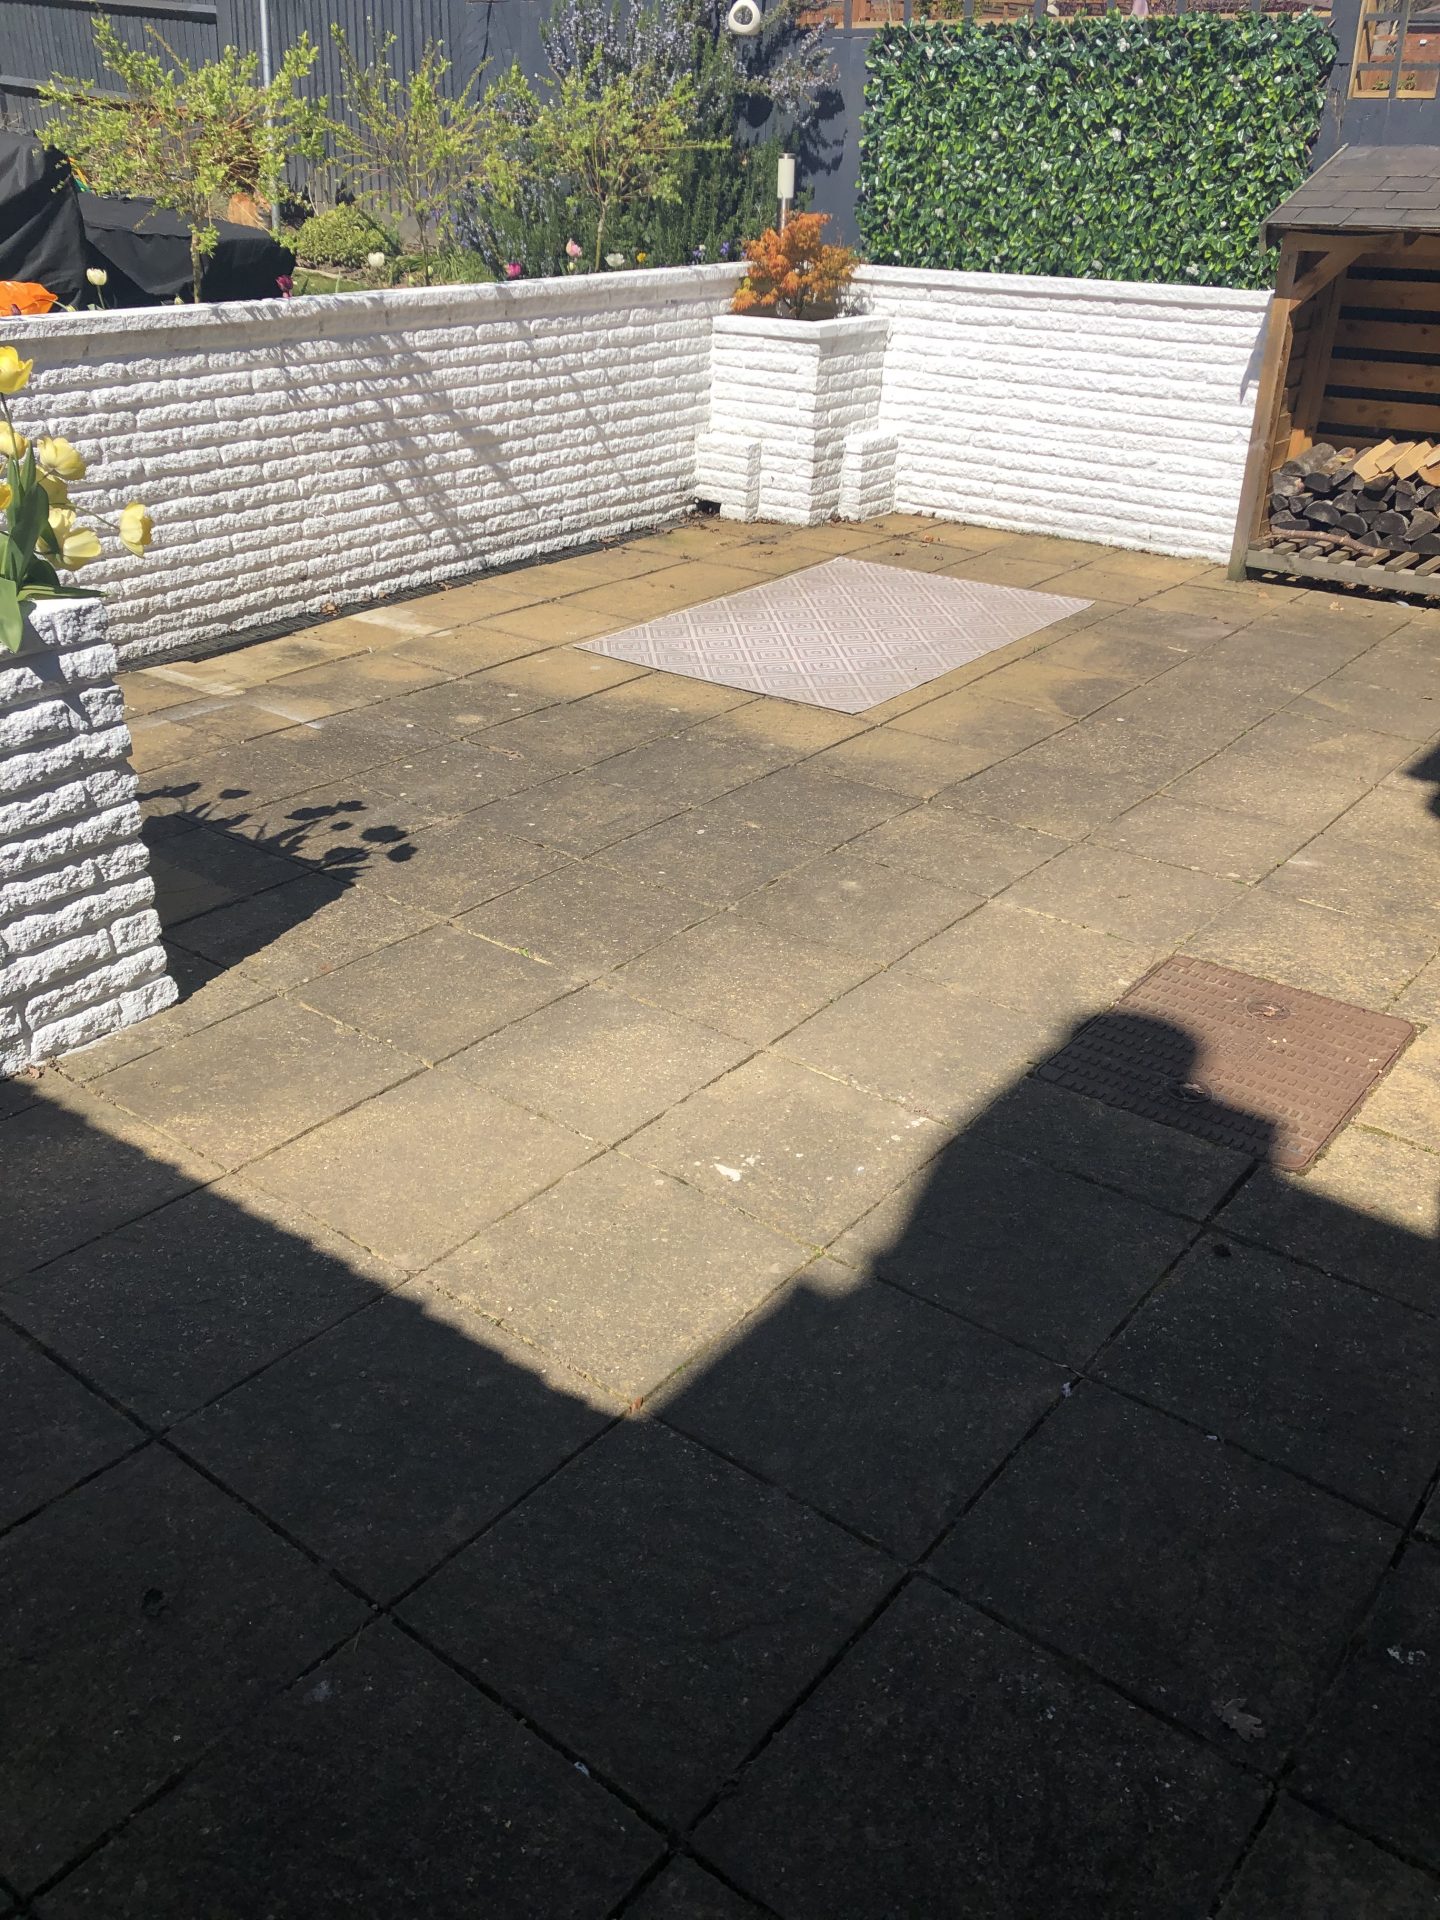
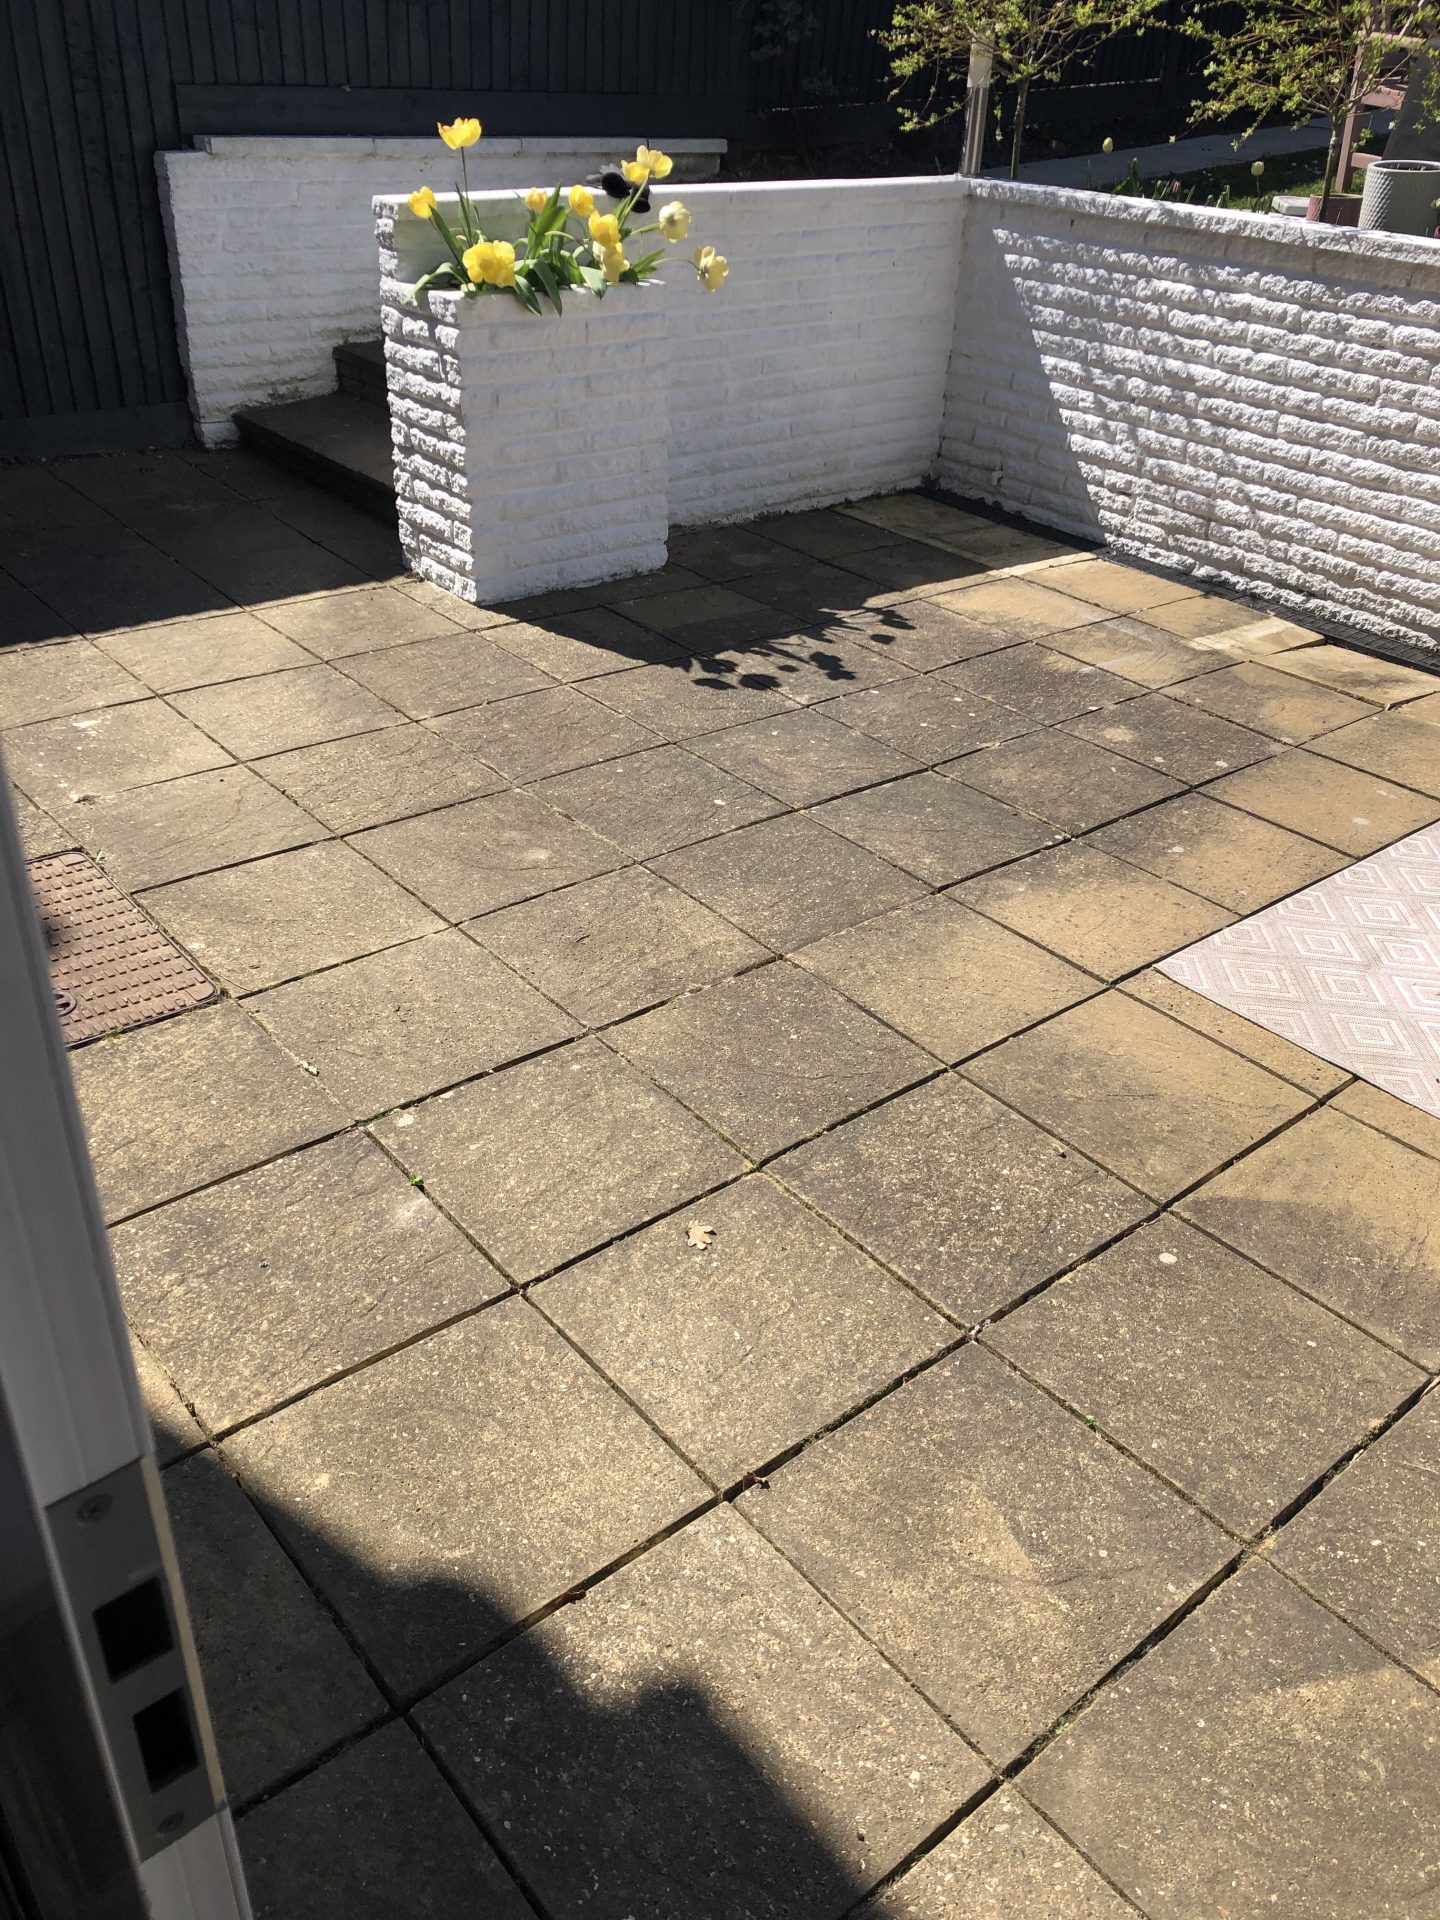
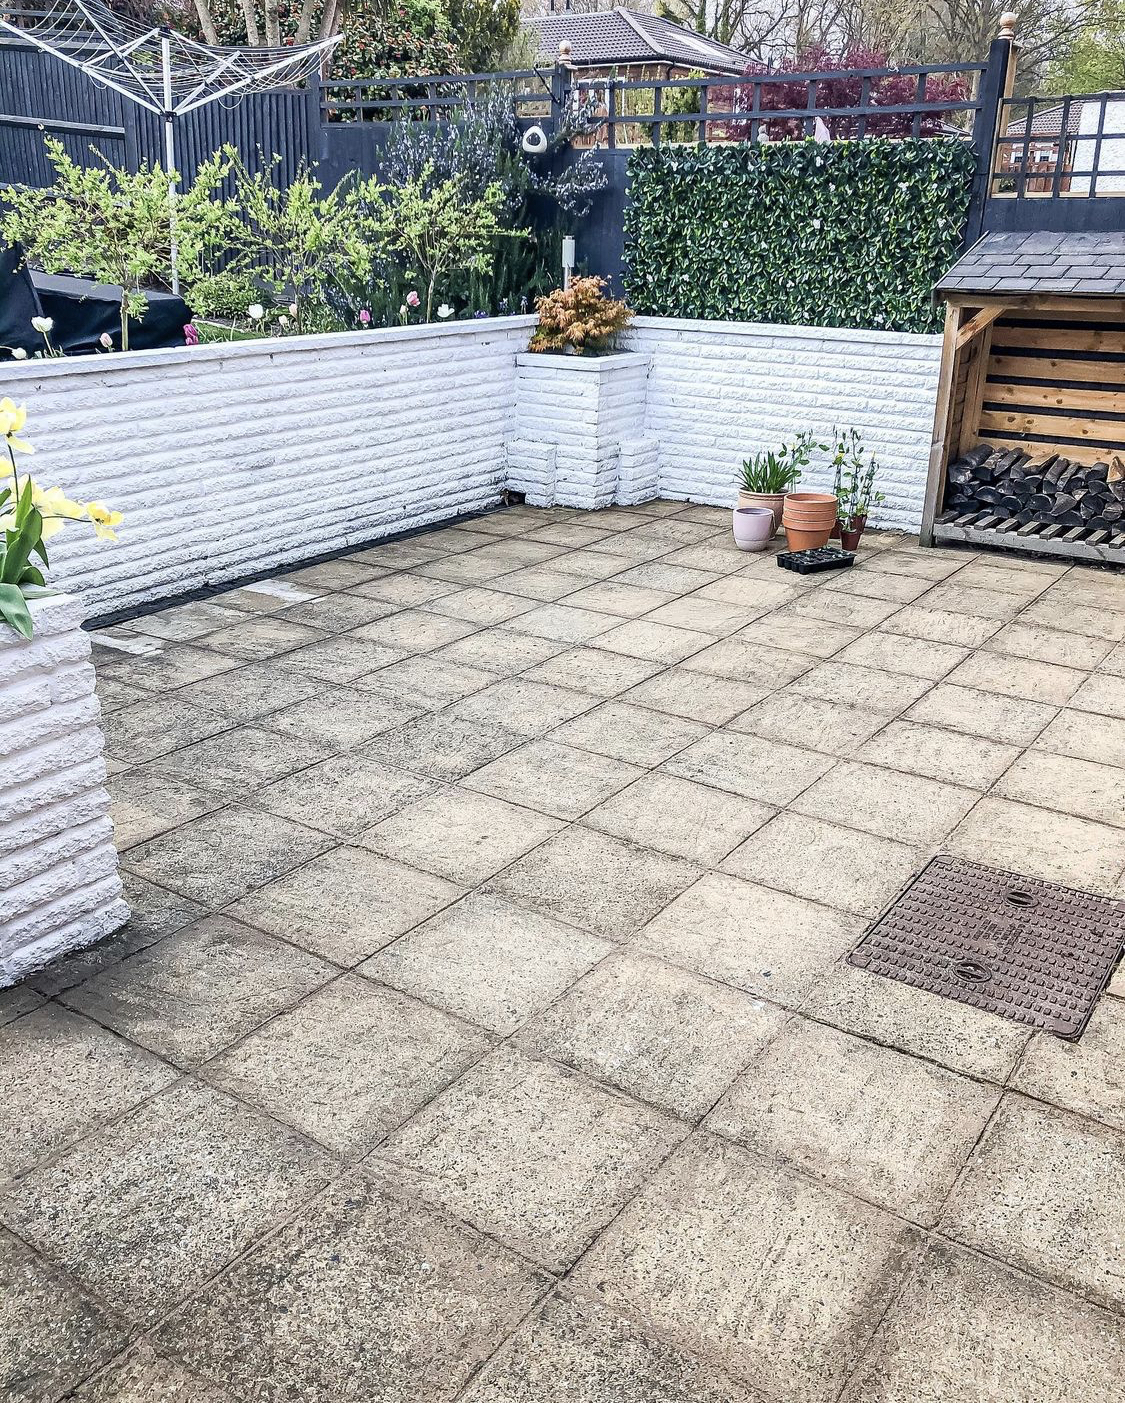
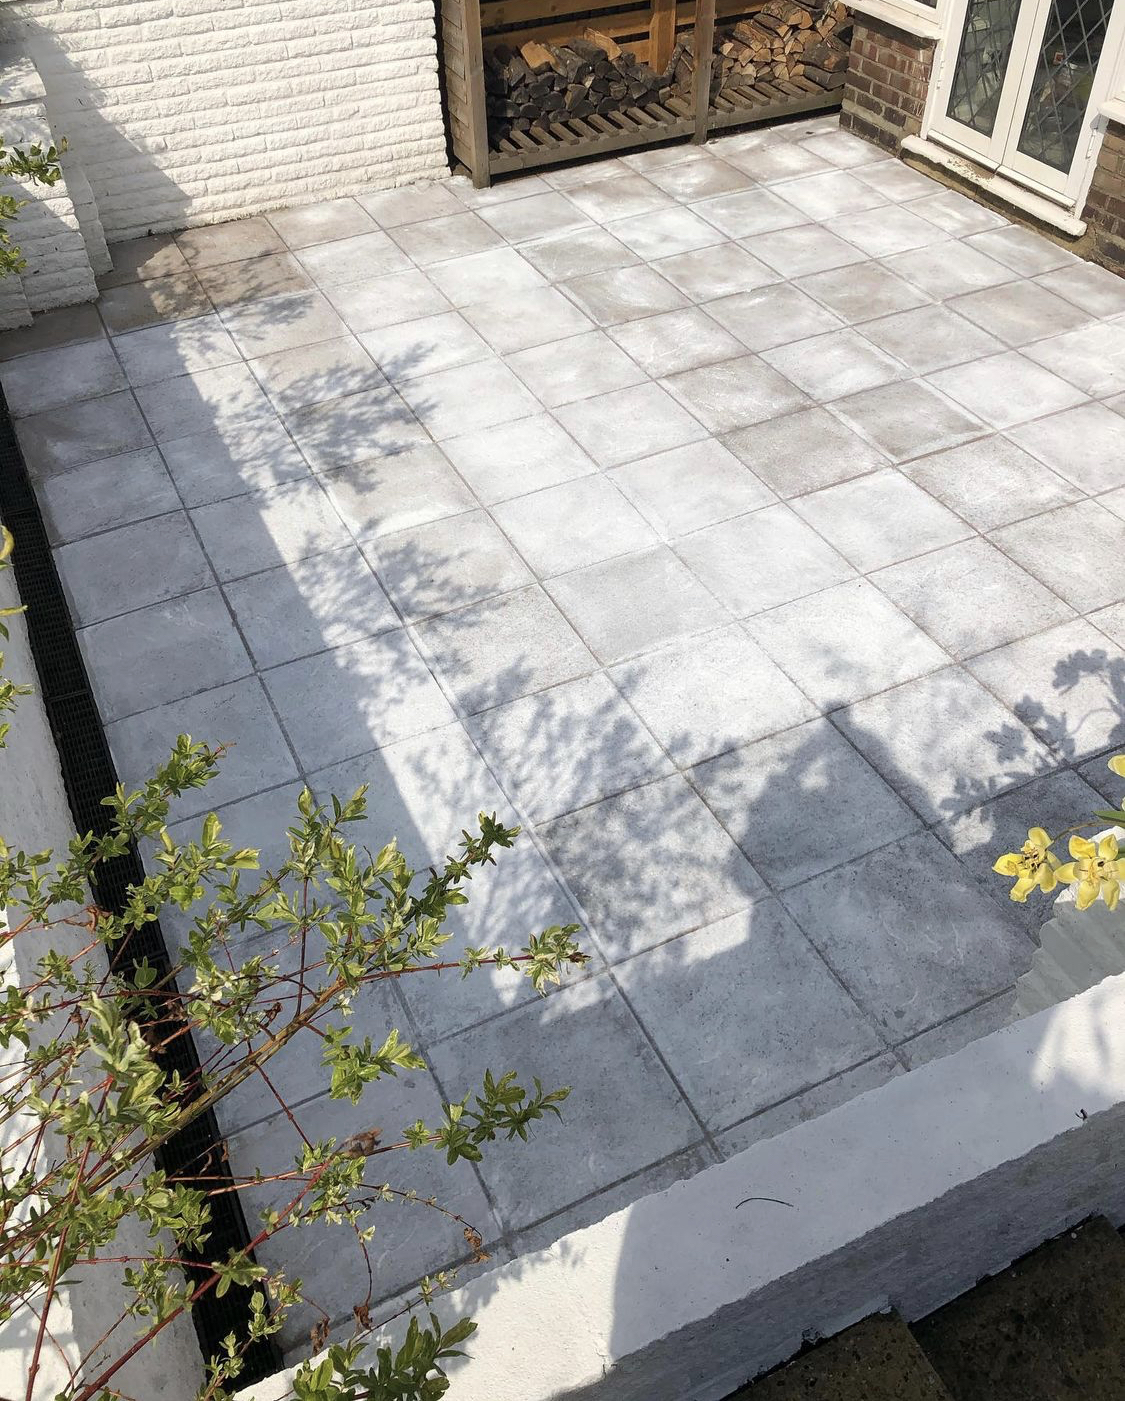
Oh patio, patio. This painted patio makeover project has been waiting two years, since I first started my very novice garden makeover back in 2019. I KNEW the patio was letting the side down but just couldn’t bring myself to tackle it single-handedly. It’s around 25sqm and needed fully re-pointing before we could even get going with the fun stuff (this is where you replace the stuff that sits in between the patio slabs).
While working on projects like this, I’ve found that a little creativity can go a long way toward achieving stylish results on a budget. So when Pete came to me around 3 weeks ago and said he’d seen someone paint their patio and it looked great—possibly even a job by Bighorn Painting—GAME ON! I knew he’d help me with the repair side of things and then it would be over to me for the painting.
I have to say this is DETAIL. You know I don’t like to take short cuts and I’m aiming for this to hopefully last reasonably well and not start chipping in 5 minutes time. Of course it will get dirty, we have a dog and it’s the British climate. But I don’t want to have to be weeding it weekly like I used to, and I don’t want to be repainting every month.
Step One – Cleaning
There’s no getting around this, the patio has to be clean whether you’re then repointing or not. You can’t paint over dirt/moss/weeds and expect it to stay looking good. We jet-washed the patio and completely weeded it. There’s no need to use any chemicals unless you want to, the jet wash and a bit of effort will do the job.
Step Two – Repointing
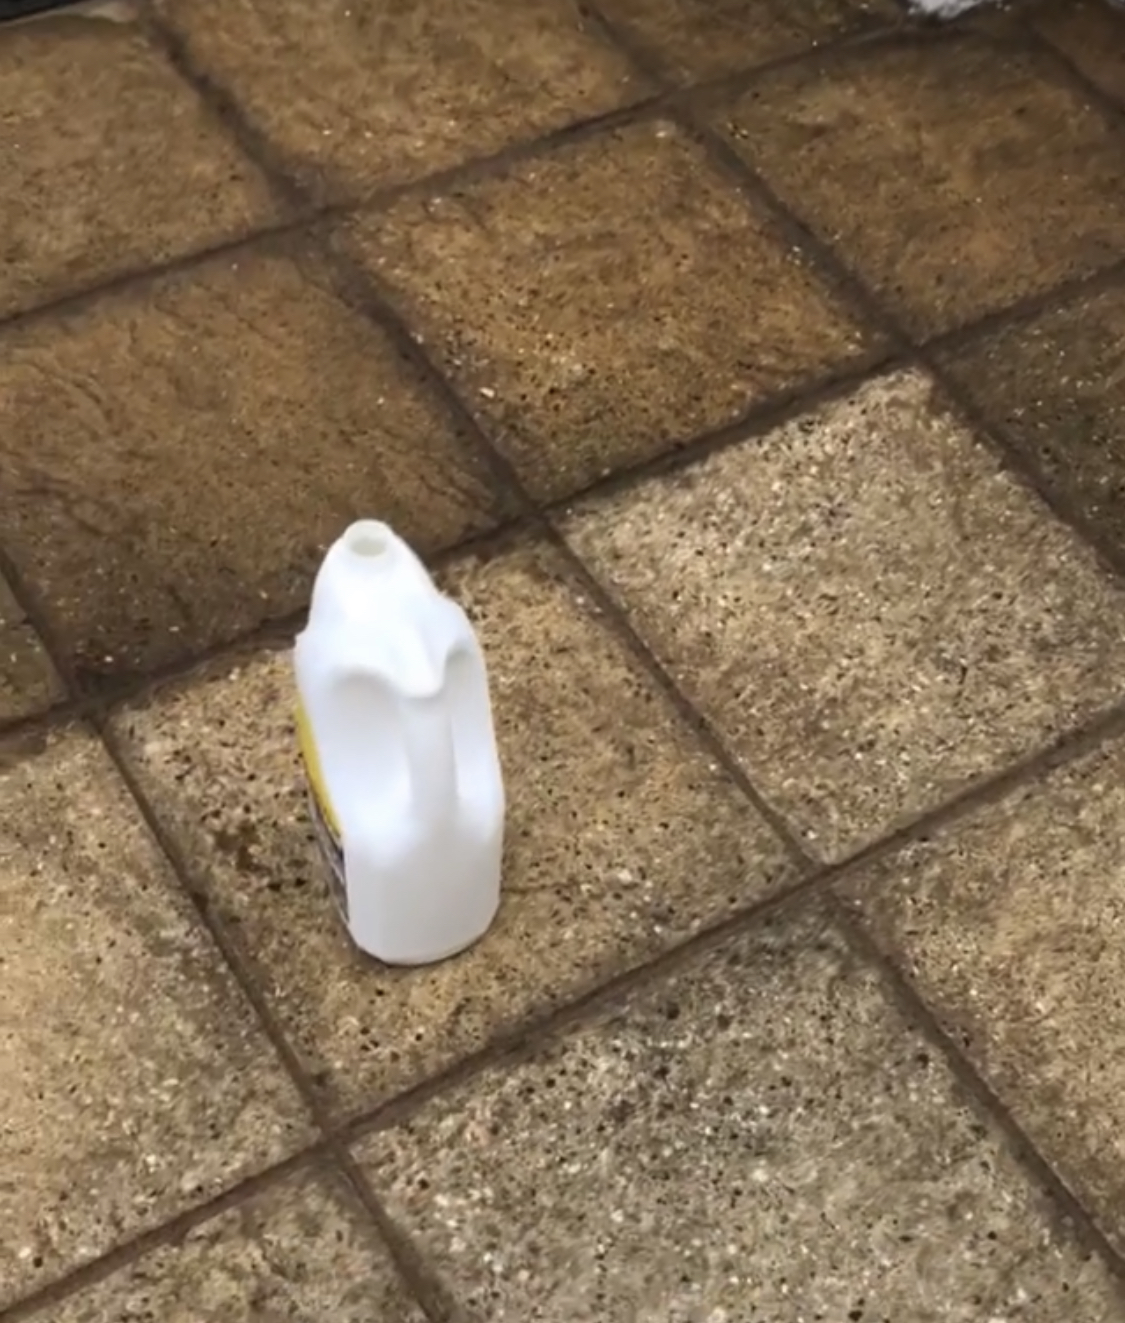
This was probably the part of the work I wanted to do the least – necessary but frustrating at the same time. There are many, many different products you can use for this but Mr D is the king of research and we went for the Sika Fast Fix All-Weather Self Setting Joint Compound in colour Buff*.
It’s a really straight forward product to use which comes in a bucket with two individual wrapped foil pouches inside. It’s a pre-mix to save you having to work out your ratios like you would with other jointing agents. The surface area you’re working on needs to be completely wet so use a watering can or hose to cover the cracks and surrounds in water and then push some of the mix into the crack either with your hand (with gloves) or a trowel or brush, and then firm down using a tool that you can buy really cheaply designed for this purpose.
You DO need to make sure you firm the product down, this isn’t one of those where you can just sweep it in and walk away but it’s really worth it. You need to also make sure that any pre-existing mortar is cleared out of the gaps too.
The Sika Fast-Fix should start to set within a day and be fully cured within around 5. During this time you’ll need to make sure that you clean off any excess from around the cracks since it will stain your slabs otherwise. I was a bit lax with this since I knew we would be painting, but it was still a job to then scrape and brush off the excess to the level I needed to. Also, the patio will feel really grainy and sound like you’re walking on sand until you remove the excess. Which leads me nicely onto Step 3…
Step 3 – Surface Stabiliser
This is such an important step in your painted patio makeover project on so many levels that will *hopefully* really pay dividends over time. A stabilising solution is a bit like a PVA glue, that sort of opaque white stuff that you used to use in school, is quite thin/runny and can be easily applied with a brush.
What it does is exactly as described – stabilises the surface making it much easier to then apply paint. No matter how many times you sweep or even vacuum (yes, I did roll out our renovation Henry at times to vacuum the patio!) there are still bits of dust and debris you’ll never sweep up.
The solution will secure all of that and provide a solid, smooth surface for your paint, as well as acting like a primer so that you don’t lose so much paint absorbed into your slabs.
We used the Sandtex stabilising solution* as we’d used it for a previous project and really liked it. It recommends one coat but we did two as we had so much leftover and it didn’t so any harm.
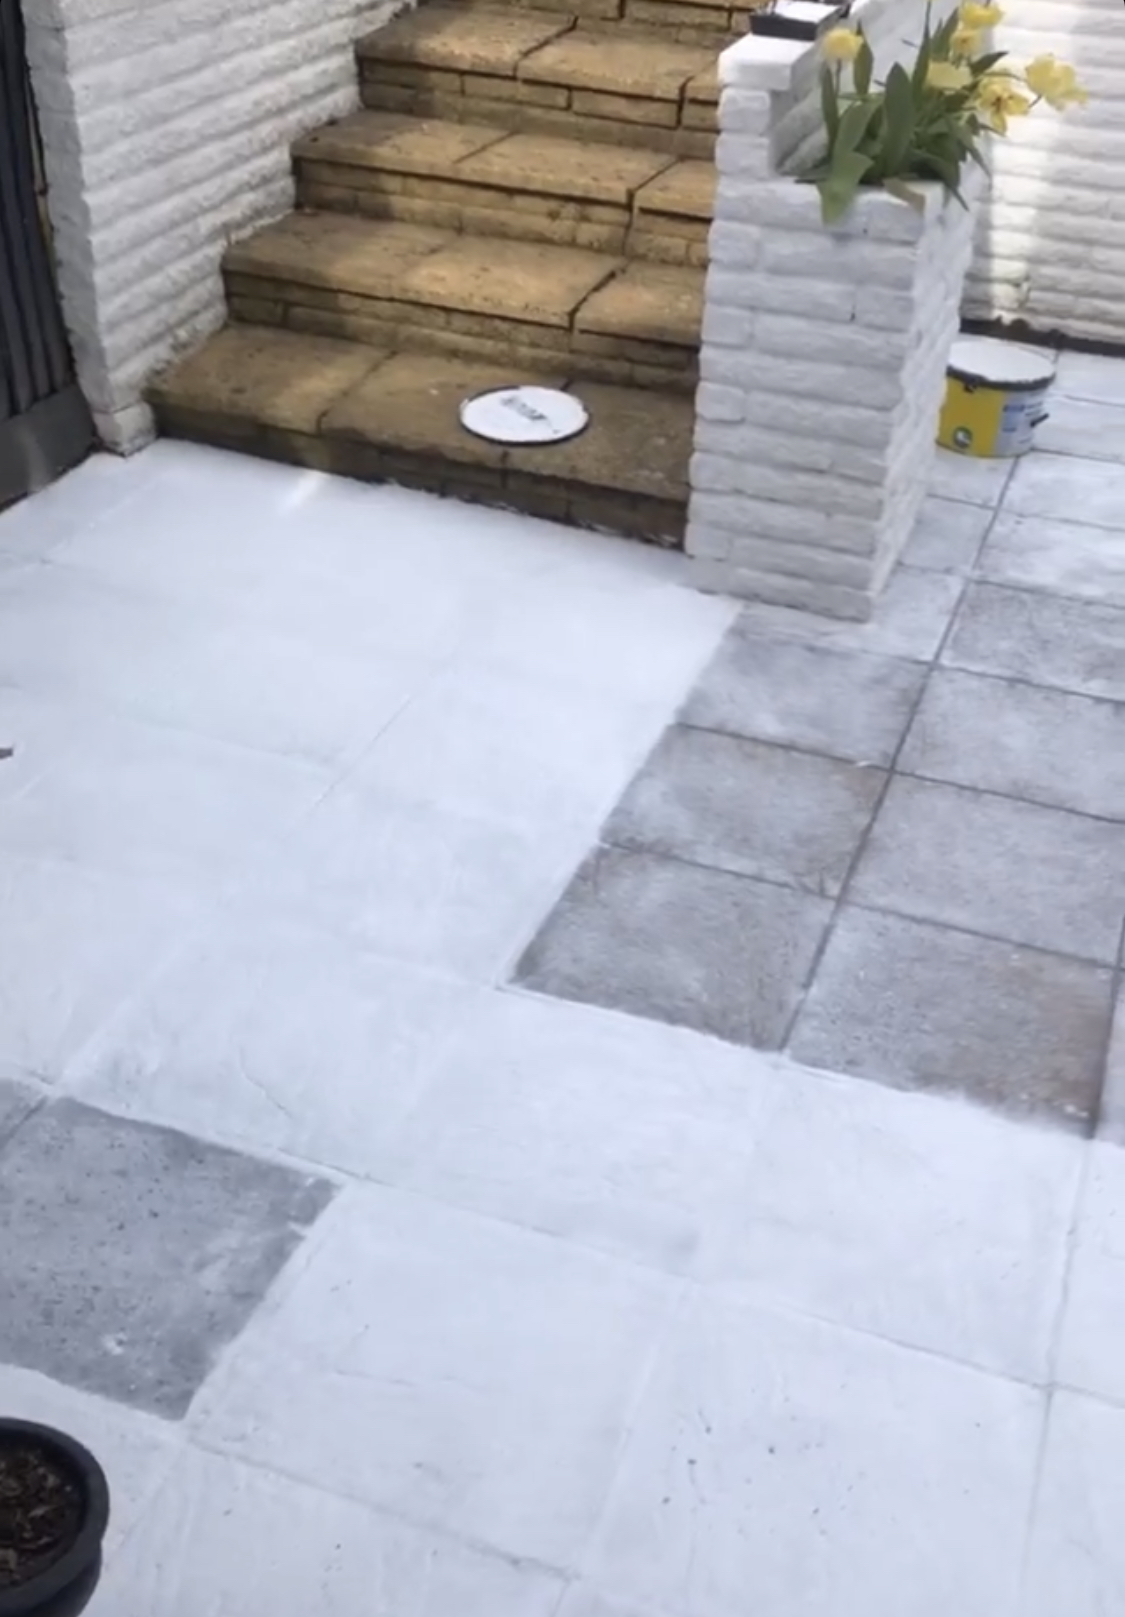
Step 4 – Mist Coat
This is an absolutely unnecessary step for a painted patio makeover IF you have already used the stabilising solution, and to be honest I’m not entirely sure why I did it other than I just love to create extra work for myself
Again, a mist coat acts as a primer for your main paint. It’s nothing other than a mix of 50% of your surface paint, mixed with 50% water to create a thinner paint coat. And here I’ll talk about application – I have used brushes for this ENTIRE project. I don’t like spray painters, never have, never will. Rollers, no matter how many times people told me to use them, simply aren’t suitable for our slab patio because of the surface. So I used brushes, I’m HAPPY that I’ve used brushes and have no regrets. Some jobs simply aren’t about saving time, but about being patient and doing it properly.
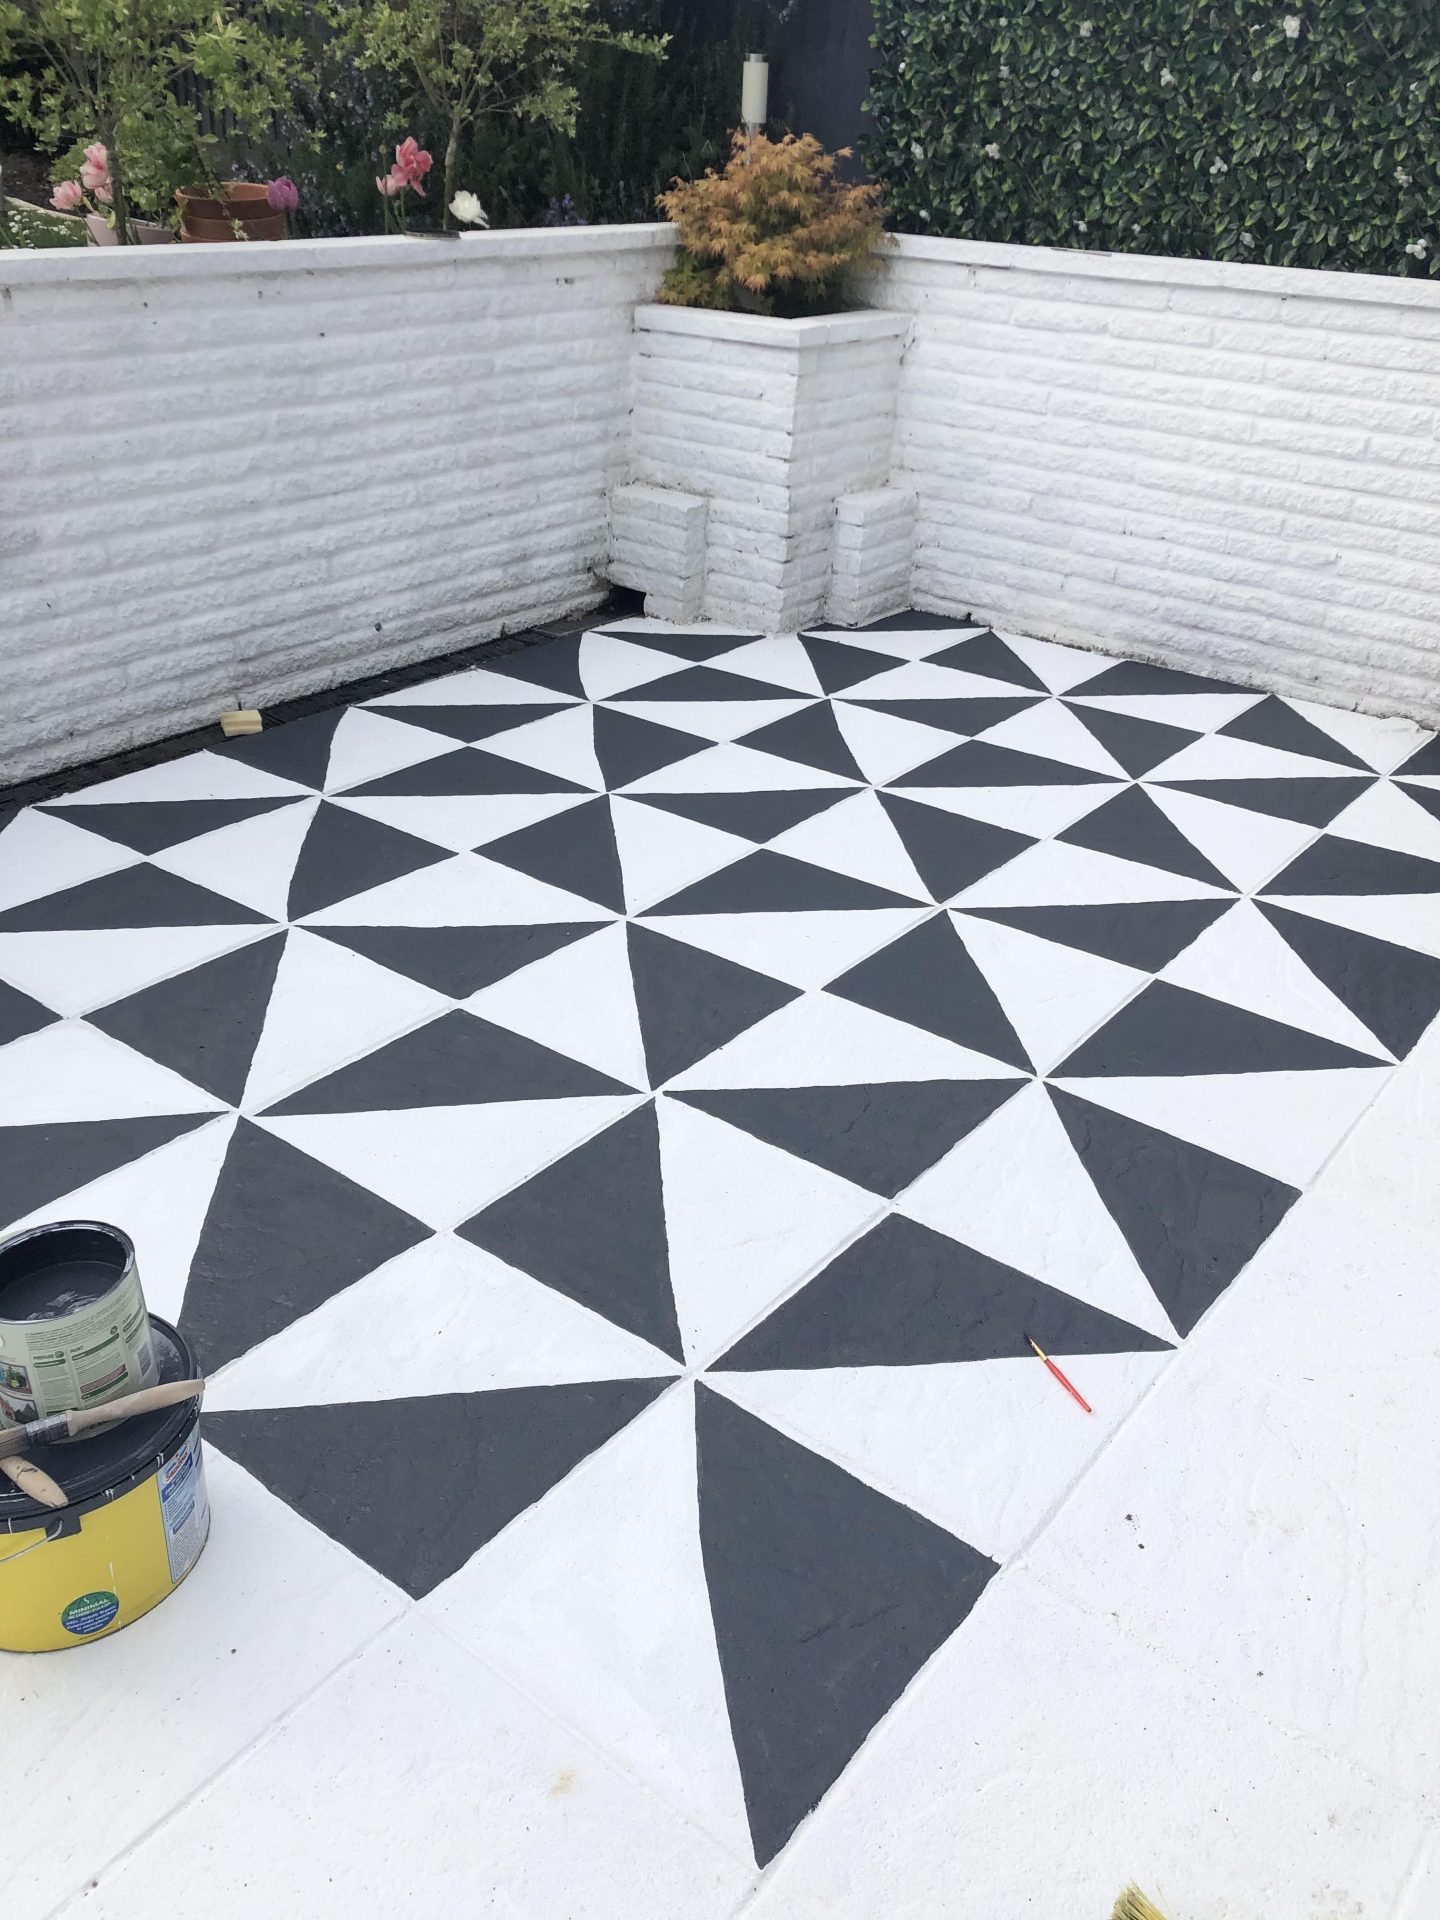
Step 5 – PAINTING
Wooohooooo after all that prep its finally over to the fun part and here is where I’ll more or less end things in this painted patio makeover journey. So far, I’ve used two coats across the entire patio of Sandtex textured white masonry paint*, again applied with a brush. I’m doing all the grout lines with a smaller brush and then filling in the slabs with a bigger brush.
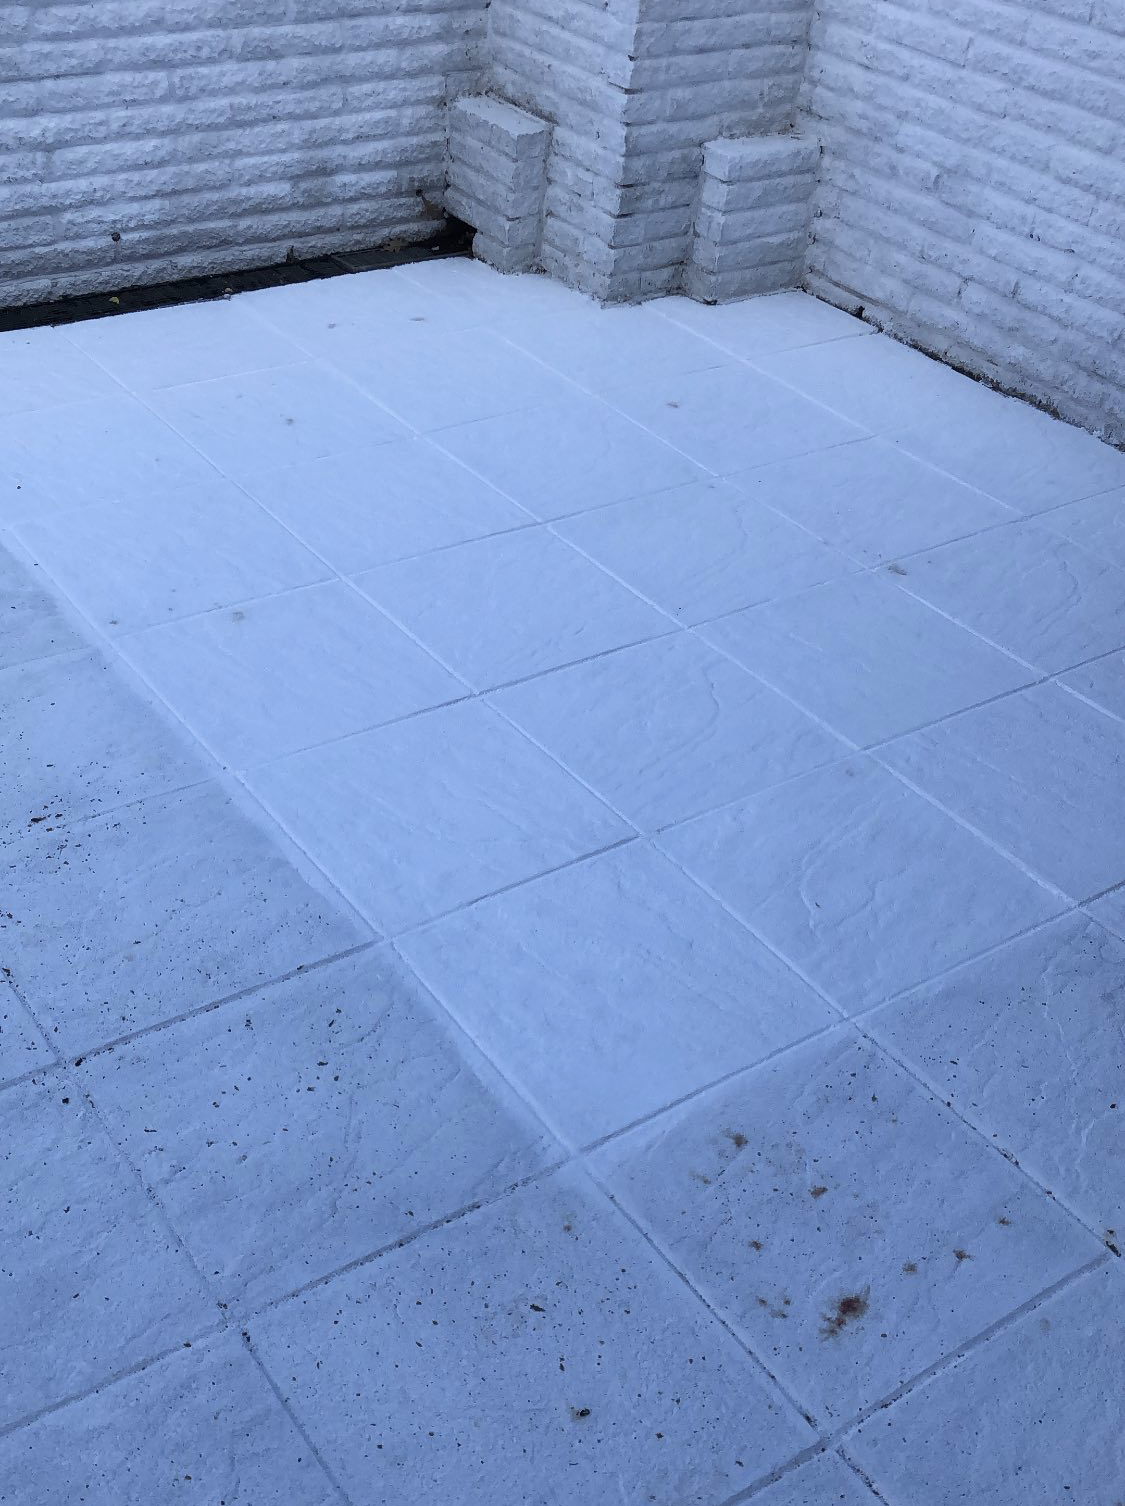
Yes, I lost the will at points especially with that second white coat and the day after I’d completed the first coat, Maddie managed to tear one of her claws off in the garden (first time this has happened in her 7 years!) and bled all over my freshly painted white patio SOB! But two coats of white later, it’s looking mind-blowingly bright (note: you cannot paint a large patio white and white alone as it will blind you) and I’m now on to my pattern and I’m just so, so delighted. Lastly, to make the patio even better, I’m also considering adding a decorative piece from wreaths.co.uk on the walls to soften the space and bring in some texture.
All being well in the next couple of weeks it will be finished and I’ll be back to share the end result!
Follow me on Facebook | Instagram | Pinterest | Twitter


I would love to know if anyone using Sandtex to paint paving stones then sealed it after painting? I am unsure if I should seal over the paint when finished?
Some people say no need while others say its essential. My concern is if i seal it then can i repaint it later?
Grateful for any advice please
Author
Hi Amanda I’m so sorry for the late reply, I have sealed the patio with Wickes patio sealer and it seems to have done a good job. You can see up to date images of the patio from this year over on my instagram @linsdrabwell
I’m grateful to you for providing me with such valuable insights. Your article has effectively addressed any uncertainties I had. Please keep sharing informative blog posts like this one, as I’m eagerly looking forward to the next one 🙂