It’s a little over a month since I boldly claimed via this blog post that our 1930s staircase renovation was back on after um, a little hiatus. I left that blog post in a messy state focusing on the paint stripping process and well, in the few weeks that have followed we’ve come a long way, baby.
I can now confidently say that I might just see this project through. The carpet has come off the first flight of stairs (the previous owners completed a loft conversion so we have two flights of stairs) revealing a truly stunning vinyl parquet runner much to my hilarity. This truly is the house that taste forgot. I’m sure at some point it was probably WONDERFUL but for goodness sake it wasn’t even laid to centre!
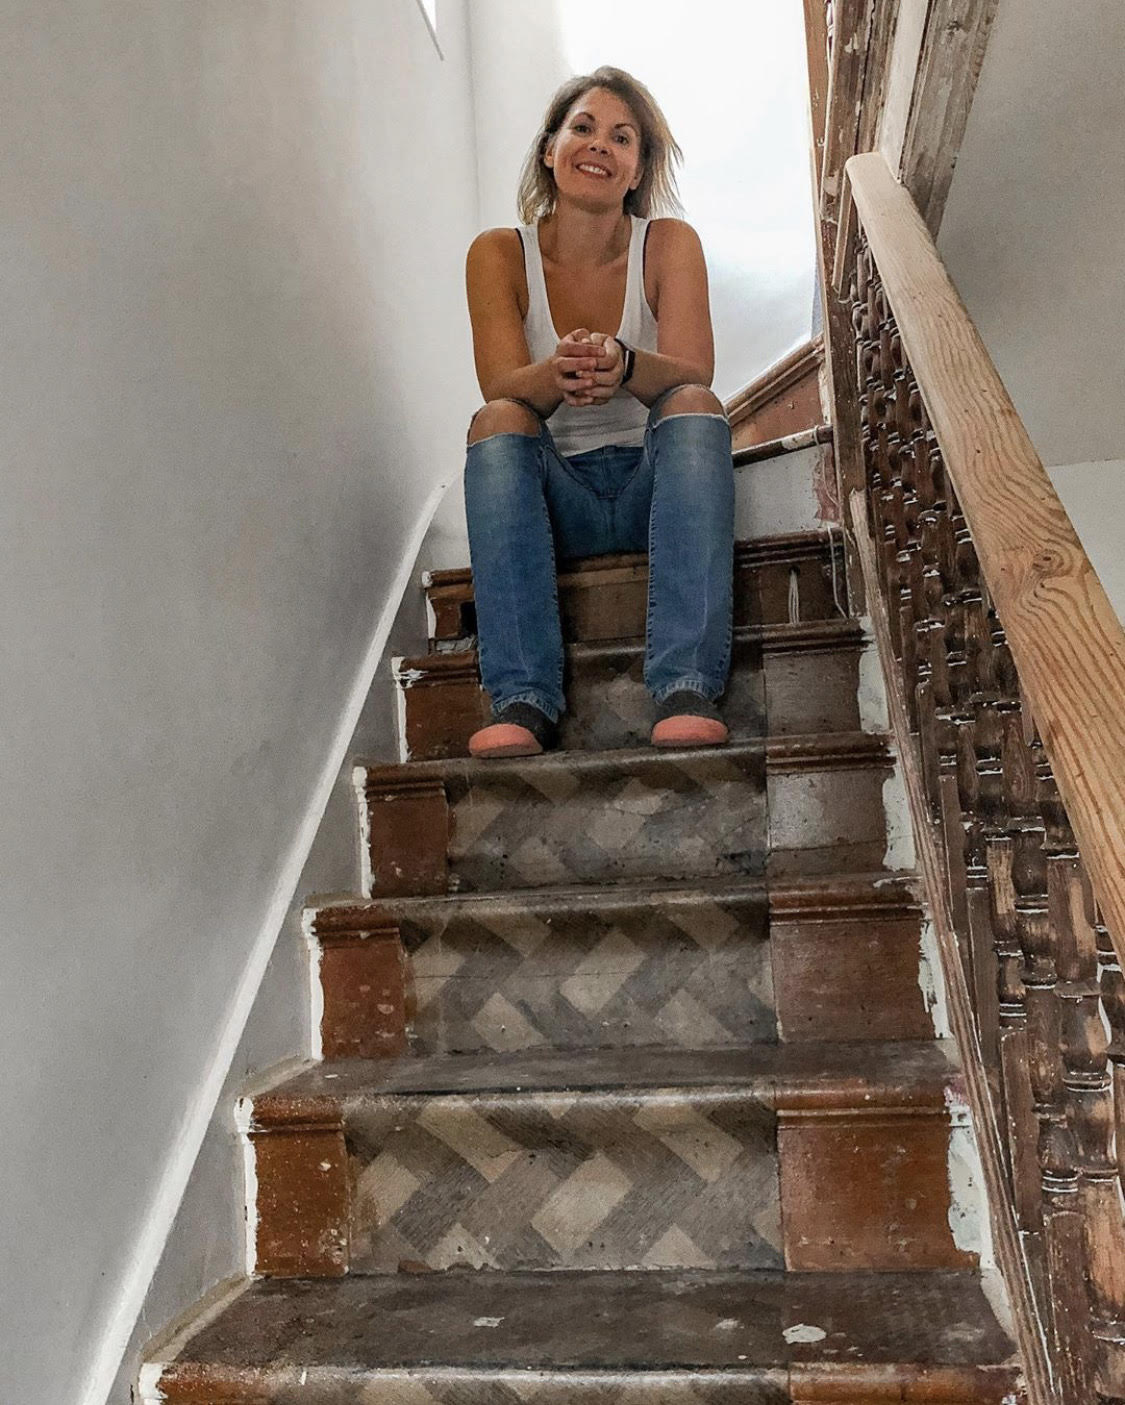
The vinyl runner met its fate this weekend and thankfully didn’t reveal any further horrors lying beneath. My next step for this will be to start sanding but I don’t look forward to that process at all.
Sanding
As for the rest of our 1930s staircase renovation, it’s looking pretty smart! After stripping the paint, the painstaking process of sanding was next. I was able to sand the flat surfaces with a palm sander* otherwise known as a mouse. You can buy separate pads for the mouse depending on the grit of the sandpaper you want to use. For the intricate areas I’ve been hand sanding, in both cases using a 120 grit sandpaper*.
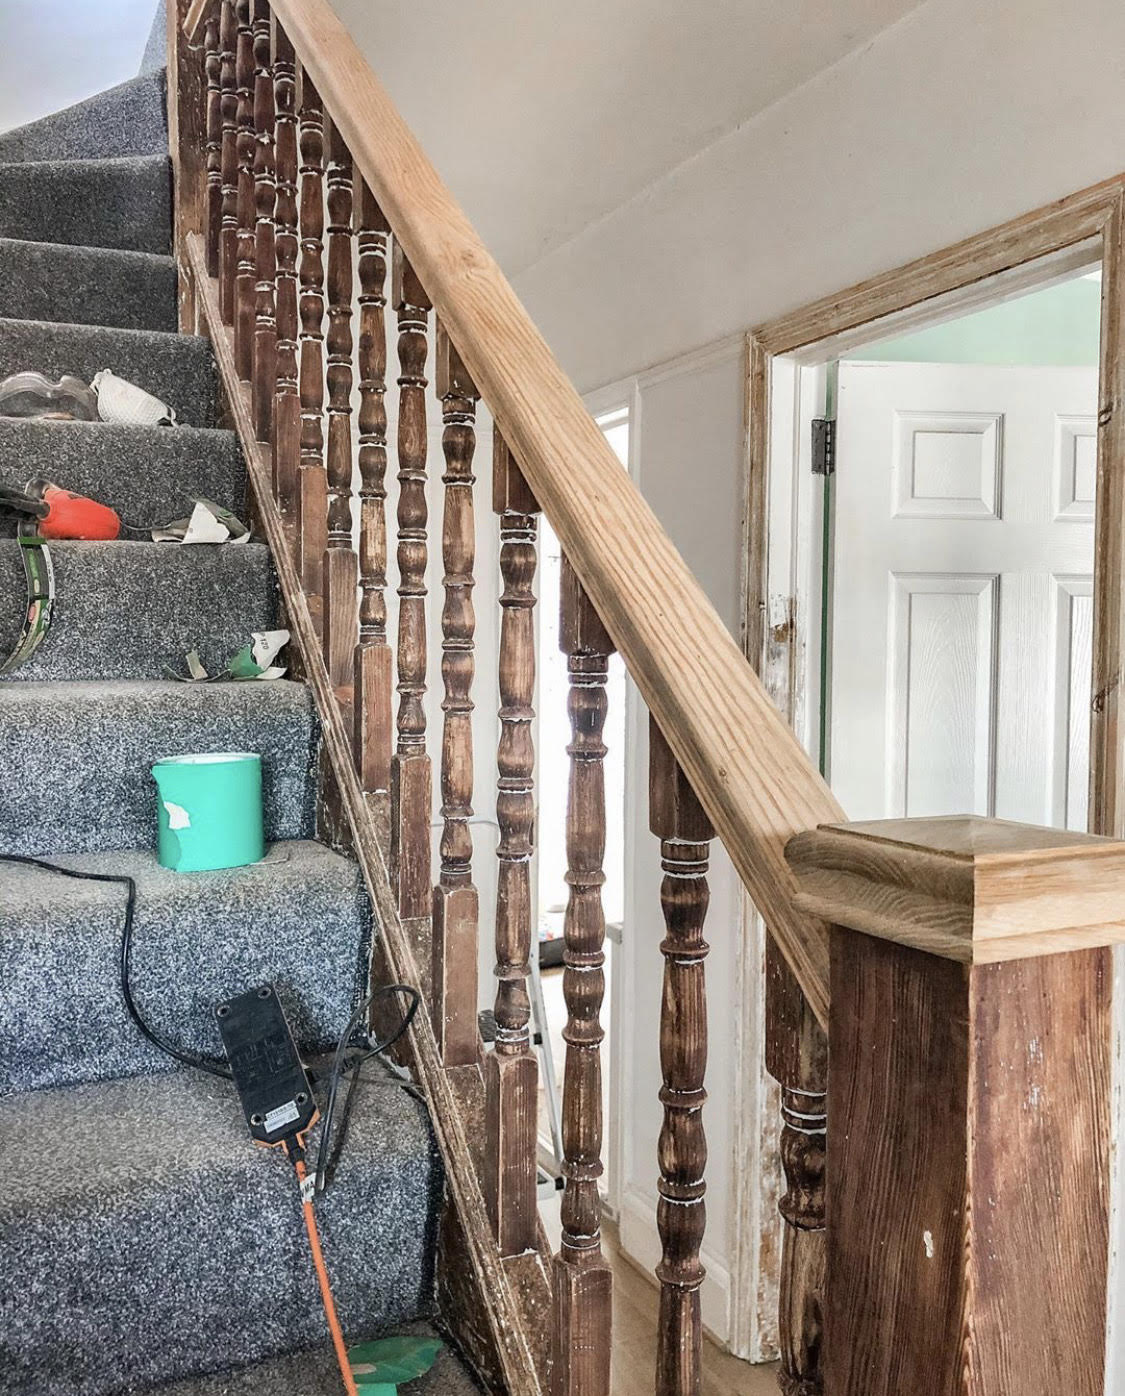
I knew that I wanted to take the bannister back to a natural wood but assumed I’d have to use a stain to get the colour I wanted. For bannisters I would definitely recommend sanding with paper rather than any tools especially if you’re looking for a grain to the wood. Machines can sometimes be a bit too heavy-handed. I absolutely love the colour and haven’t needed to use anything to achieve this other than sanding, but I’ll have to finish it with a wax.
Priming
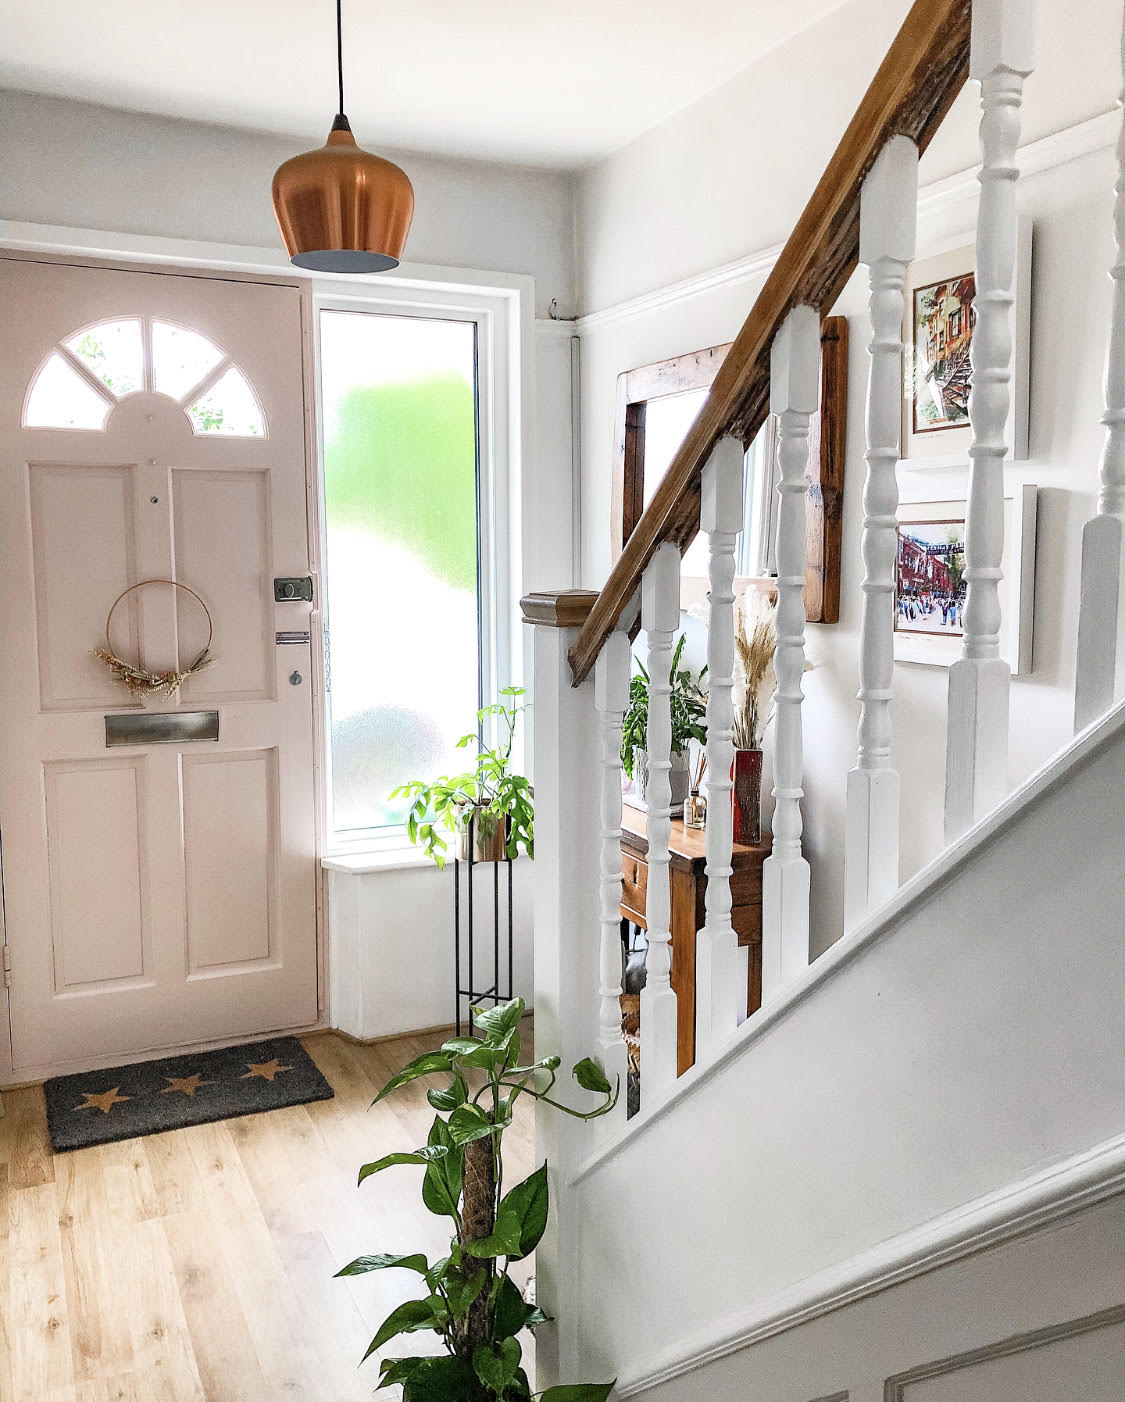
Once the sanding was complete, the next stage is priming. I KNOW that there’s always a huge temptation to skip proper prep as it really is so incredibly dull but the final result is always, always worth it. For priming, I’ve been using Zinsser Bullseye 1.2.3* and I have to say that having never used Zinsser products before, it really is great. I did two complete coats with the primer because I’m trying to get from a mahogany wood to a vibrant white and I don’t want it starting to discolour in a couple of months’ time.
In terms of tools, I used a brush for the intricate parts and a gloss roller* for the flat surfaces. I’ve heard a lot of rumours circulating on Instagram about a sock method, but my DIY gurus Victorian Adventure who are working on their own hallway project said it’s rubbish and they’re one of very few opinions I trust so I decided not to bother.
Painting
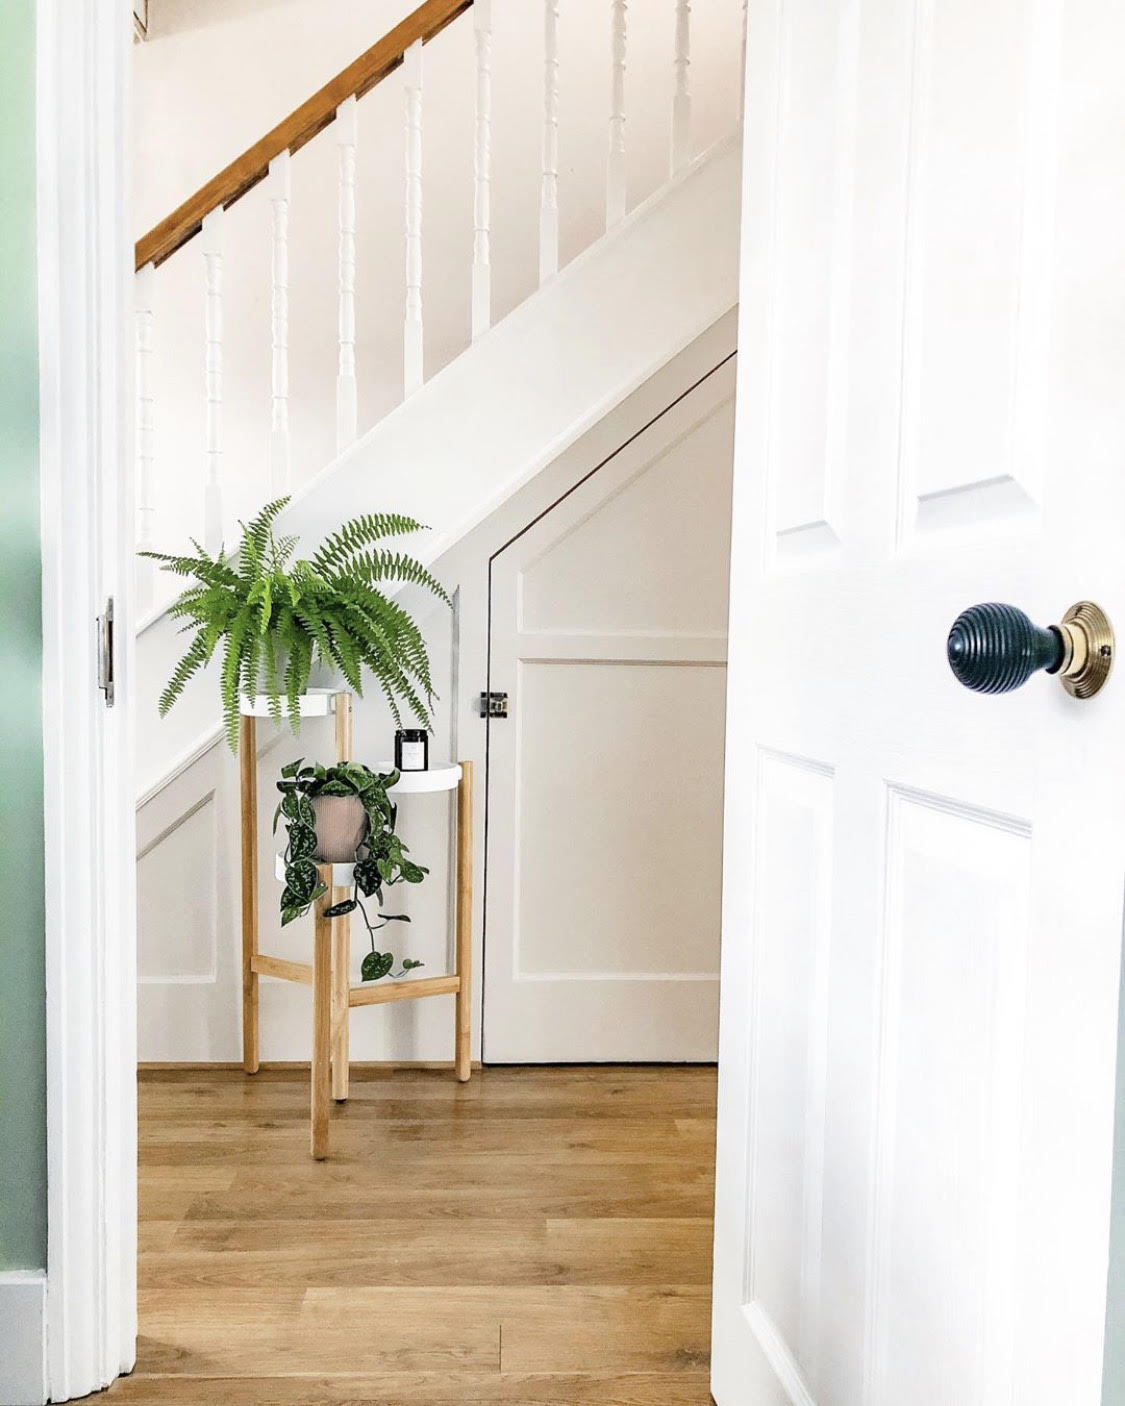
After two coats of priming, I’ve used my old faithful Caparol PU Satin as the white, in the end doing 3 coats just for the best finish. So that’s 5 coats in total on those spindles…if you’re thinking of going white it’s a big undertaking 😉 For the understairs panelling I’ve used Ammonite which is a Farrow and Ball shade, but colour matched by Decorating Centre Online. This is the second time I’ve used their colour matching service and honestly I can’t fault them. The first time around was for the Calamine that I’ve painted our kitchen cupboards in and now the Ammonite is SO easy to use. It’s an acrylic eggshell finish for cupboards/woodwork which means that if they get marked it’s easy to wipe down. Since this is the hallway and a high traffic area, especially with Maddie coming back after dog walks, I want to make sure it’s something I can keep clean easily.
Hardware
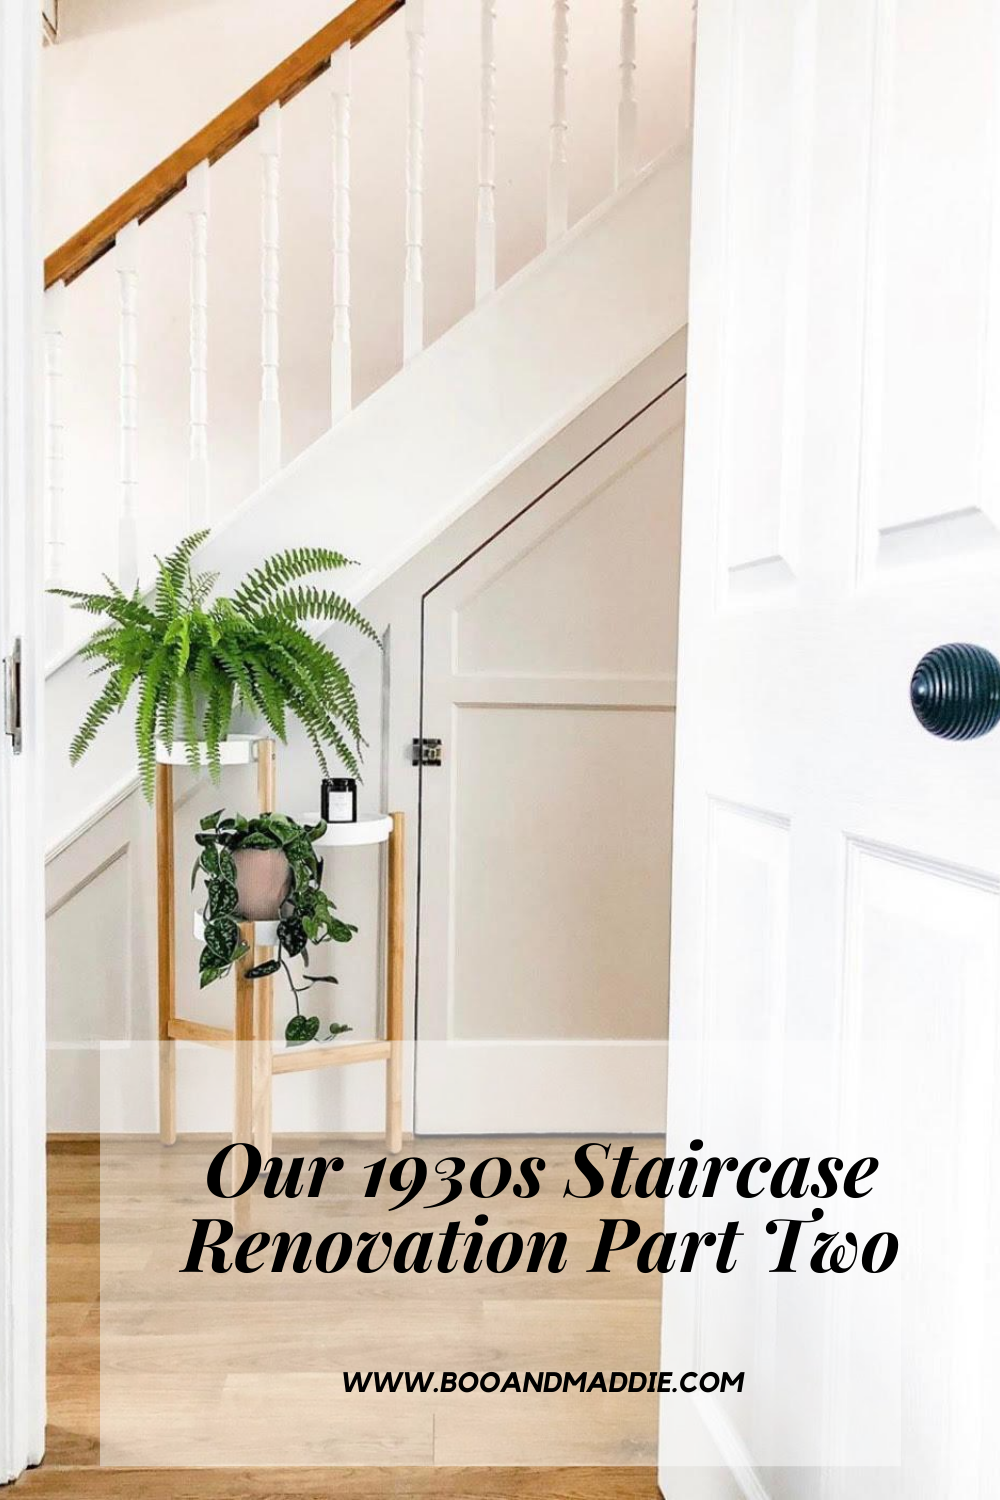
As always, the finishing touches mustn’t be overlooked. As the hinges connecting the cupboard door to the framework are on display and covered in the previous cream gloss, I’d planned to get some new ones but found a DIY hack online to pop them in a pan of boiling water along with some bicarbonate of soda for around 15 minutes and they came up beautifully. The paint literally just peeled off once I took them out.
We did have to get a replacement latch for the cupboard itself as the existing one has been broken ever since we moved in and I chose this Antique Brass one which is just perfect. I simply unscrewed the old one when I was doing the prep work, filled the holes and then drilled pilot holes for this one before screwing it on.
I’m so over the moon with how our 1930s staircase renovation is shaping up. I’m under no illusion that there’s still loads to do ahead of me but it’s been a pretty satisfying last few weeks.
This post contains affiliate links marked by a *. What this means is that if you make a purchase I will receive a small commission. This does not affect your price and I do not know what you have purchased.
Source List
PIN FOR LATER:
Follow me on Facebook | Instagram | Pinterest | Twitter

